
The black box at my side gives of a mechanical moan. The screen flickers and an image gradually appears. The moment that had been preserved on the piece of silver and gelatin is now displayed on my laptop. Low contrast and fuzzy the photo doesn't exactly look appealing. With a few preset commands contrast is increased, sharpening applied, and exposure balanced. Now a finished original – ready to be printed, backed up and shared in an instant to friends and family across the globe.
As of late I’ve been enjoying a return to shooting more film. I’ve shot medium format at a snails pace for years, but returning to 35mm film has really got me enthusiastic for film again.
The more considered shooting approach, the look of film, and the great tools has made the experience delightful. But there’s one piece of the puzzle I’ve felt lacking – the scans.

A reaction to scanning film I’ve heard more than once is to question the need for it. Why not simply shoot digital if you want the images in your computer, right?
Well to me what’s commonly referred to as the hybrid approach – shooting film, but post process and print digitally – offers the best of both worlds.
It gives me everything I like about film – tools, process and look – combined with the flexibility of digital. Sharing, printing and backing-up is far easier.
The bottom line is – to do everything I want with my images I need good scans.
So with the question of ’why’ resolved, let’s move on to the ’how’. Either you can have a lab scan the images, or to scan them yourself at home.
Having a good lab scan your photos at development is an appealing proposition for several reasons. You get consistent results, good enough for most uses, with minimal involvement. All you need to do is ask. There’s no denying the convenience in that. There’s a price to pay however. That price is cost. There’s also some other, less obvious disadvantages such as reduced control of the look and limits in overall quality.
I’ve had Crimson – the local lab I frequent – scan my images on their Frontier scanner at development. I’ve been reasonably satisfied with the resulting scans, but felt that there’s been some room for improvement. The tonality has been somewhat harsh, with colour a bit hit and miss. The scans look tuned for immediate printing, rather than for further editing. Compression and limited latitude has limited post processing to the bare minimum. At 8MP the scans are big enough for most my uses, but as soon as I want to print big or crop at all it’s on the small side.
I’ve been paying around €38 per roll for development and scanning. I’ve felt a need to really hold back in my shooting, not to have the expense get out of hand. Needing two weeks for development and processing of a roll has also put a damper on my shooting habits.
Any one of these issues in isolation probably wouldn’t make me consider other options. Combined though, I began looking into other options. Unfortunately they are limited. Other local labs offer similar scans at similar prices. Labs abroad look to offer higher quality scans at reasonable prices, but then the postage racks the costs way up.
Researching these options I soon concluded that if I was scanning myself I could use another local lab, more conveniently located, with same day delivery of developed negatives at €8. Including film that would cut my total cost per roll to a third. A much more sustainable level.
Hopefully with the goal of high quality scans attained at the same time.
Film scanners are something of a dying breed. Many appealing options are long since discontinued and few new options are available. Finding good information on how different types of scanners compare is also tricky. Never mind that there are few clearly superior options – it’s mostly down to a preference of a specific balance of features against another specific balance.
After some cursory research I came up with a number of options that felt viable, each with compelling, unique features. Further scrutiny however revealed disadvantages of each. Every option mostly a trade-off between speed, price and quality. Some other factors such as reliability, support, physical size and ease of set up also turn up.
My first idea was to get a flatbed since that would give me the possibility of scanning both 35mm and medium format negatives, giving me a good excuse to use my Hasselblad more. They are also the cheapest option by a fair margin. However digging into the optical output resolution (not the inflated manufacturer ratings) of the scanners made it clear that they would place an even stricter limit on output size. Most flatbed scanners struggle to scan 35mm negs at even 4MP. Far too small for my preferences. For me, flatbeds were out for now.
I then looked into digitizing with a system camera, then discontinued scanners like the Pakon F135+ or Nikon Coolscans. While each option held appeal, neither offered quite what I wanted.
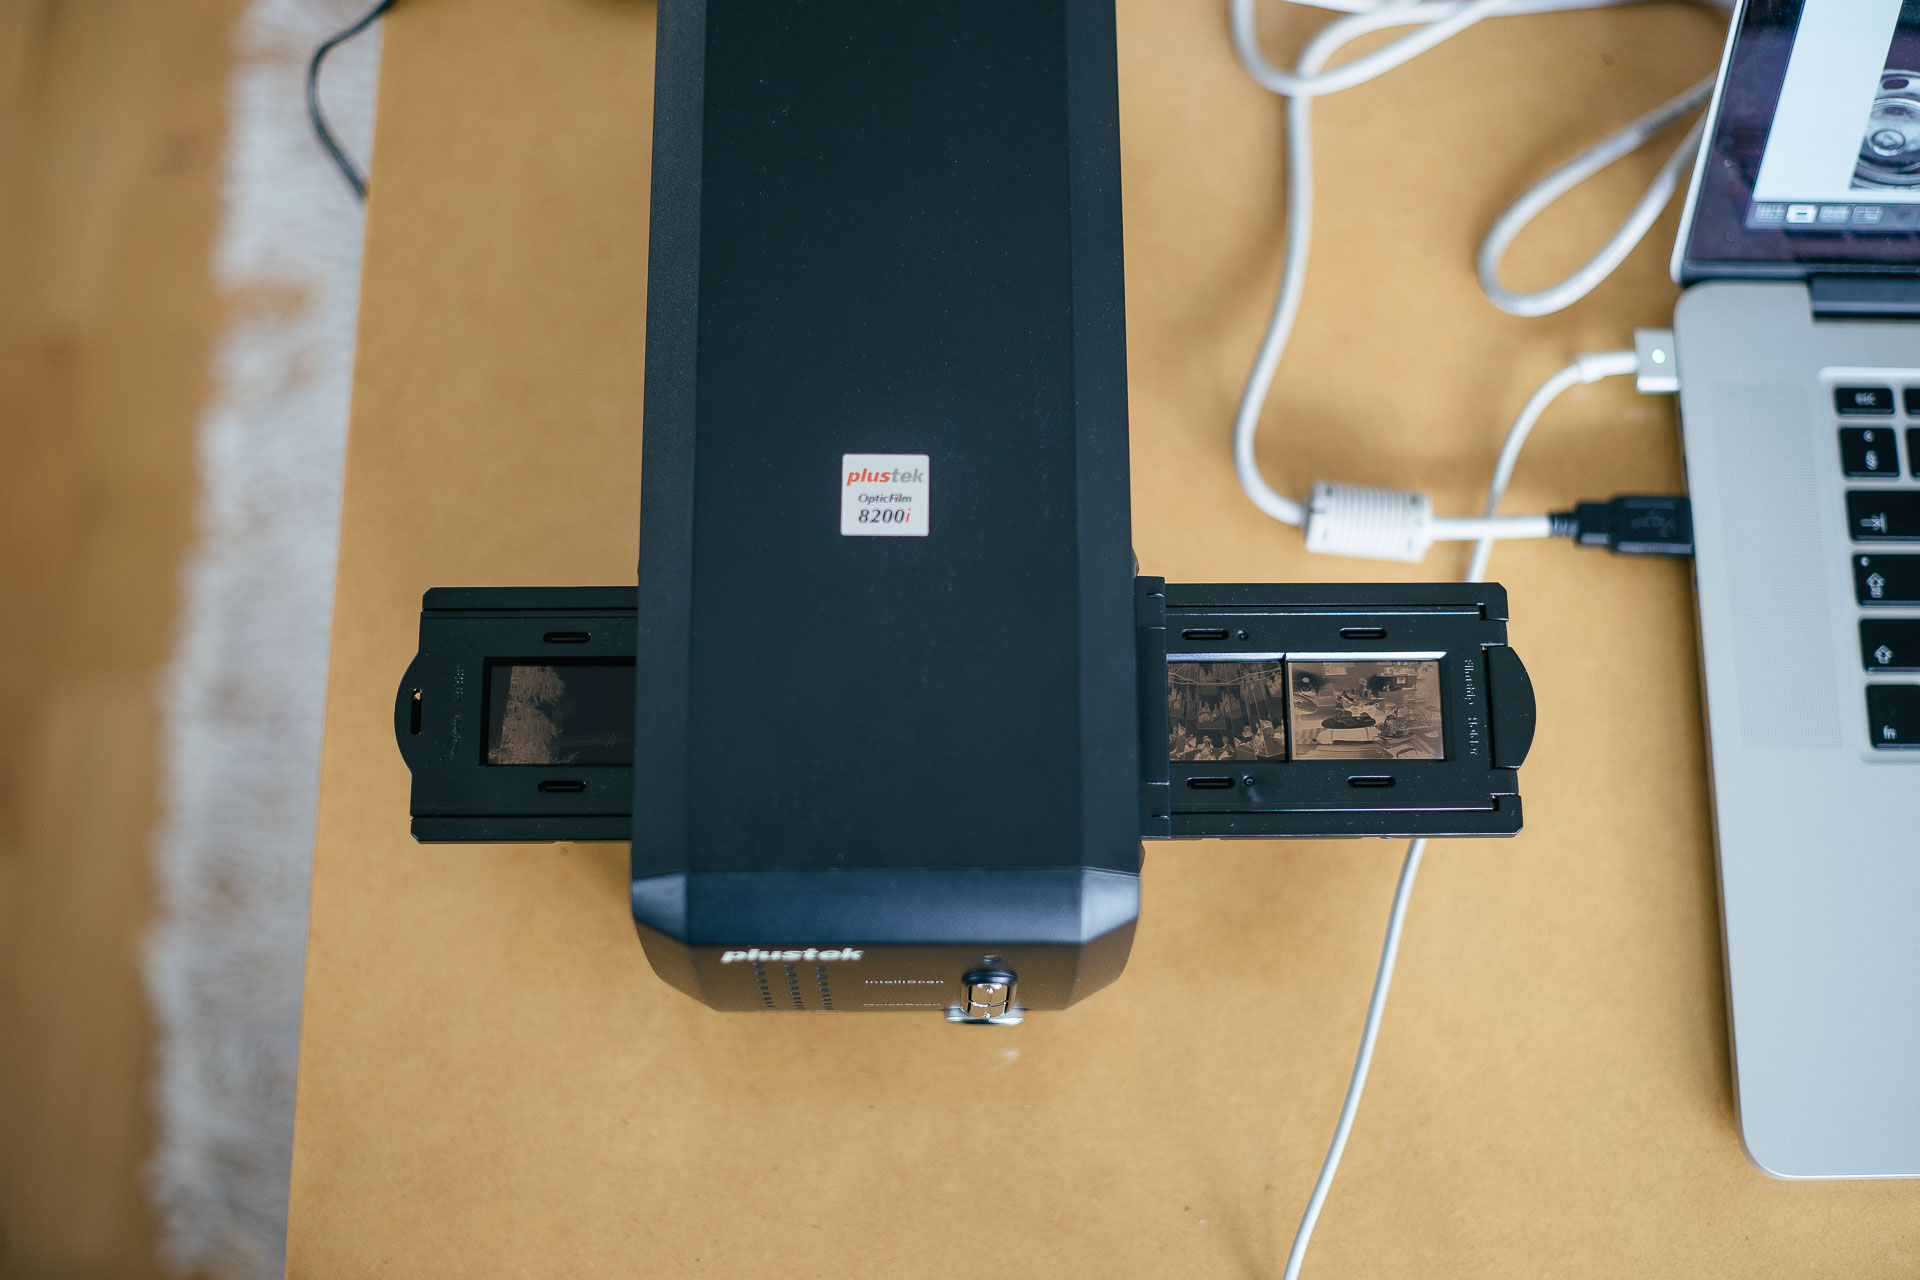
Instead the scanner I ended up choosing, with the most compelling features and least discouraging drawbacks for my use, was the Plustek 8200i. It’s a dedicated 35mm film scanner in current production. It offers high resolution, high quality scans at reasonable speeds in a small device, at a very appealing price point.
There are a few different versions of the scanner. The 8200i comes in two flavors – AI or SE, differing only in software. There’s also the 8100, identical except for lacking the infrared dust detection of the 8200i.
From reading reviews the main drawback of the 8200i is its single frame scanning method, lacking any batch automation. Negative strips are placed in a plastic film holder and inserted into the scanner and scanned. Each frame then needs to be advanced manually to the next one and the scan initiated.
To me this didn’t seem like a major issue compared to the drawbacks of the other scanners. So a few weeks ago I bit the bullet and purchased the 8200i in the lower priced SE flavor.
Most information available on this scanner elsewhere is very technically focused. I figured it could be interesting to offer an additional, more practical perspective. While it feels a bit odd to have two running articles at the same time I think I’ll have plenty to say on both subjects over time to warrant the approach.
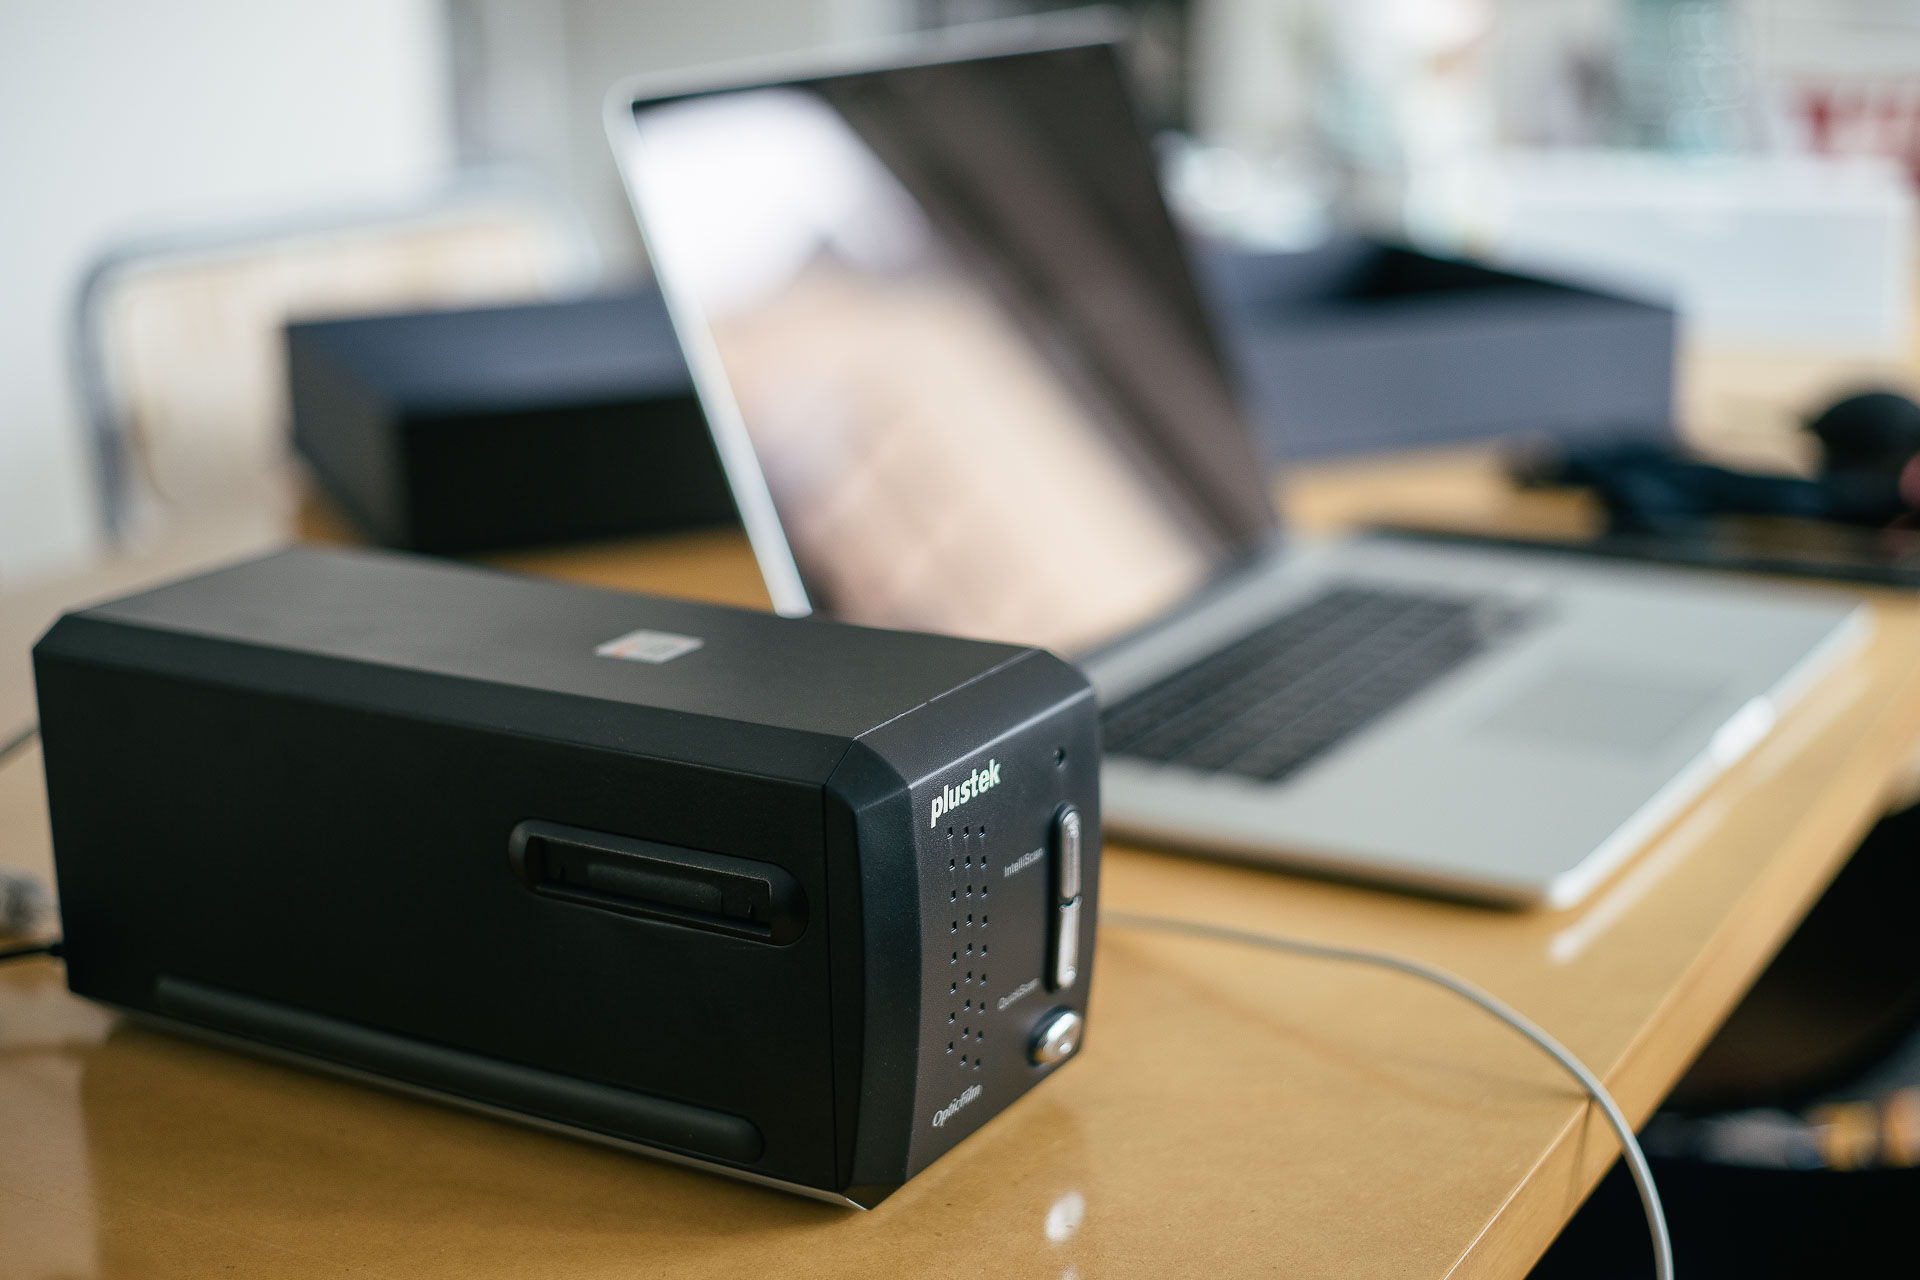
My first thought taking the scanner out of the box is that it’s a small device as far as scanners go. About the same height as most flatbeds but not as deep and less than half the width. Materials and tolerances of manufacturing seem very good at first glance.
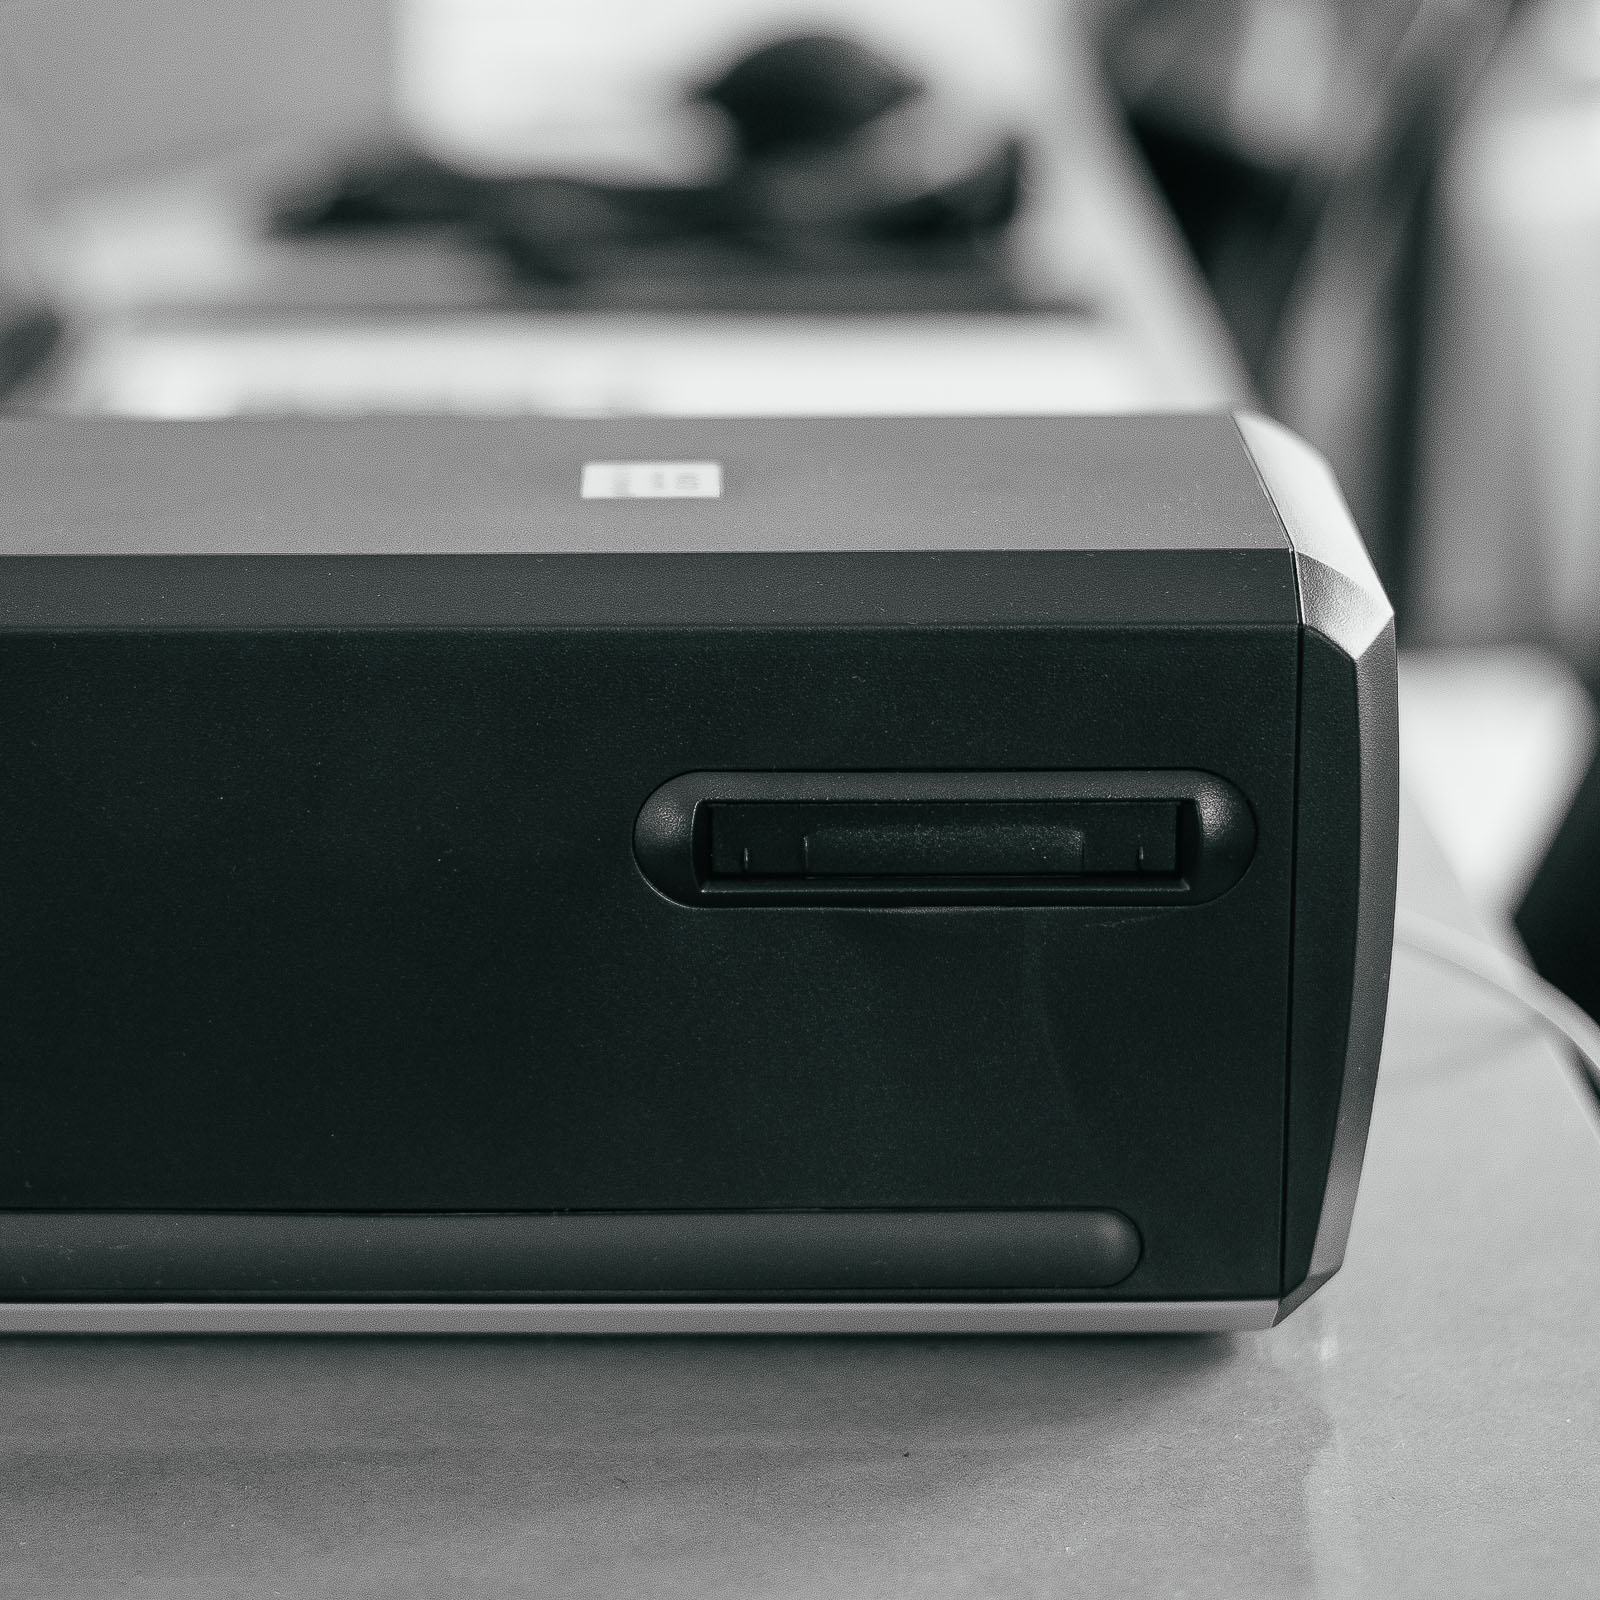

On the front there's a power button and power inidcation light as well as two buttons initiating the scanning software (neither of these work on Mac OS X though). There are two film holder insertion slots – one on either side of the scanner.
The scanner uses a USB connection for data transfer. Thankfully it uses a standard USB-B to USB-A cable, easily replaced if lost or damaged, no odd proprietary connector. Plugging in a power cable completes the installation.
Software installation is equally easy. A number of different softwares and drivers are bundled with the scanner, but on Mac OS X only Silverfast is supported and needed. The software is delivered on DVDs. I can’t remember the last time I installed something from a disc, but fortunately I had an external DVD drive laying around.
Silverfast is generally referred to as “the Photoshop of scanning software”. Extremely capable, but not very straight forward. The version bundled with the SE package that I bought is slightly less feature rich than the AI version, but it’s still a comprehensive piece of software. After reading numerous threads on how complicated Silverfast was I expected to face a steep learning curve. I was counting on not getting usable scans without a lot of trial and error. However I was very pleasantly surprised. I’ll get back to my first scans in a bit, but the short version is that Silverfast wasn’t as complicated to use as I expected.
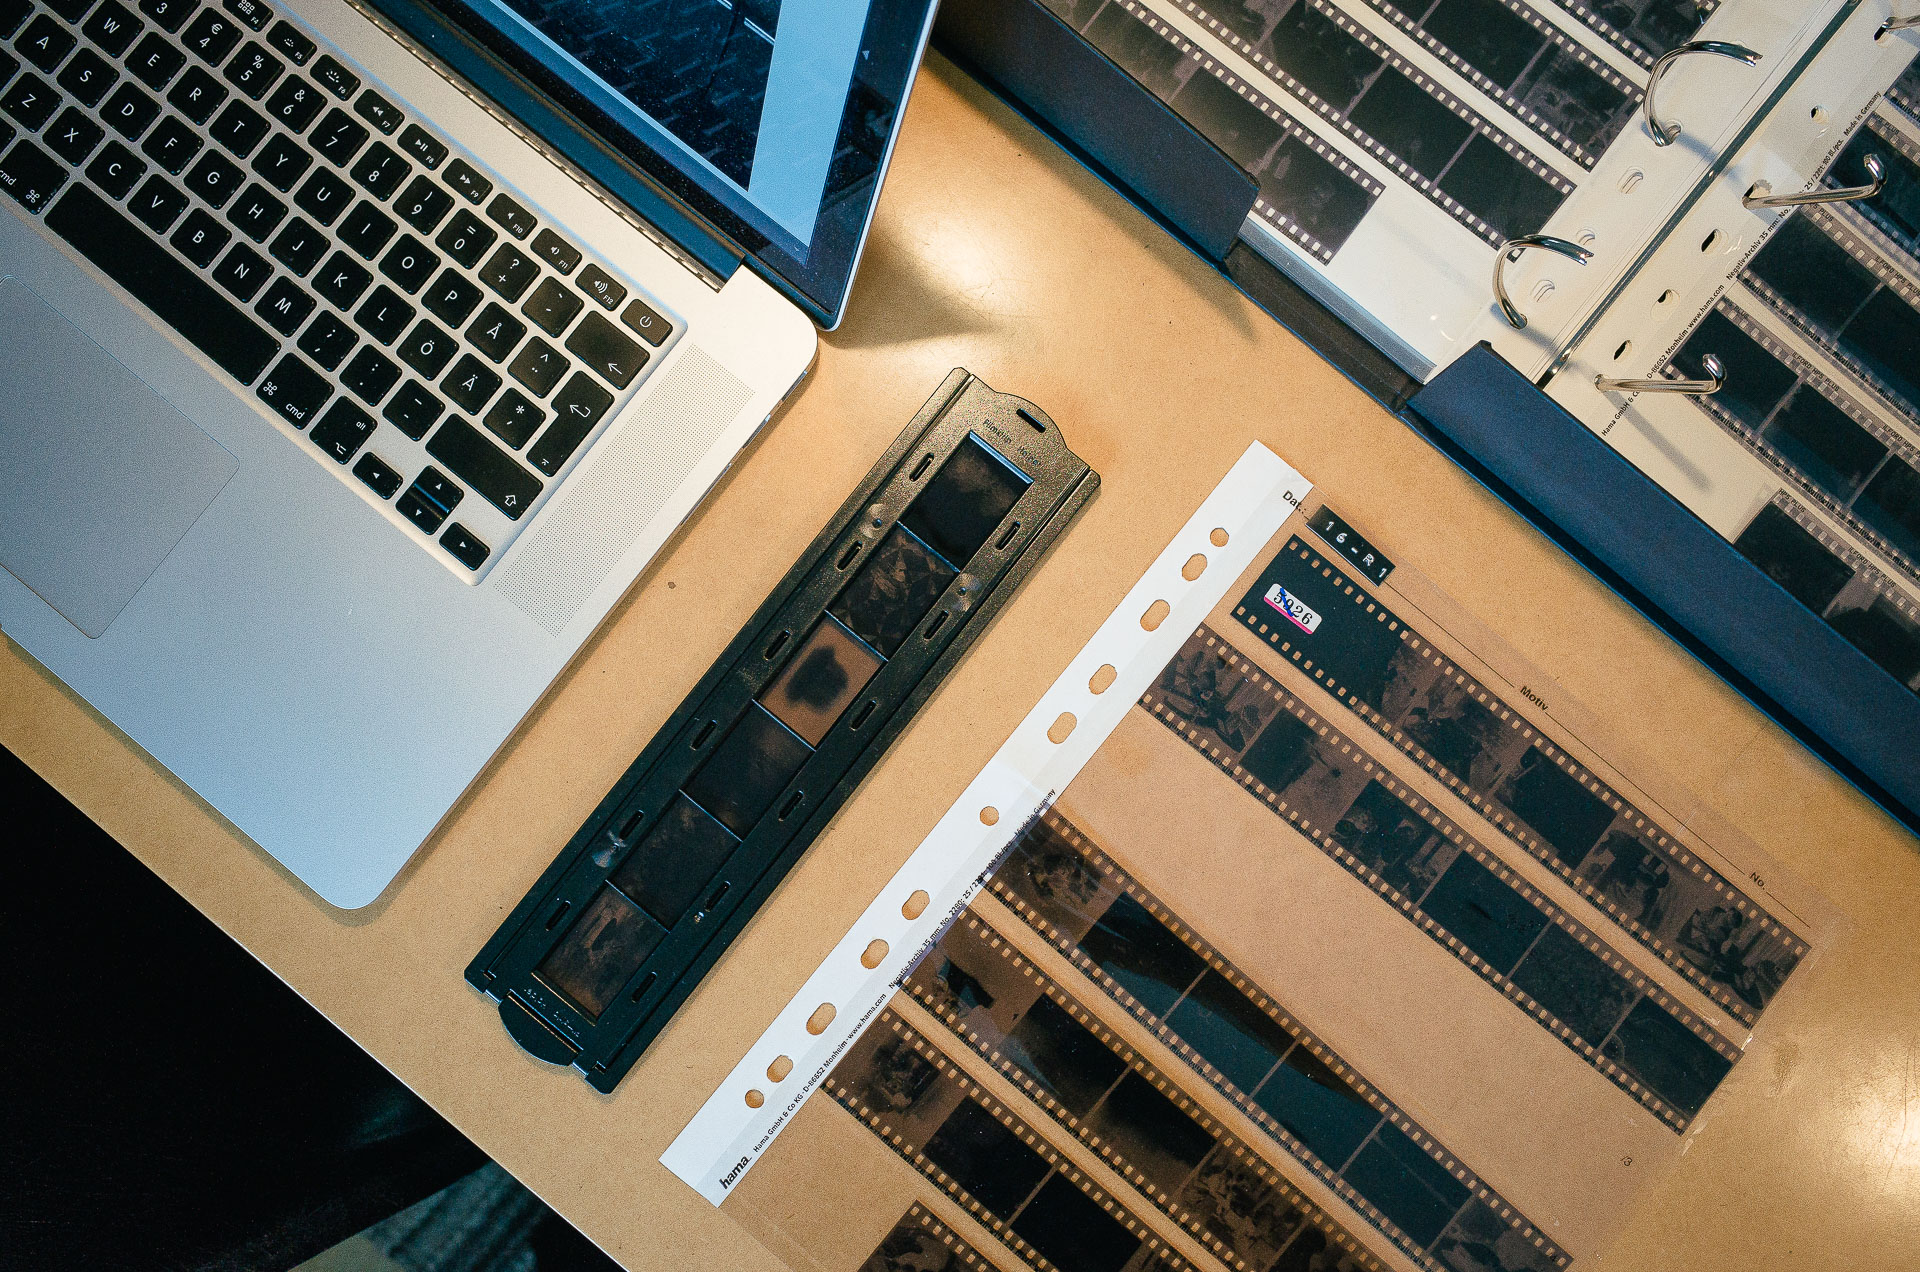
Moving on to getting the actual film into the scanner. Two plastic film holders are included in the box – one for four mounted slides, and one for a strip of six unmounted negatives. Reviews I’ve read have described the holders as flimsy. I can’t really say that I agree. Sure they’re plasticky and feel a bit hollow but also seem reasonably solid and precise.
Loading the film into the holder and lining up the frames of the film to the frames of the holder is less fiddly than I expected. Figuring out which side goes up and down takes a bit of looking at the diagrams in the manual, but is easy once figured out. The film also seems to be kept quite flat and stable in the holder.
The film holder can be inserted into the scanner through the slot on either side. Notches in the film holder make it clear when a frame is lined up properly.
Time to scan. I cross my fingers and half expect there to be some driver I need to install or that I’ve made some mistake with loading the film. But everything works without a hitch. The prescan quickly appears on the screen. After a bit of experimenting with settings I press scan, and the negative is scanned again, outputting a tiff more than 60MP large in far less time than I expected (around a minute).
How does the quality hold up? Let’s have a look!
Since film scanning is completely uncharted territory for me I figured a somewhat controlled test would be a good starting point. Comparing to a known quantity – a lab scan – would hopefully give me quite a bit of information.
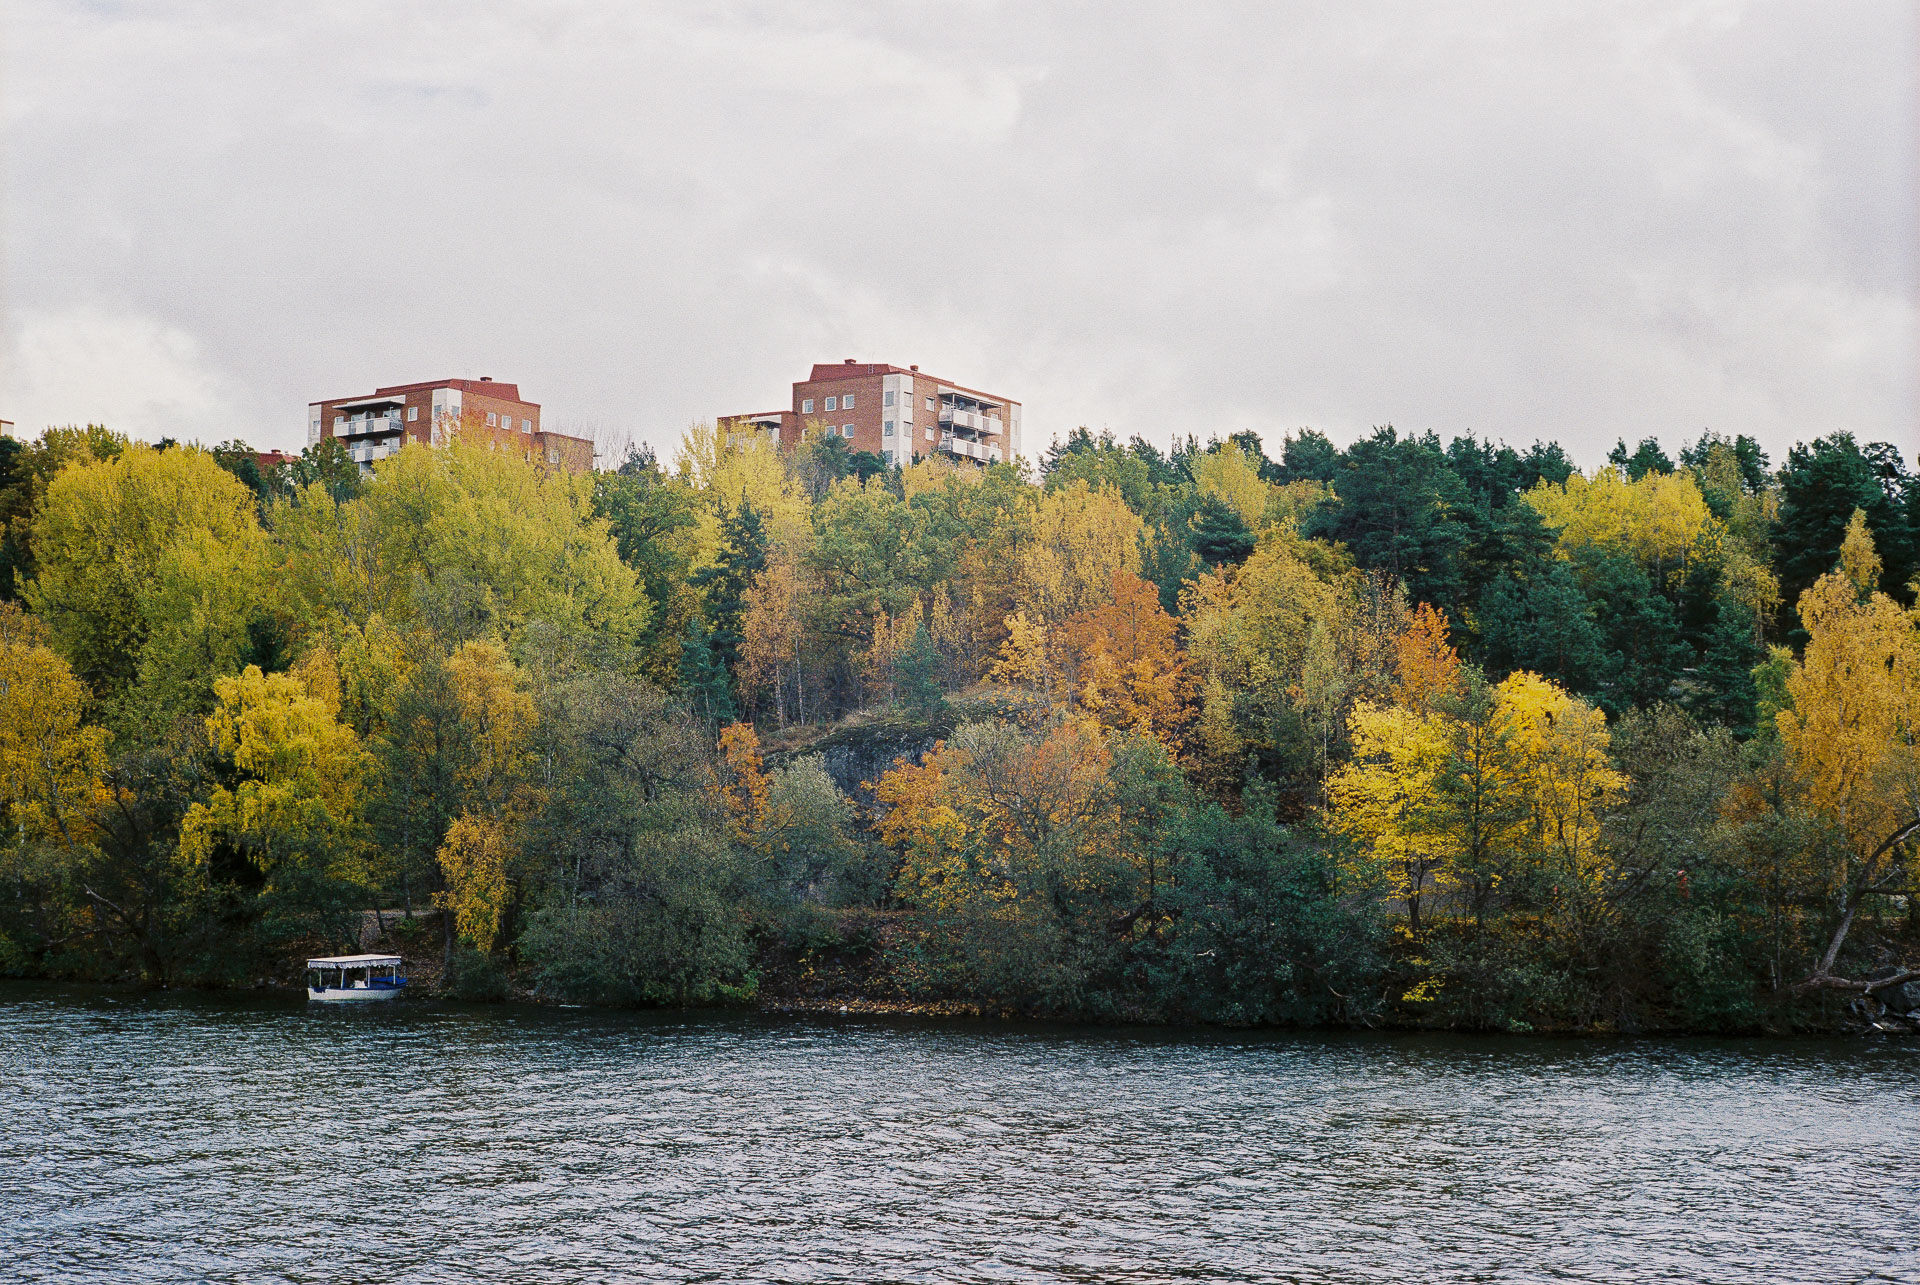
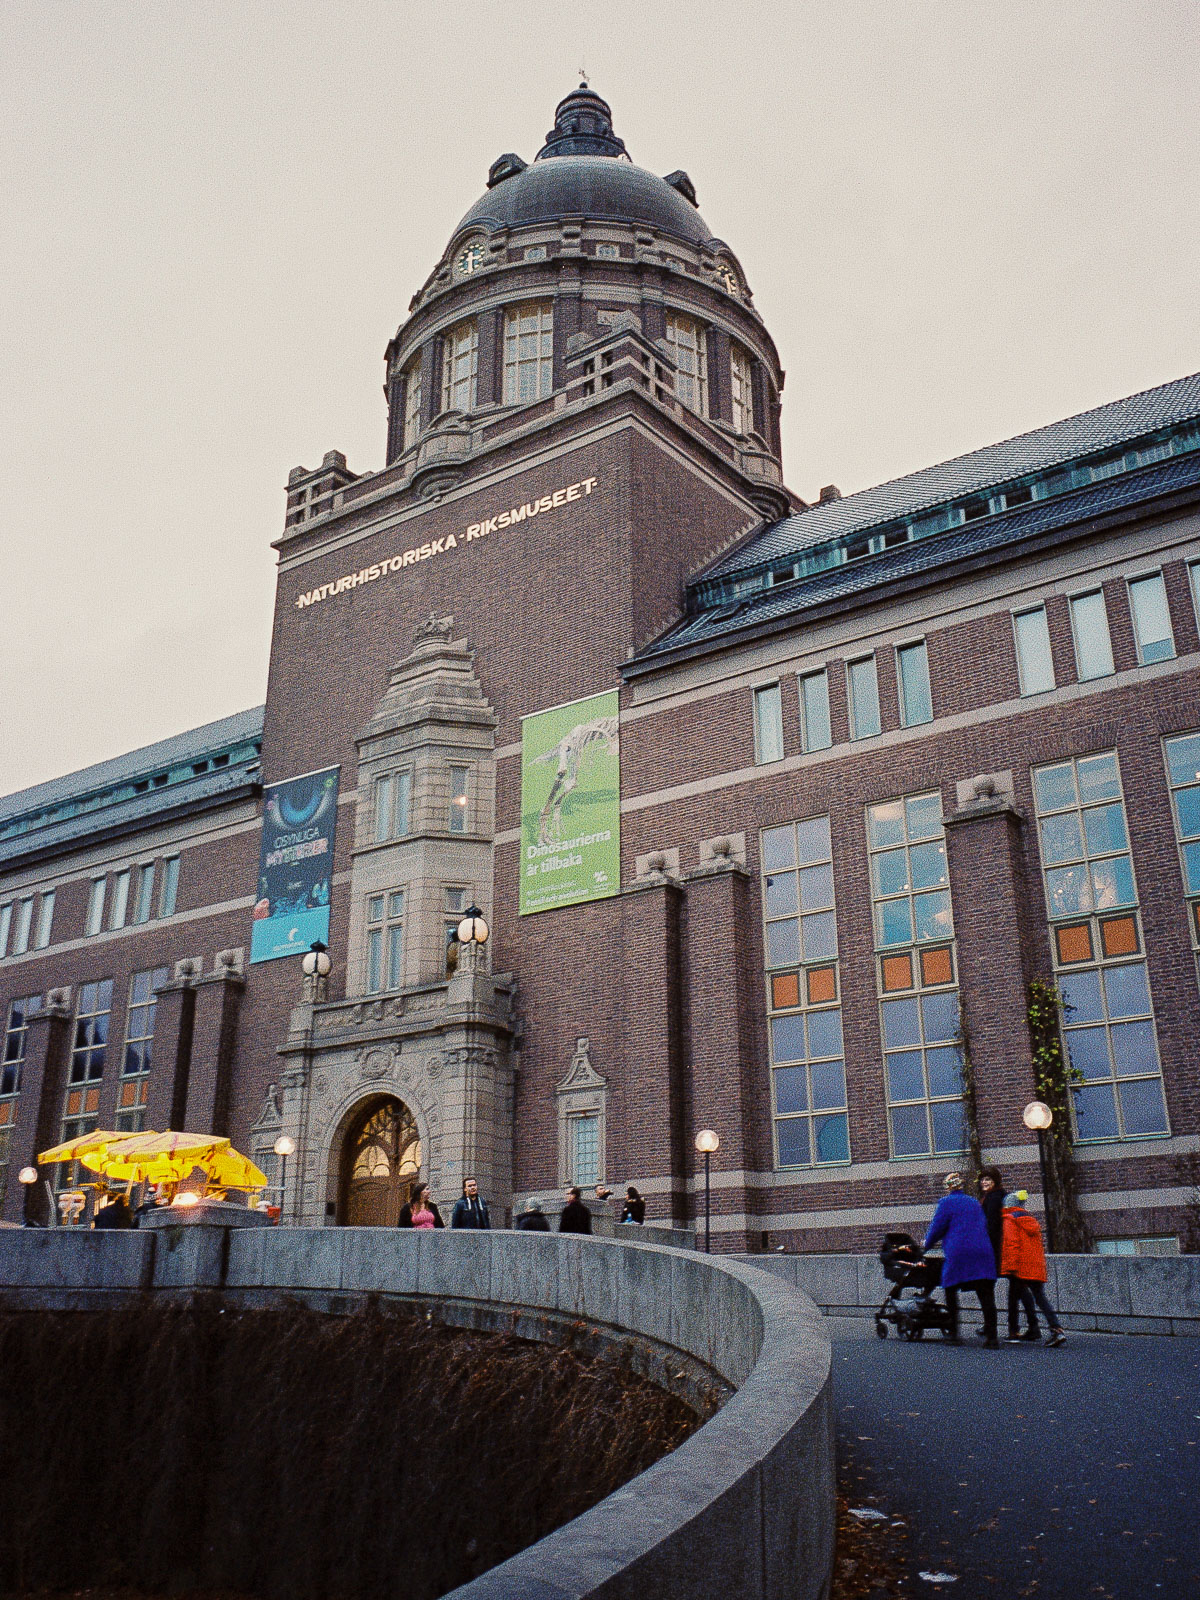
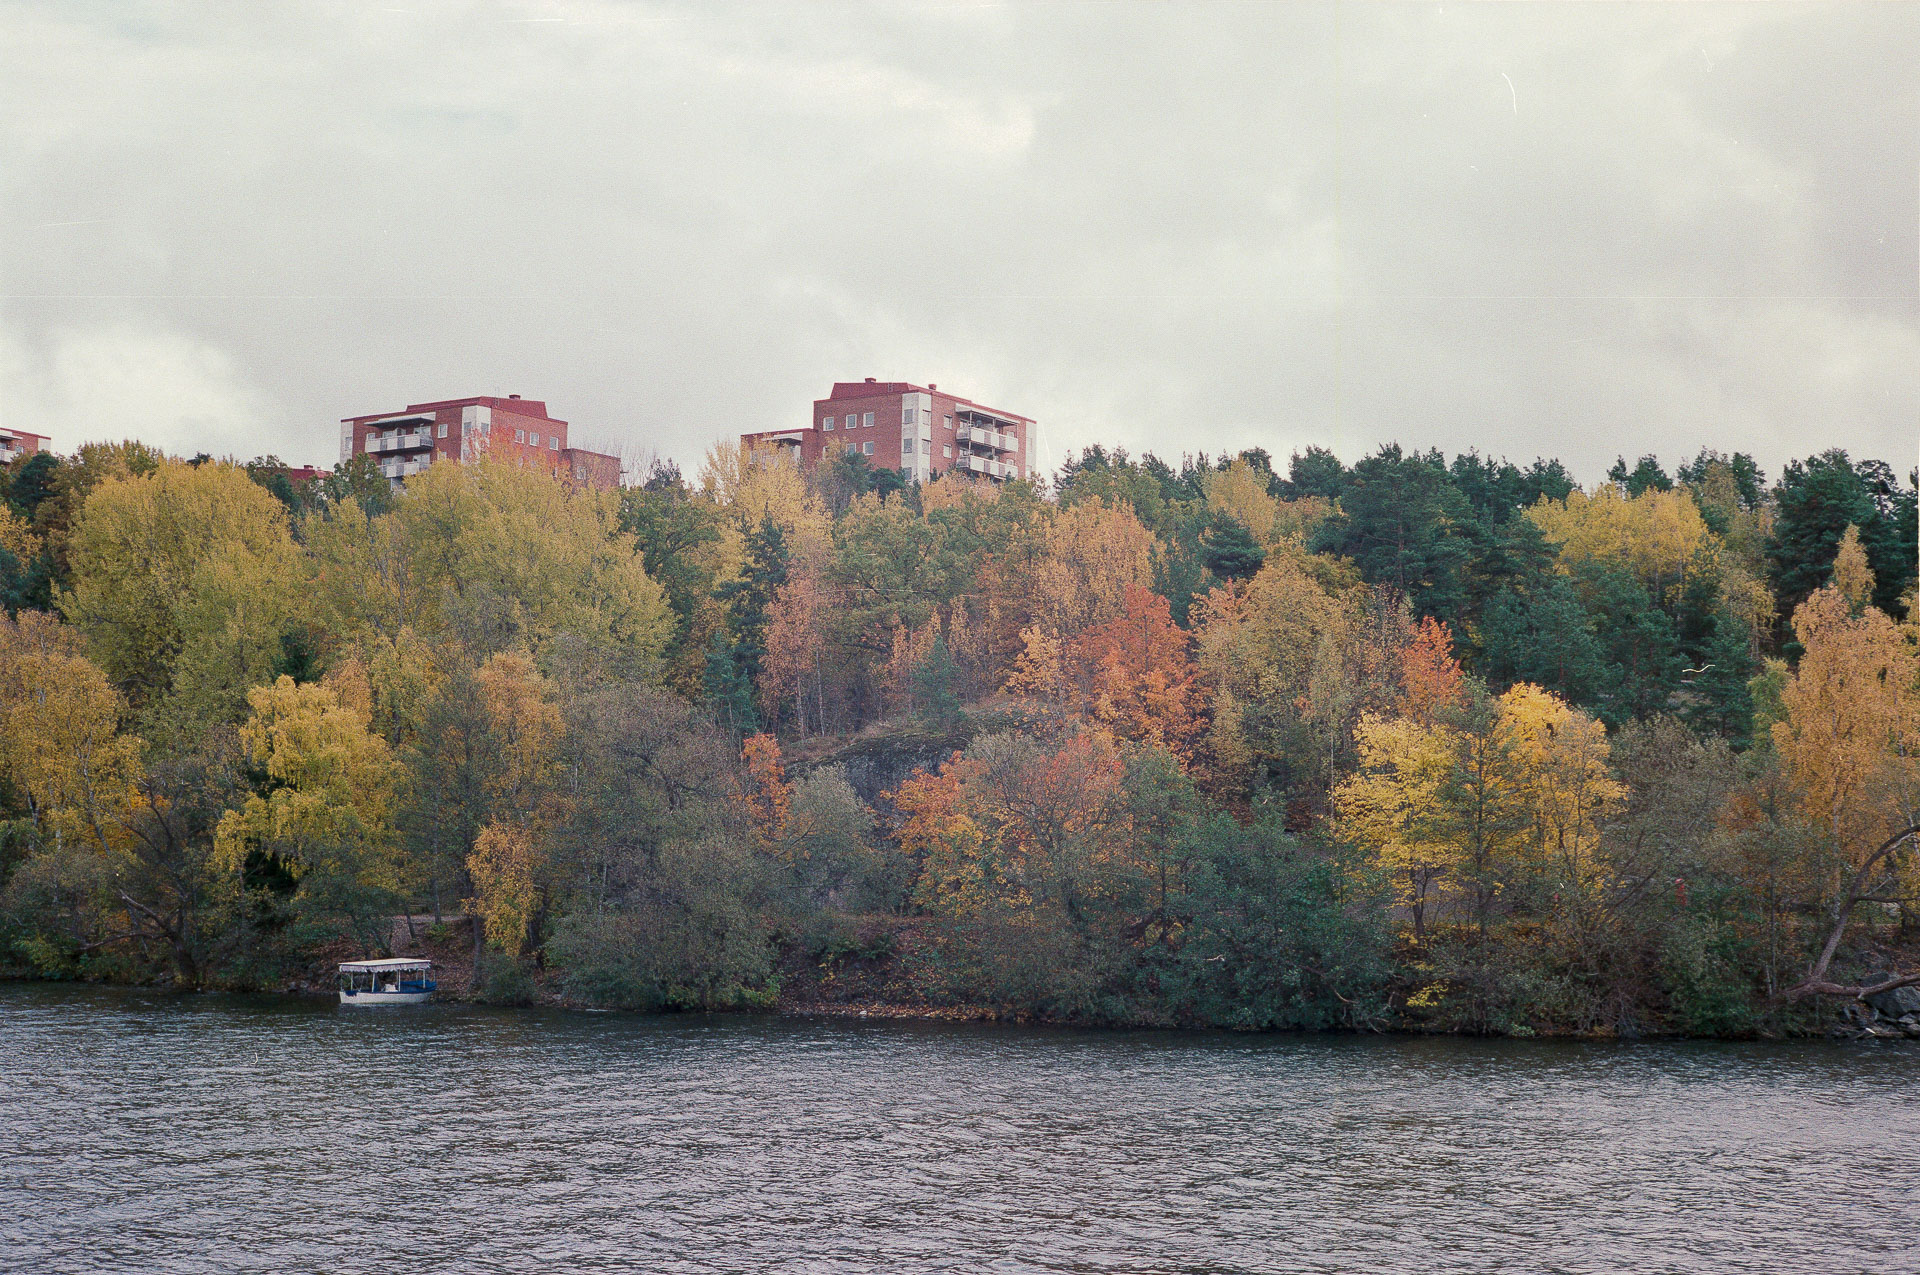
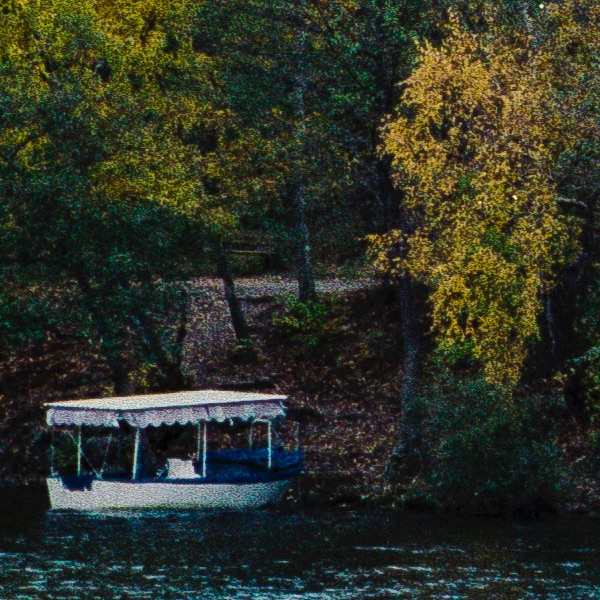
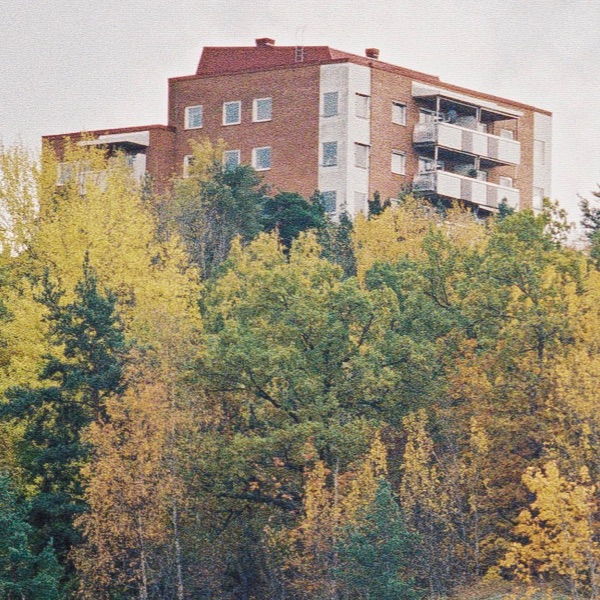
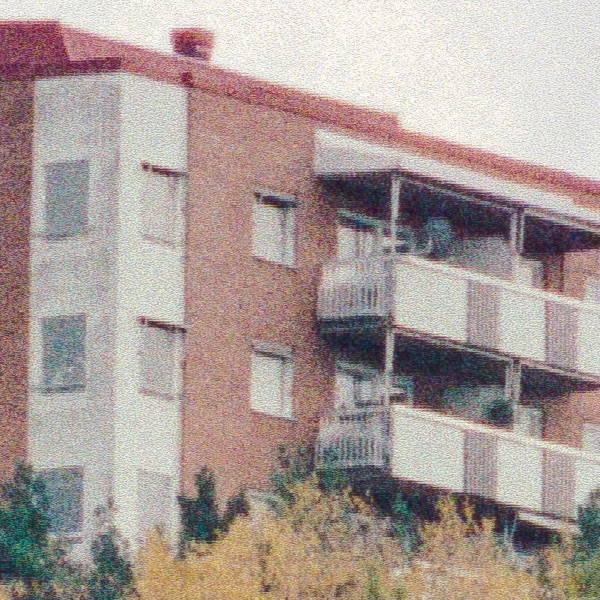
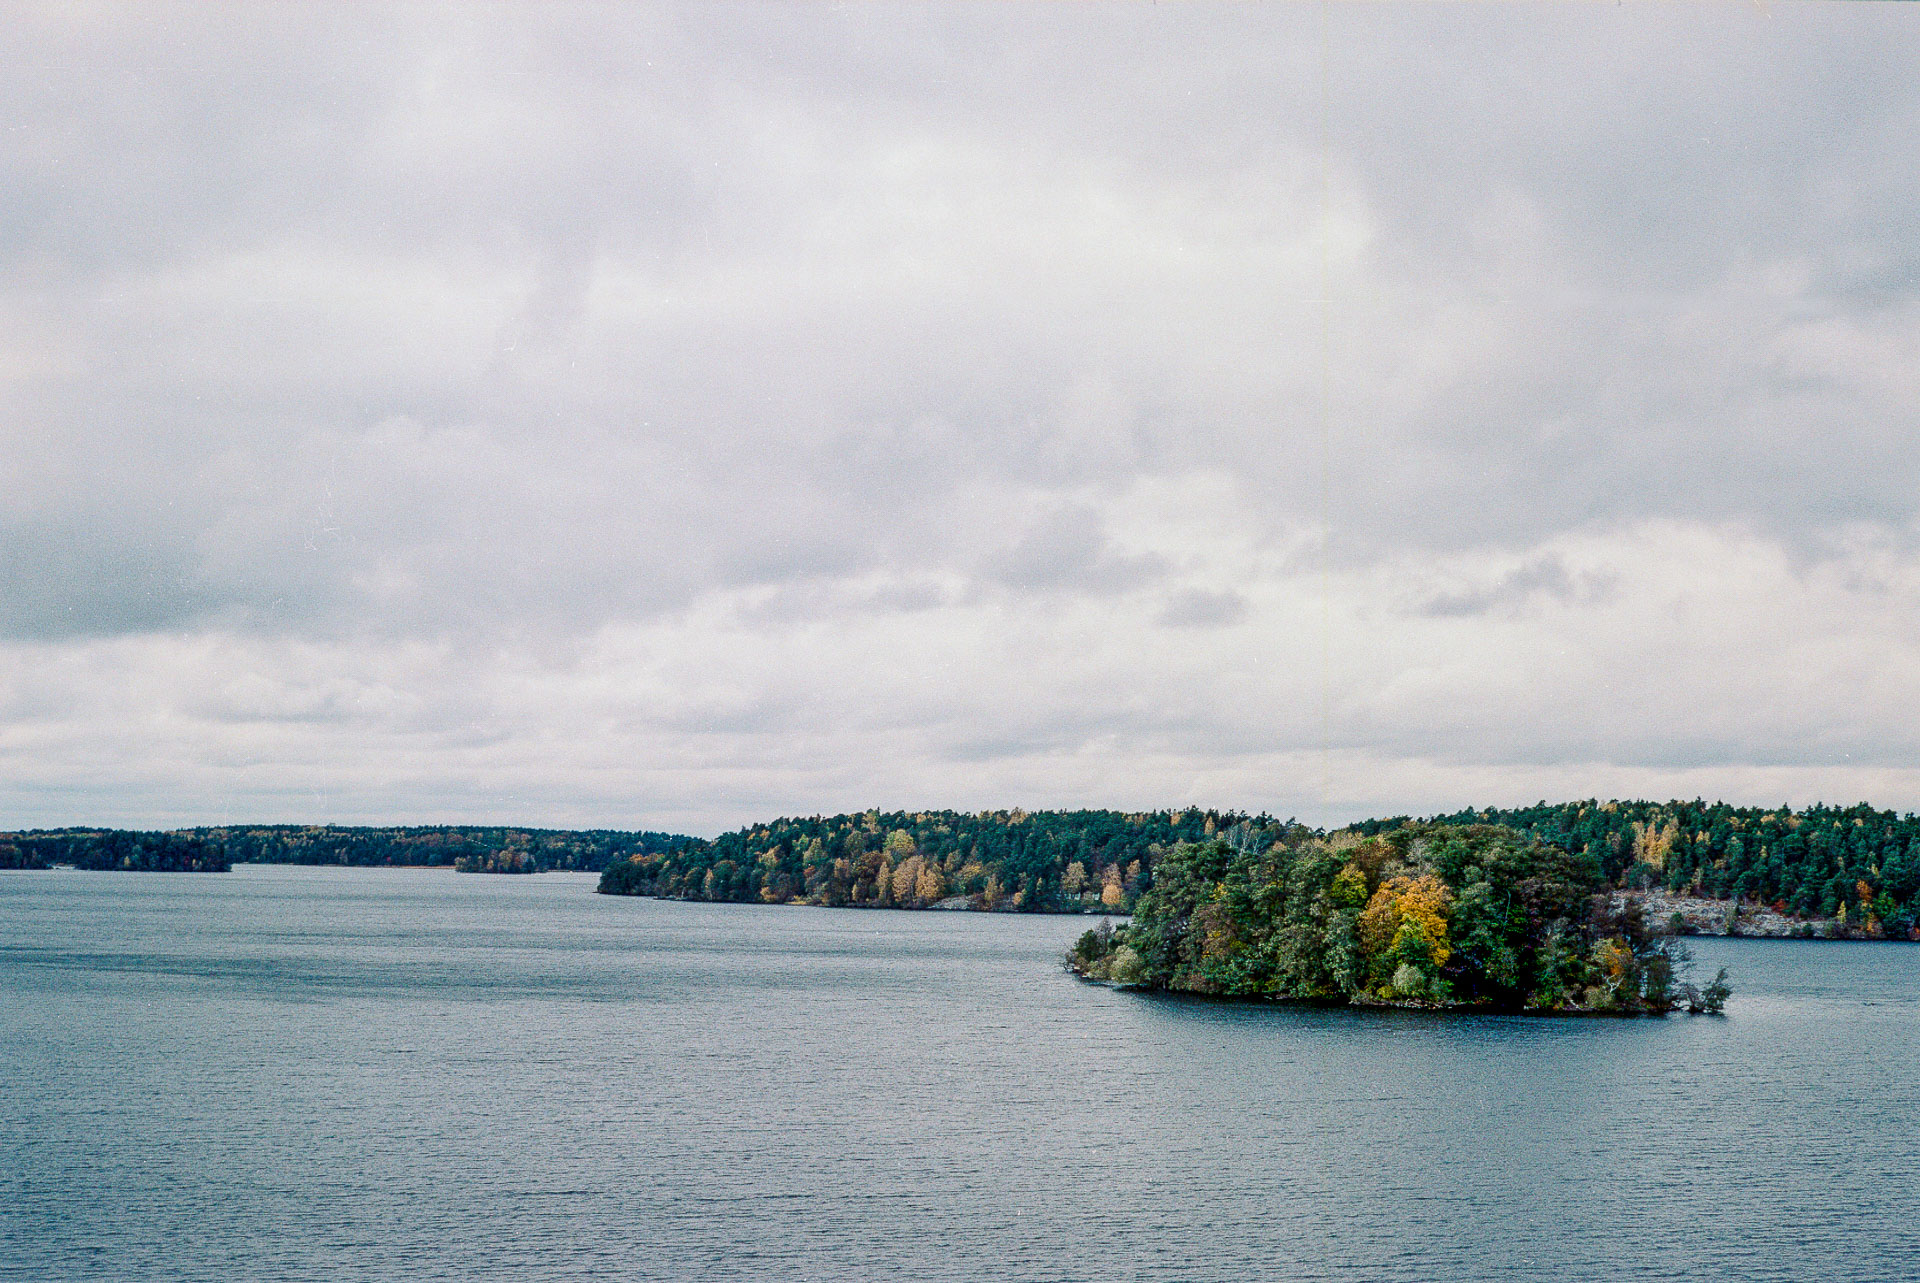
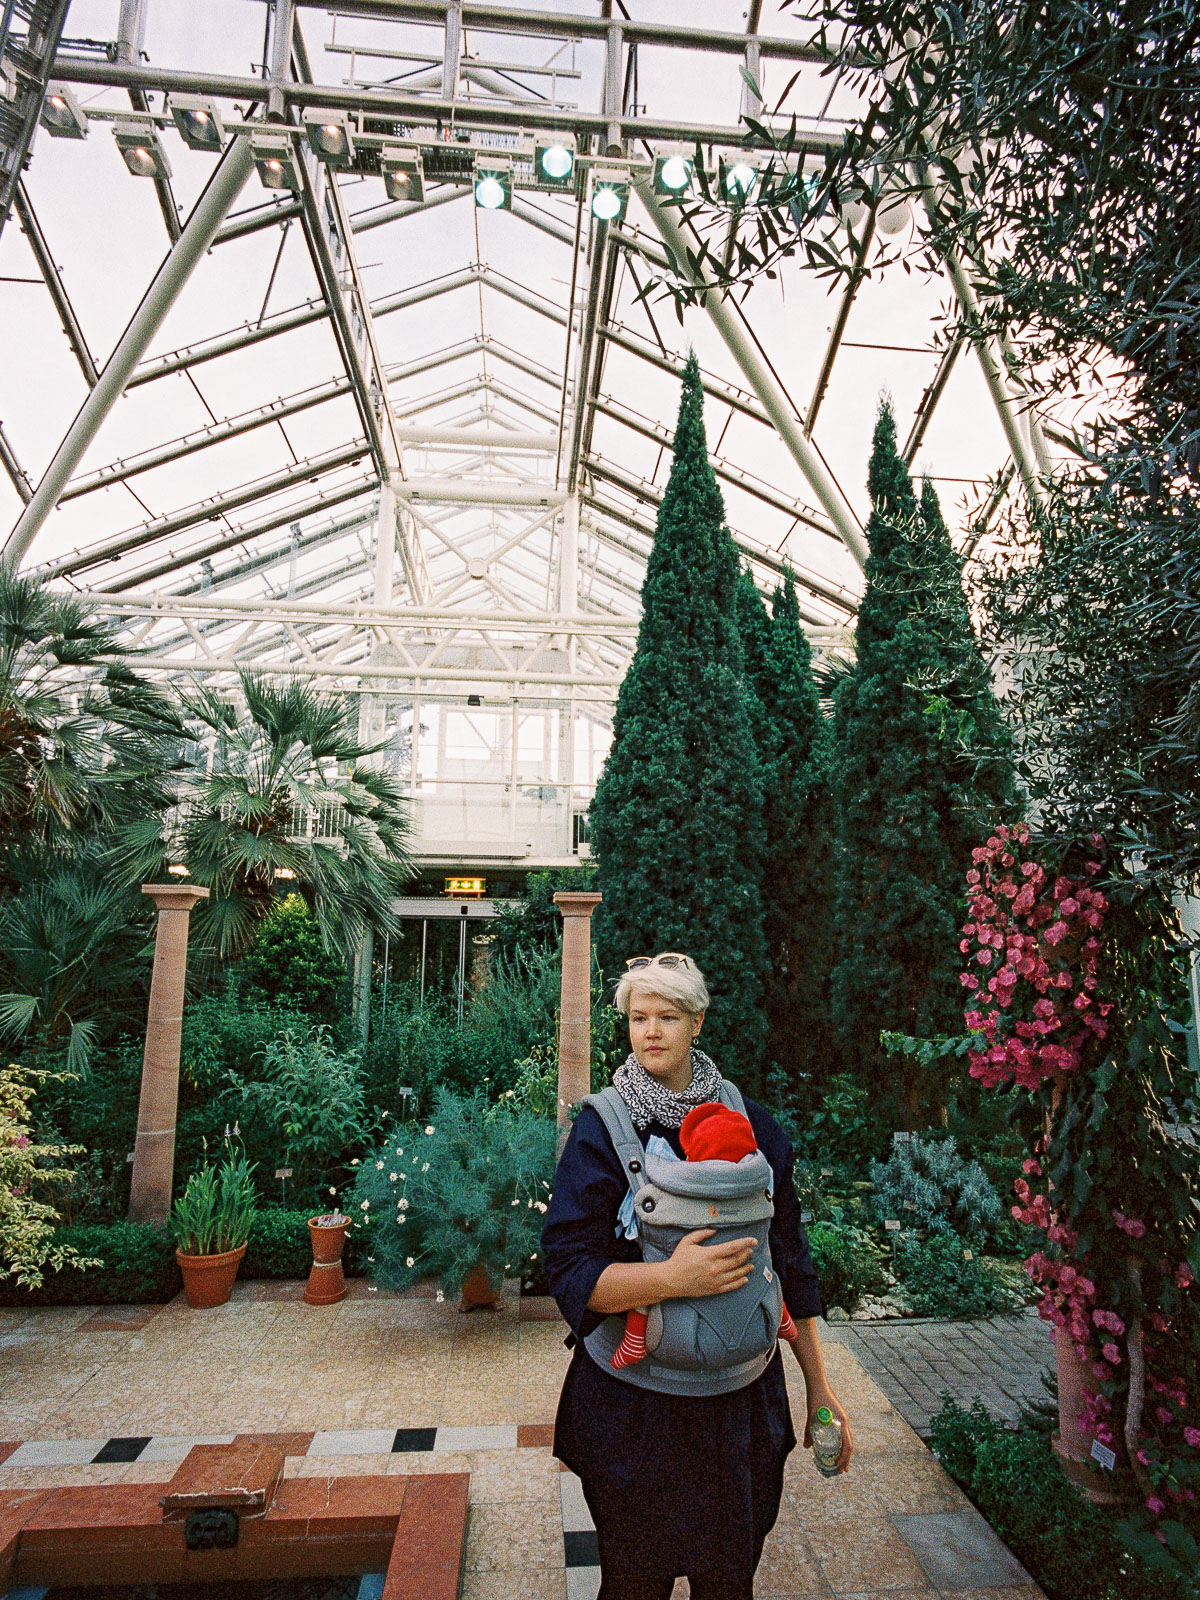
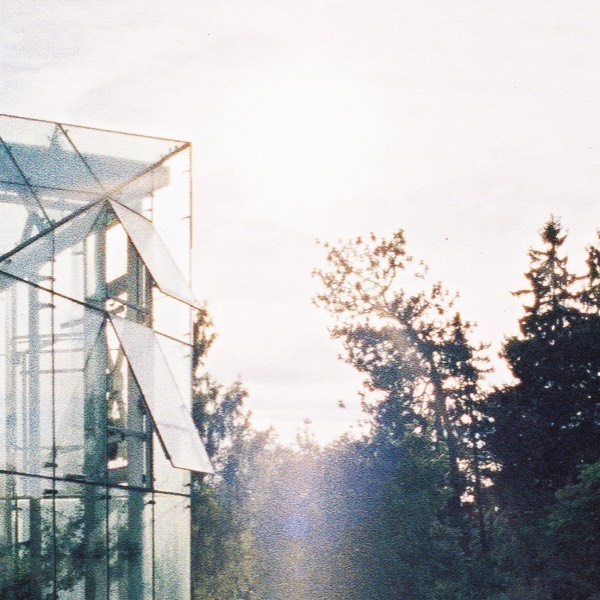
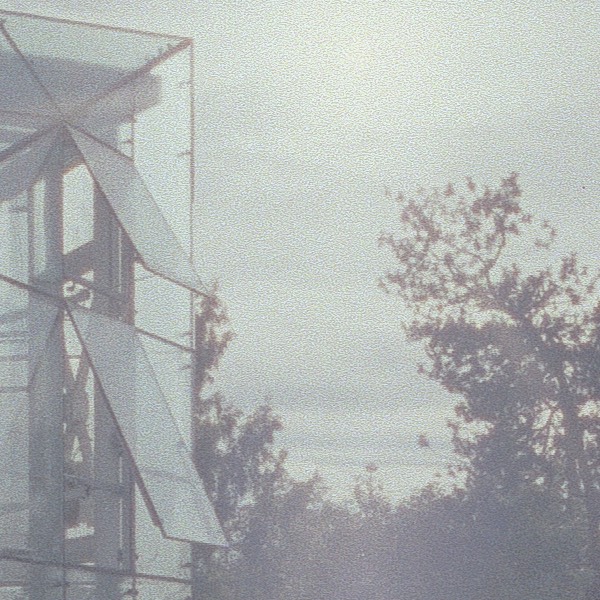
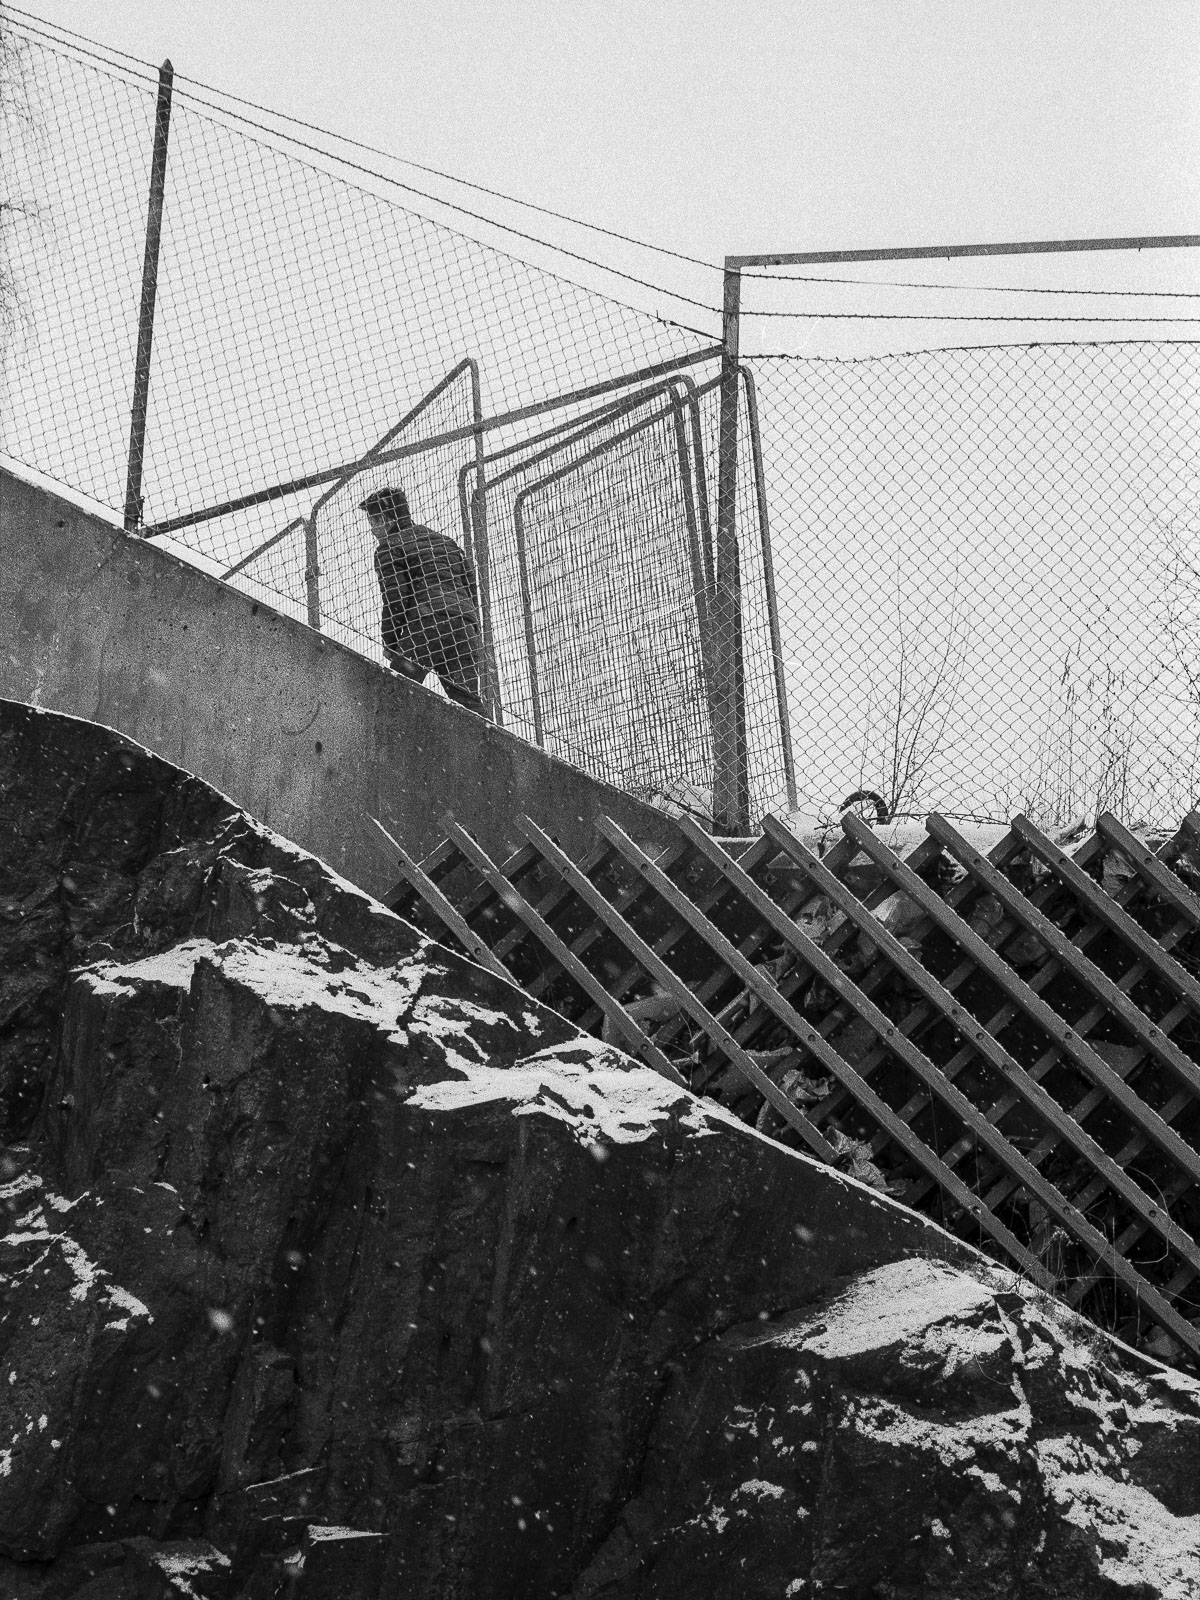
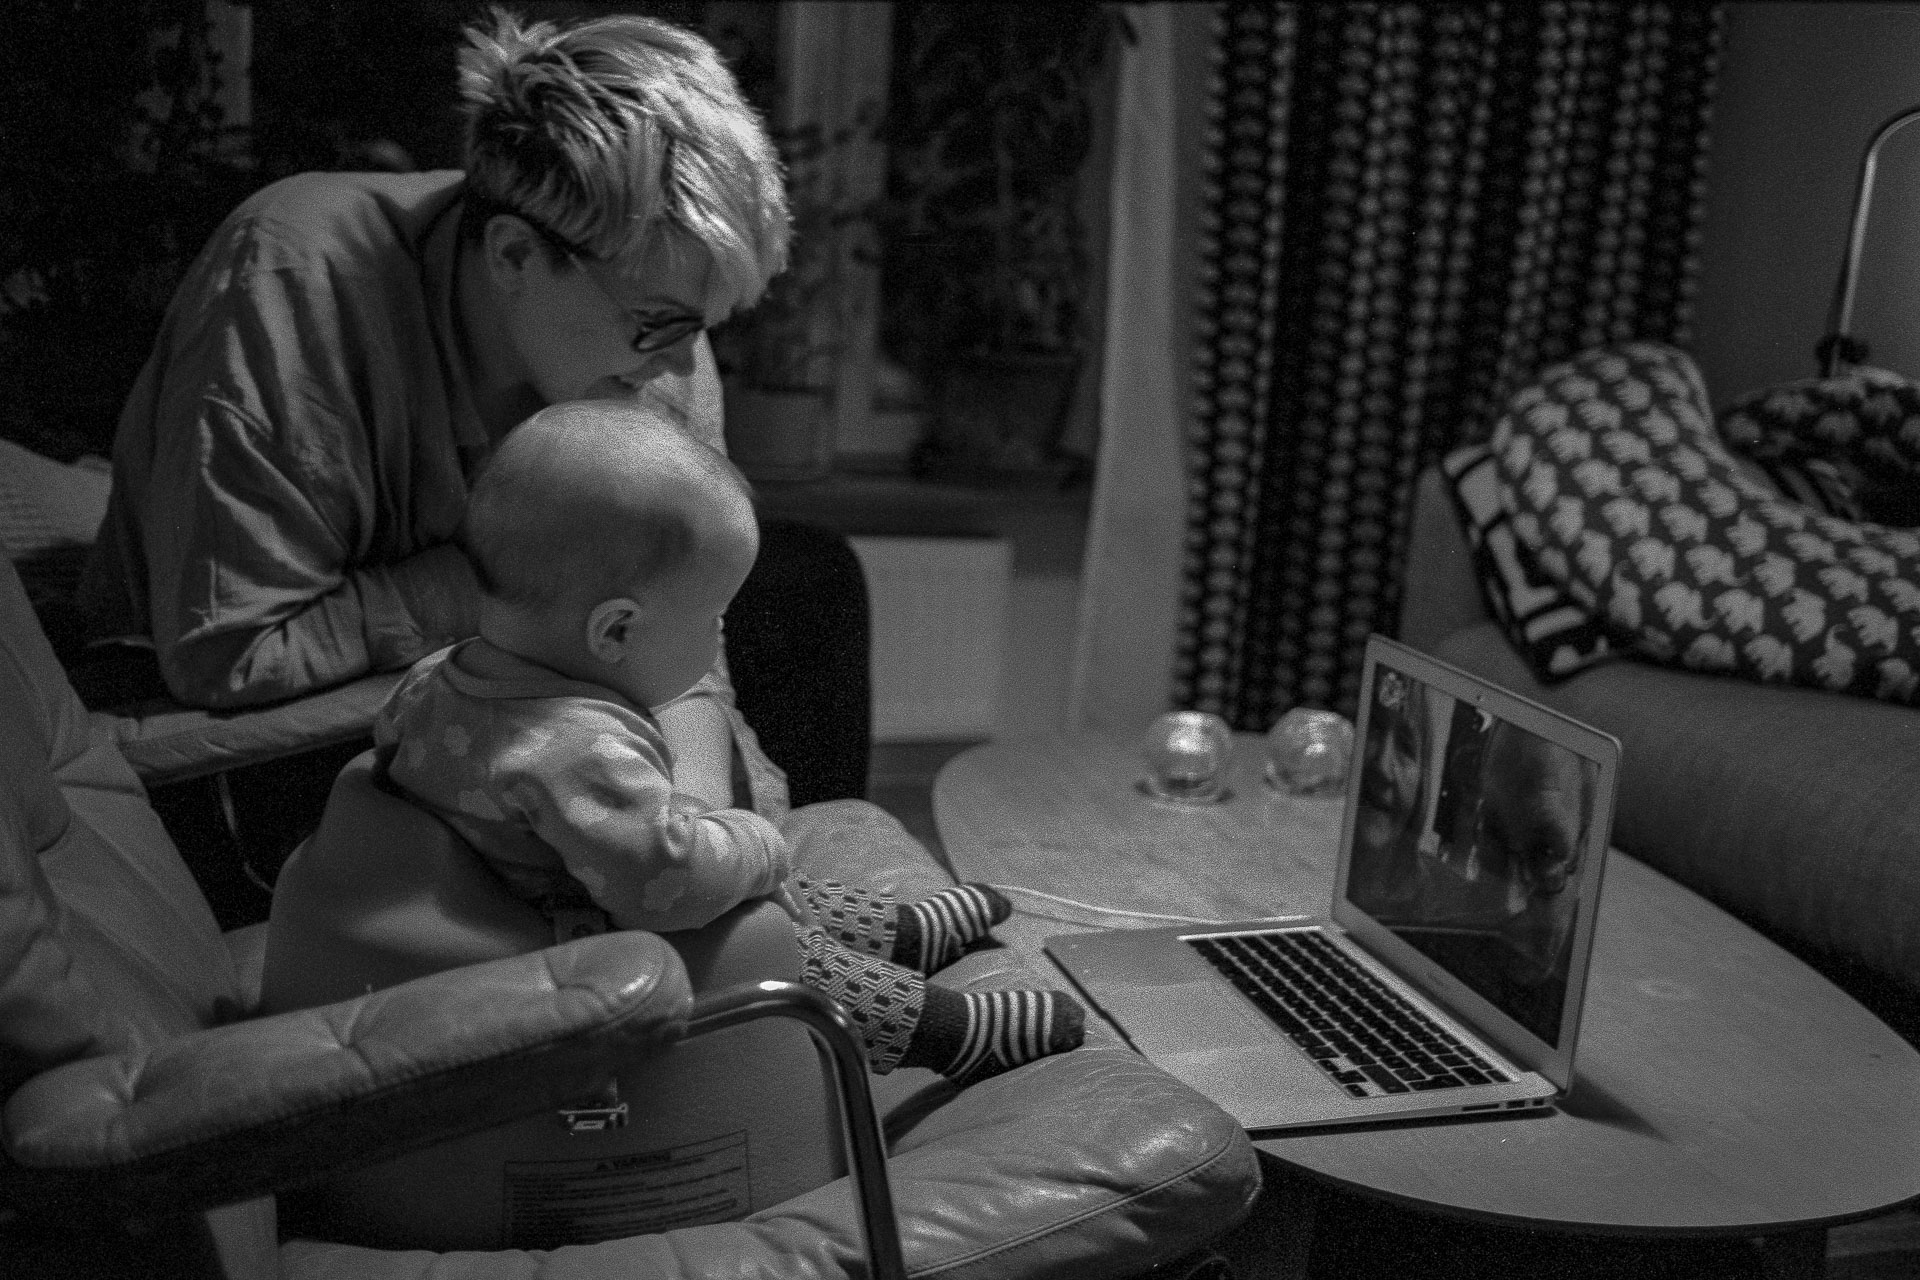
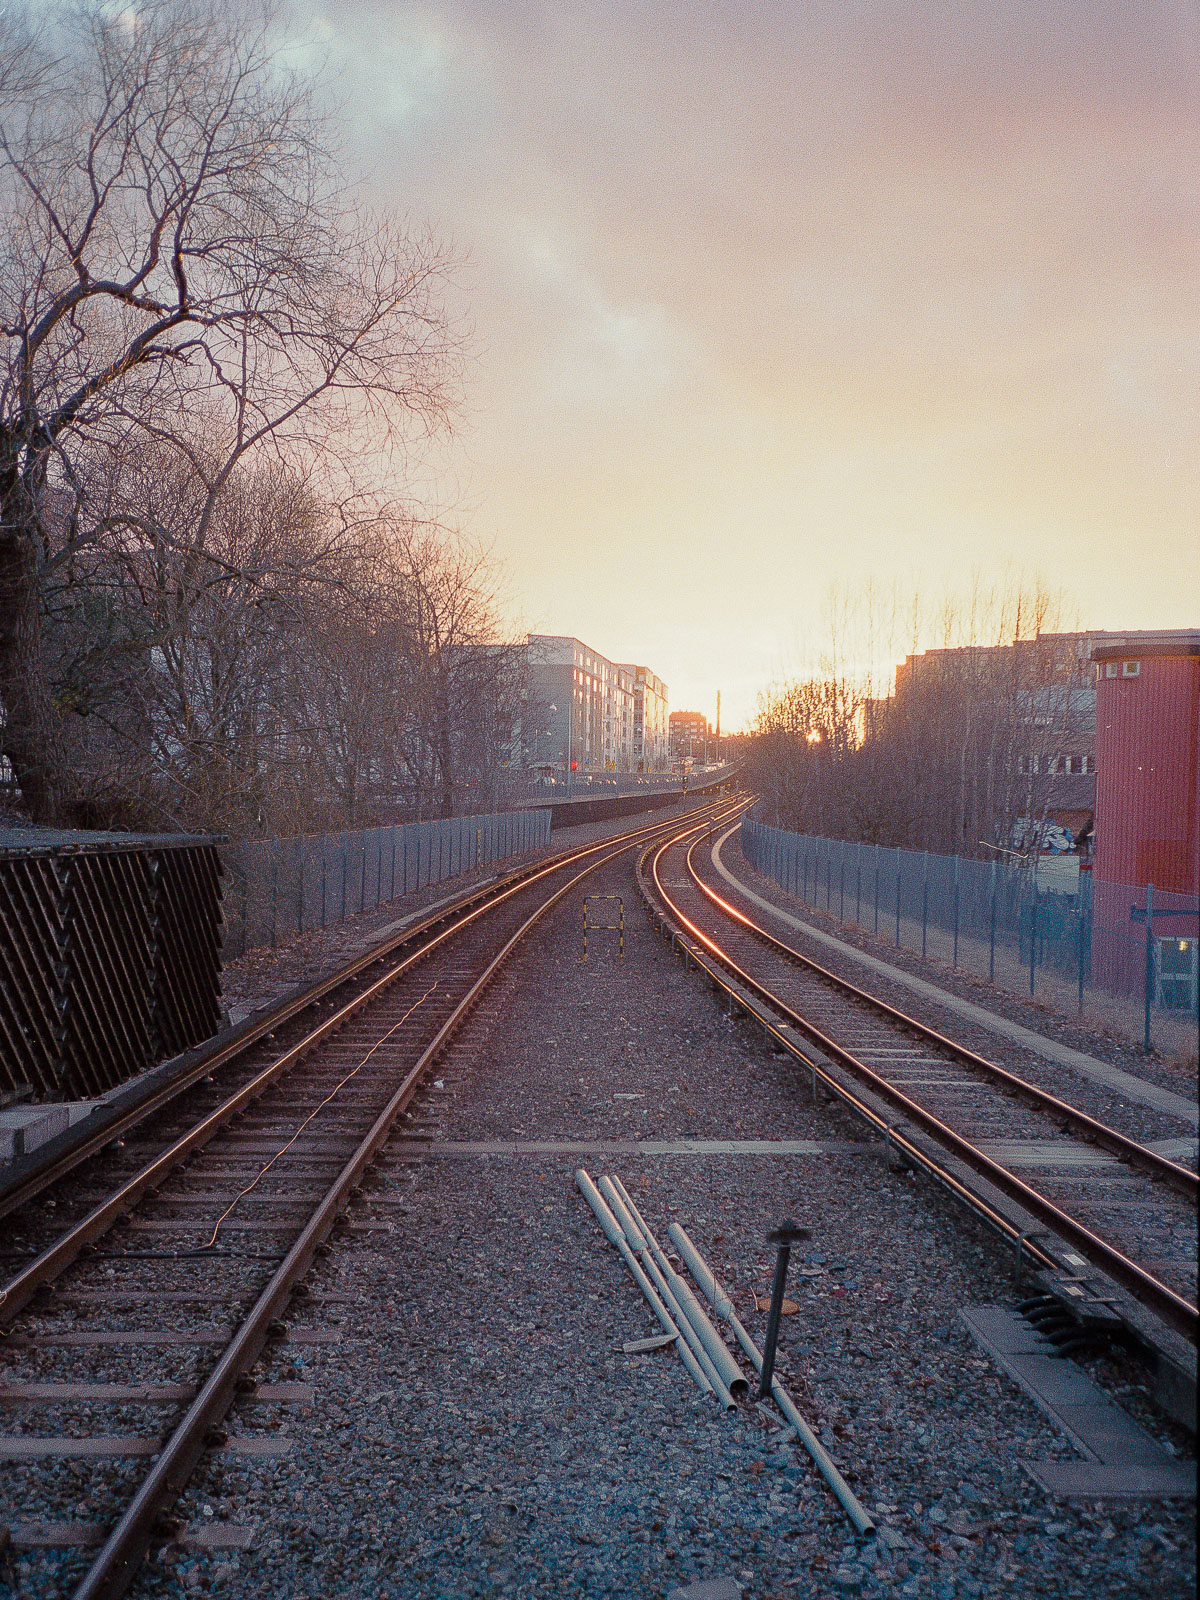
I decided to base my initial tests on this image. It’s shot in fairly favorable conditions using the Leica M4-P and the Summicron 50 V at f/5.6 on Fuji Superia 400. It should reveal much of the differences between the scanners as there’s a large degree of fine detail across the frame as well as a wide dynamic range and lots of subtle colour variations.
I was obviously mainly interested in how the look and feel as well as quality would compare to the lab scans. But there were a few additional things I also wanted to evaluate.
I wanted to find out was if it’s worth scanning at the maximum resolution or if a smaller sized, faster scan yields equal resolution in practice*. So I scanned the neg at both 7200dpi and 3600dpi, to compare the level of detail. Since colour corrected output is limited to 8-bits in Silvefast SE I also wanted to see if any artifacts from the slightly low bit depth would be revealed.
* Reviews tend to peg the optical resolution of the 8200i at around 3200dpi. There are also claims that the scanner needs to be set at the maximum resolution to attain that.
I’ve already mentioned that I was pleasantly surprised by Silverfast. While there’s a lot of features a lot of them are quite self explanatory. It’s no wonder of simplicity, but even without reading the manual I was able to figure out most panels and settings. The scans presented here are the first I ever did which to me speaks for the software.
I scanned the same negative twice. Once at 7200ppi – the maximum resolution the scanner is rated for – giving around 60 megapixels of data. And once at 3600ppi – closer to what seems to be the effective optical resolution, resulting in a file that’s about 20MP in size. Both files were scanned at 8-bit with black point and white point set automatically. The Negafix colour correction tool was set to the film i shot – Fuji Superia 400. All other automation I could find was disabled. As was additional features such as sharpening, infrared dust detection and multi exposure.
Frontier scan
Plustek scan
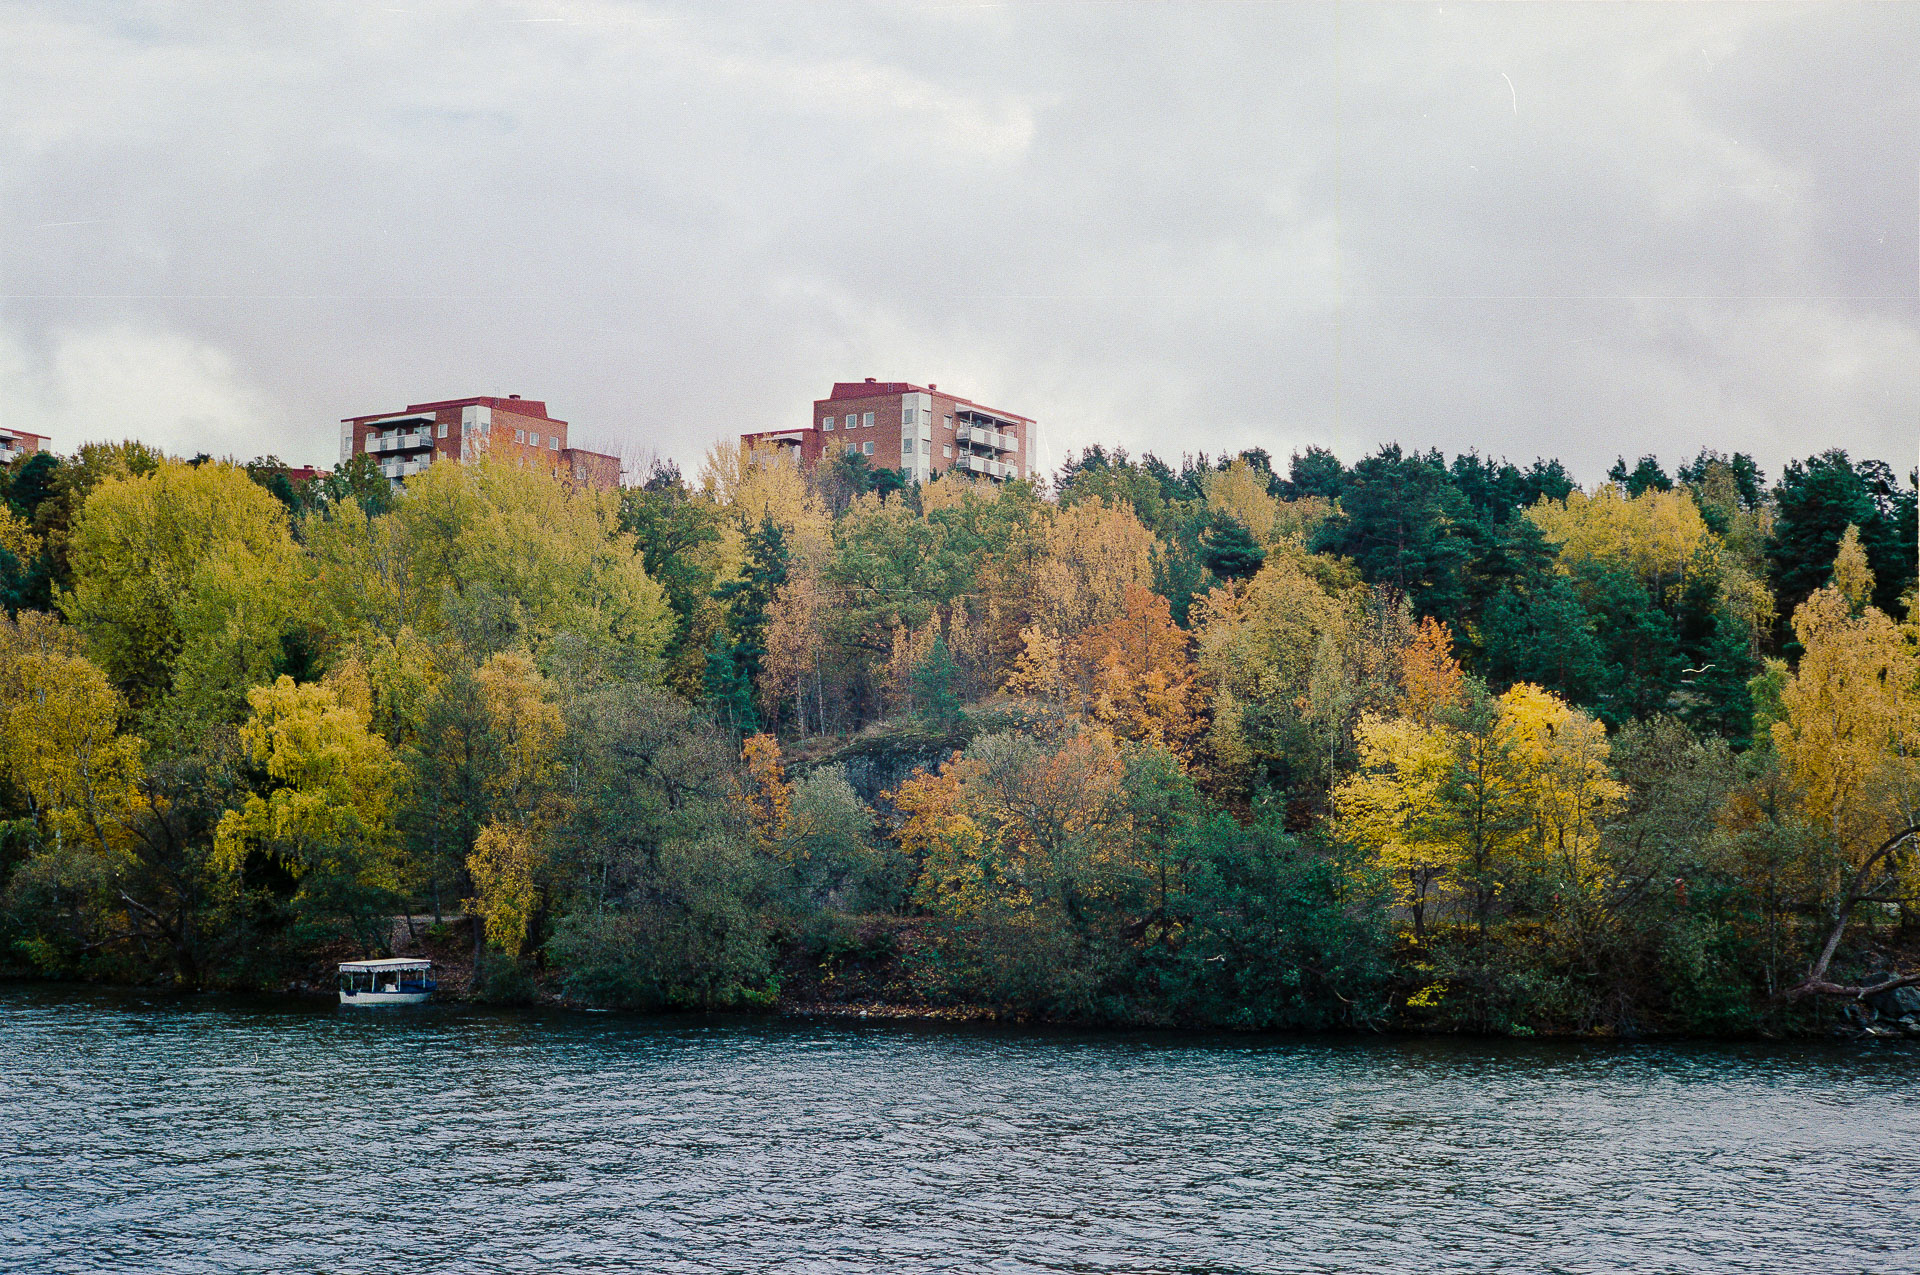
Plustek scan edited
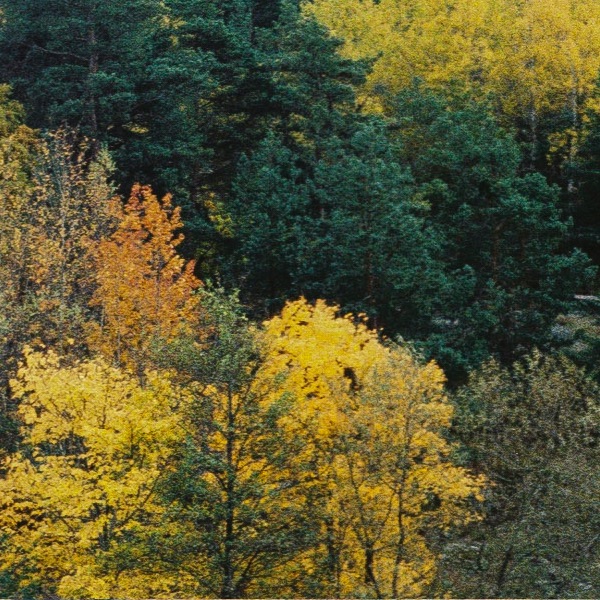
The first set shows the full scene of both scanners (I only included one of the scans from the Plustek, since any resolution differences are invisible at this size). Two versions of the Plustek scan is displayed – one straight out of the scanner, and one that I edited to be visually similar to the Frontier scan. This mostly meant increasing contrast but also some colour adjustments. I could probably get even closer with some additional work, but the point is to verify that it’s possible to get a similar enough look. Click to enlarge any scan.
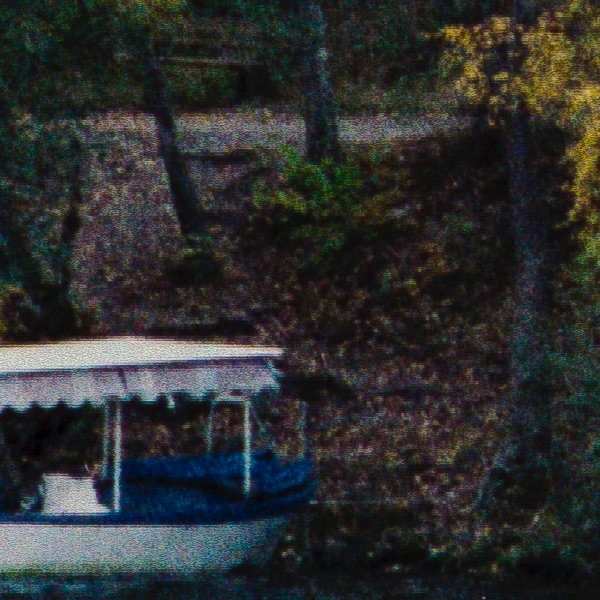
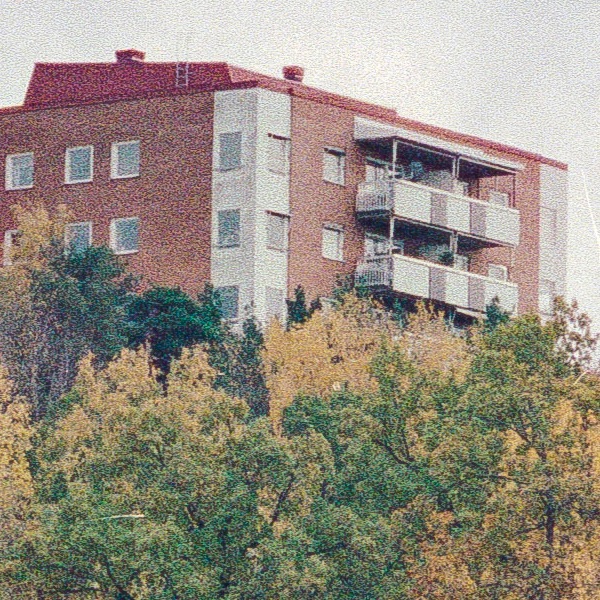
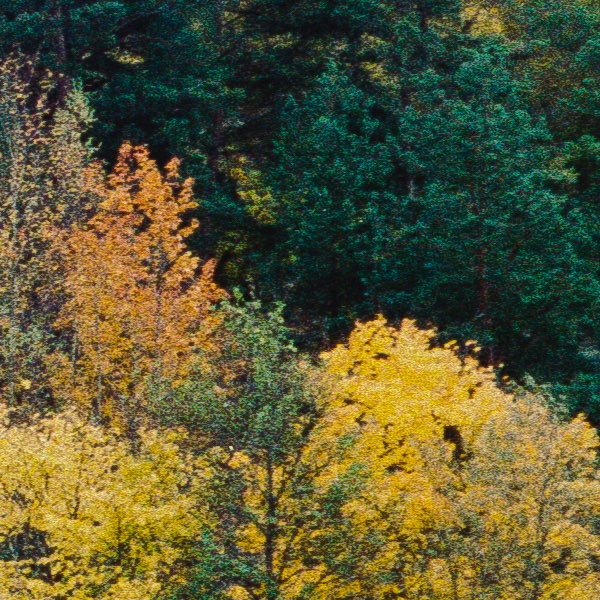
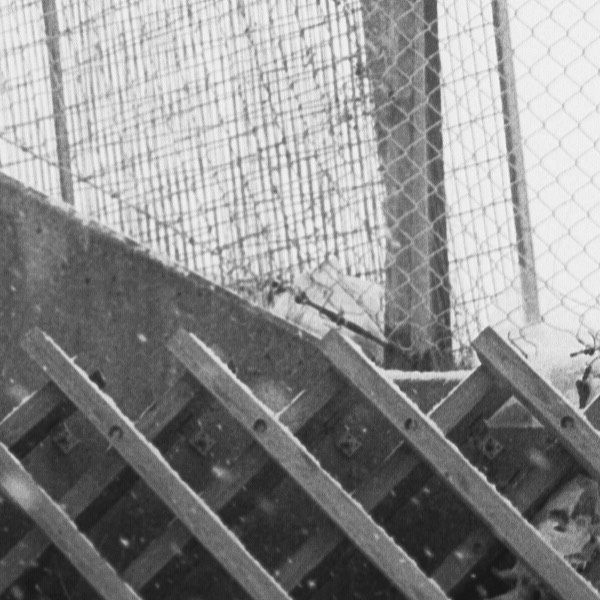
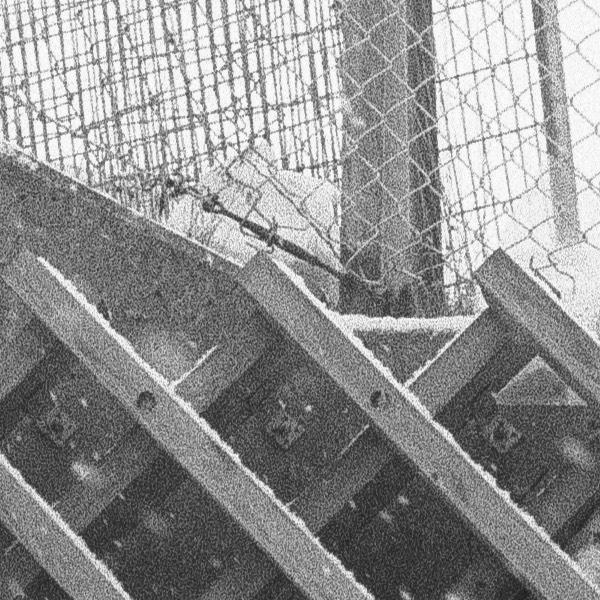
Moving on I've made crops from three different areas of the above image from each scan.
Due to the site layout the crops are not displayed at 1:1 scale on smaller screens. Click any crop to open in in a separate window at its true size.
| Frontier | Plustek at 3600 dpi (20 MP) | Plustek at 7200 dpi (60 MP) |
 |
 |
 |
 |
 |
 |
 |
 |
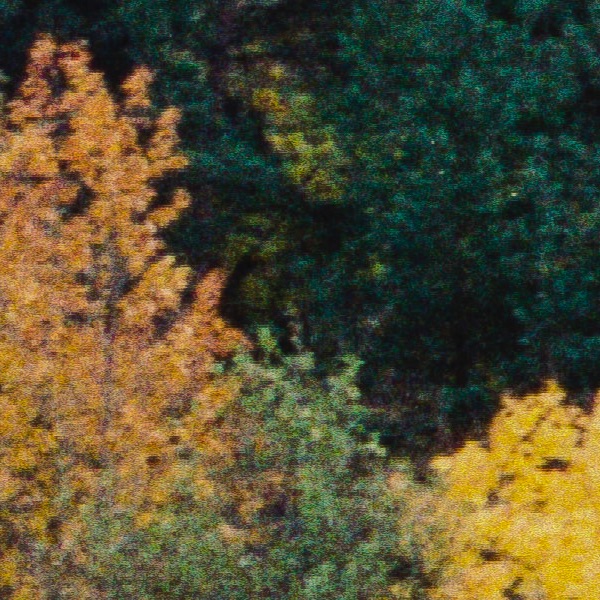 |
Looking at these 1:1 crops the resolution difference between the scans become evident. The crop from the 8MP Frontier scan contains a lot more of the image in the same amount of pixels, compared to both scans from the Plustek. The 60MP scan is absolutely huge.
As far as detail goes the difference is smaller than the pixel dimensions would suggest. The Frontier scan holds up pretty well with good detail almost at pixel level. Closer scrutiny gives Plustek a minor but visible edge. Small and subtle details are visible in the 20MP scan that's not present in the crop from the Frontier. Looking at the crops it's clear that there's little advantage going for the 60MP scan, at least with high speed film such as the Superia. Some very minor differences in detail can be found, but also additional artifacts making the 20MP scan look a bit more natural and relaxed.
As I've processed the scans to bring them visually closer it's not meaningful to compare the tonality differences of these crops. Pushing and pulling the files gives a slight edge to the Plustek, with a some additional detail revealed in both highlights and shadows.
Another minor advantage of the Plustek is that scans generally include slightly more of the negative. See for instance the house on the left edge of the full frame above.
Overall I’m quite happy with the results of these first tests. There’s a visible gain in the amount of detail resolved in the Plustek scans and the larger amount of dynamic range means more flexible, less harsh files. The Frontier has an edge when it comes to colour straight out of the scanner, but so far the Plustek scans have been easy enough to adjust to something equally appealing.
Surely more scanning will reveal additional nuances, but for now I feel quite happy with the output.
As I've done more scanning* I've given some thought on how to make this article even more informative. I've learned a few tricks on how to get a bit more out of the scanner and also done a few additional rescans of negatives I've already had scanned by my lab. So as a simple but hopefully useful addition I've decided to include this section with more or less uncommented crop comparisons.
* I'm adding this at a later date than the sections below.
Each full image is processed to taste, but I decided to show the crops unprocessed – straight from the scanner. This means that there's a bit of a visual discrepancy between the crops, but there's also more information on tonality to make comparisons more informative. Keep in mind that it's easier to add contrast and saturation than to remove it.
My findings in short – the Plustek has a slight edge in detail and tonality. I can get the Plustek scans to look like the Frontier ones, but not the other way around. For images I really like there's also the added option of scanning at 16-bit and 7200dpi, giving an additional boost in quality. Colour looks nicer straight from the Frontier. The Plustek can get there too, but takes a bit of work. I haven't found a simple workflow to get consistent and appealing colour yet.

Frontier, Plustek
Frontier, Plustek
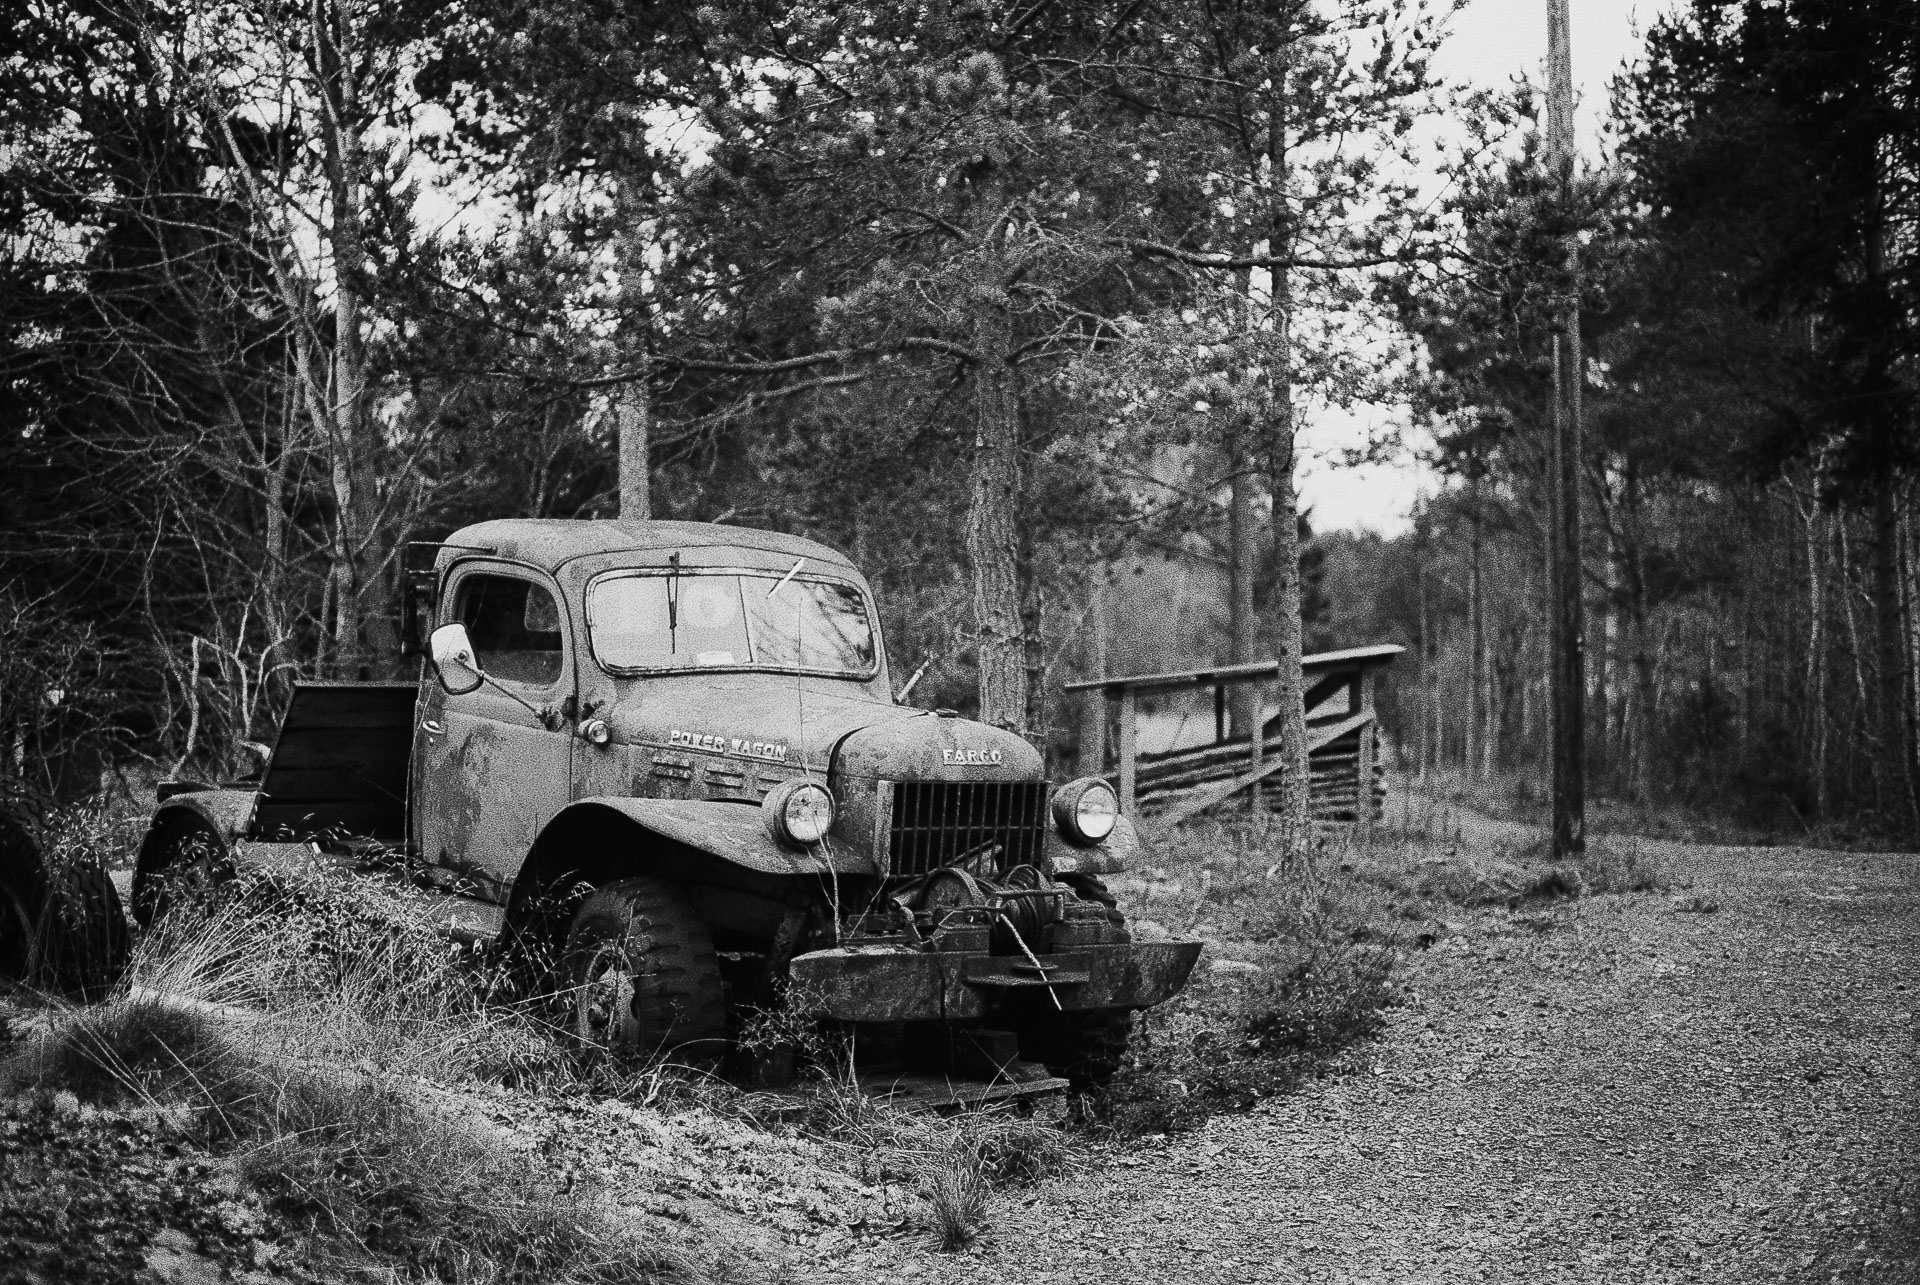
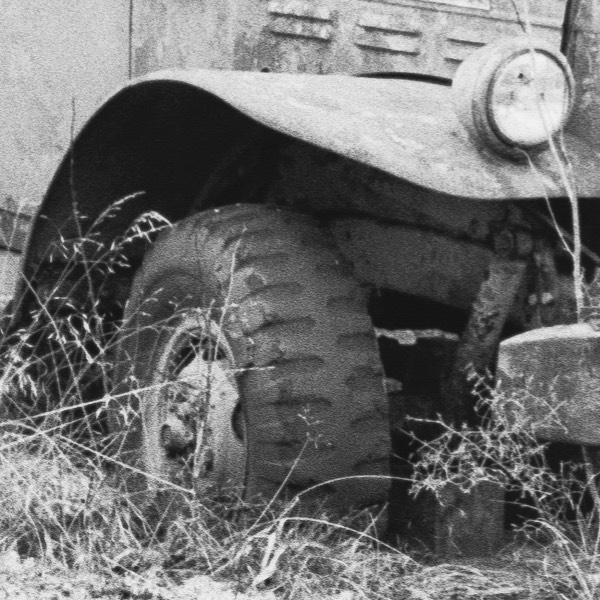
Frontier, Plustek
Frontier, Plustek
I’ve received and scanned the first roll since getting the scanner. I decided to scan every frame to give the scanner a good workout, as well as to find out how long it would actually take.
It’s a roll of Ilford Delta 400, and the first full roll of my 366 project. It’s mostly taken at or around home, often in poor light. Mostly exposure was good, but a few frames turned out a bit thin.
Scanning went mostly fine. I ran in to an odd software issue, probably a pure bug, where the scan sometimes would be really slow and the output full of artifacts. Restarting the software redeemed the issue. It probably reappeared six or seven times through the roll, so I’m anxious to find a fix. I’ll try updating the software before scanning my next roll and see if that helps.
Scan with bug resulting in visible artifacts. Subsequent scan after restart of Silverfast.
As for quality I’m pretty happy. A few of the frames were tricky to get right and had slightly crushed blacks or blown whites. After some research it might be down to the Negafix profile, overcompensating for the low contrast of Delta 400. For B&W it seems like it might be better to use a generic one. I’ll try next time. I chose to scan a few of the troublesome frames at 16bit instead, and doing the inversion manually, which also worked fine and gave better results.
Despite these hitches I scanned the entire roll in just under two hours. A bit long, but I hope to shave a bit of time off when I get a good workflow going.
Overall I’m really quite satisfied with how home scanning is working out. I enjoy both the increased control and quality of the results as well as the actual process itself. The reduced cost per image means I can shoot more without money being a huge issue. So thanks to home scanning I’m finally finding a good flow with shooting film. I’m learning faster and getting results that I’m more satisfied with. I’ll update this article as I shoot more, follow me on Twitter for updates.
A dozen rolls is a breakpoint of sorts, for my use of the 8200i. By then it will have fully paid for itself, compared to what I was paying for the lab to scan my images. Now that I’ve passed the halfway point* it might be interesting to share some observations and tips.
* As I'm writing this I have actually scanned eight rolls with a ninth waiting at the lab, so I'm actually even further along by now.
Every roll so far has been black & white. Mostly Ilford HP5, which I had planned to use as my B&W film of choice after very encouraging first results. But as it’s often been out of stock I’ve also been shooting a bit of Ilford Delta 400 and Kodak Tri-X.
I’ve considered most of my shooting over these rolls as part of my 366 project.
Scanning a full 36 exposure roll generally takes me around two hours. It might sound like a lot but as I make pretty much all the post processing of a frame while the scanner is working on the next one it means I’m pretty much done with the full roll after those two hours. I don’t feel I spend significantly more time than I used to when shooting digitally or with lab scans. I also get a little faster with each roll – knowing what settings to tweak to get a specific result.
I view the scan as a piece of raw material with any editing being done in Lightroom. So I aim for a very neutral output from Silverfast. I have contrast set to the lowest setting and leave sharpening and other processing options off or at their lowest settings.
I scan everything as 8-bit RGB TIFF-files at 3200dpi. RGB output gives three times more information compared to scanning in monochrome. The automated black- and white-point detection also works a bit better leading to less clipping. There’s a very slight quality increase scanning at 16-bit, but the more convoluted work flow and far larger files isn’t worth it for most of my uses. If there’s a frame I really love and want to print big I’ll opt for the higher quality.
Using a generic Negafix profile for the inversion of B&W film gives better results than film specific ones. The film specific ones seems to overdo contrast adjustments leading to overly harsh results.
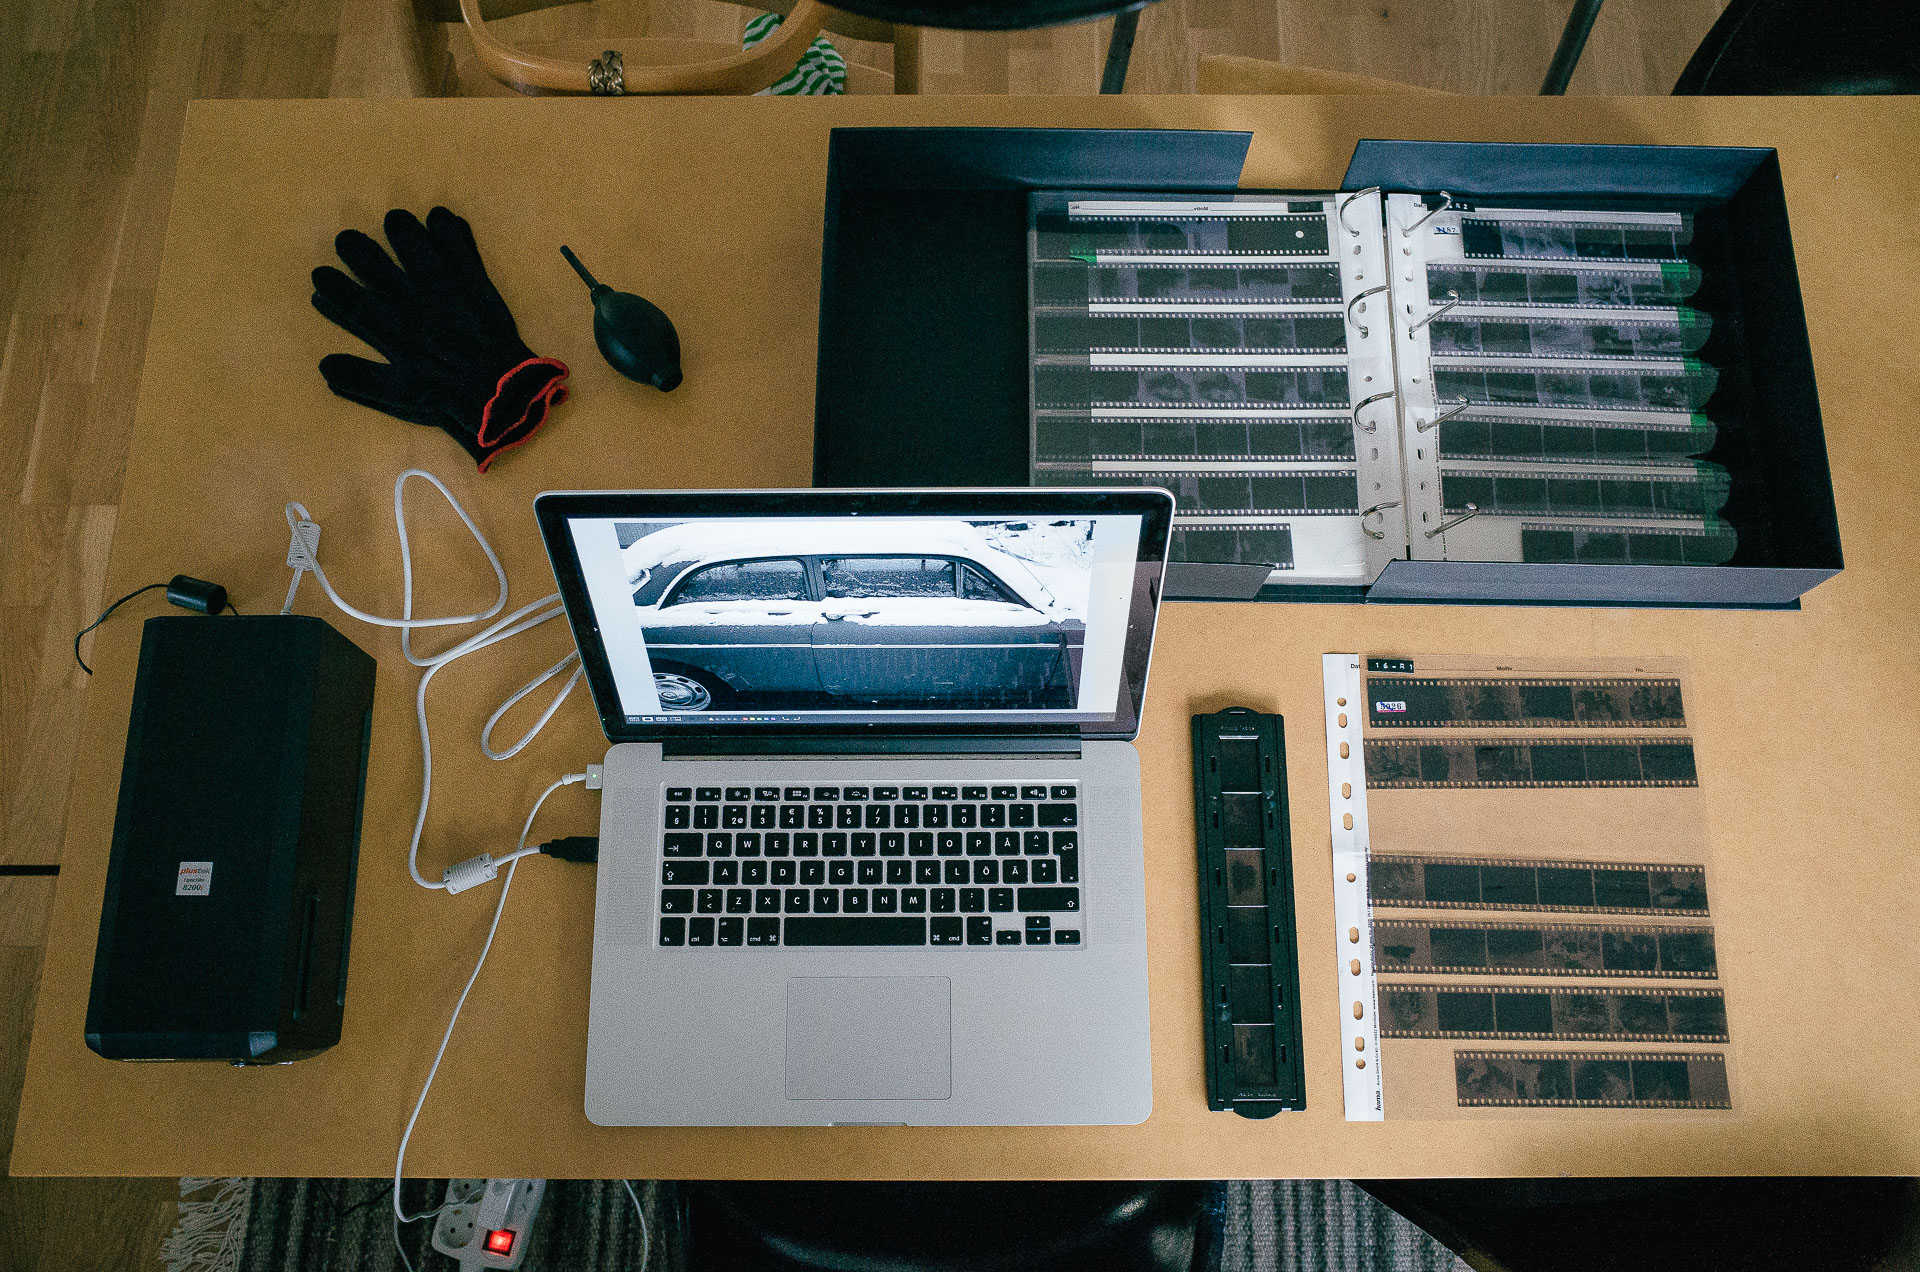
I give each negative strip a few blasts with a simple bulb air blower before and after mounting them in the film holder. This cuts down on the dust to a level where I don’t generally feel it’s an issue. I’ve also begun wearing cotton gloves while handling the negatives. It feels a bit silly but makes it a lot easier getting the negatives in and out of the holder and sleeves a great deal.
There’s a slight difference in scanning the different film stocks. I’ve not shot enough to say anything final but my gut feel is that Ilford Delta looks very exacting and accurate. It has the highest resolution and gives impressive, if slightly cool output. Ilford HP5 and Kodak Tri-X feel very similar – a bit more organic and present at the expense of more grain and less resolution. Tri-X seems to scan a bit easier with HP5 needing a bit more work but with slightly better tonal separation.
Updating Silverfast and the driver for the scanner to the latest version took care of the artefact bug mentioned previously.
I still feel very happy with the output of this little scanner. The scans look great on screen and the prints I’ve made have all looked fantastic. I’ve gotten into the workflow and feel confident I can get consistently good results from B&W film, even with tricky negs. I will probably do a bit more shooting in colour before the dozen rolls are up, which is a whole different game as far as workflow goes. It’ll be interesting what will need reevaluation. I’ll update this article with further findings as they come in.
After half a year with shooting B&W almost exclusively I’ve returned to shooting colour. It’s such a big part of how I see and what I find beautiful that I couldn’t keep myself away for longer.
As I write this I’ve shot and scanned four rolls of colour. Two Kodak Portra 400 and two Fuji Superia 400. Two film stocks I’ve used frequently in the past and that I know are capable of excellent results with colour to my liking.
Results from my scanning have been good overall, if slightly hit and miss. Resolution and overall quality has remained unreservedly high, but getting consistent colour has proven challenging.
As far as workflow goes there are both similarities and differences to scanning B&W film. Scanning with the least amount of contrast and sharpening possible has still been an effective approach.
Colour reproduction requires refinements and adjustments of the workflow. While achieving reasonably appealing colour is easy, getting consistent and neutral output across the entire spectrum of shades and colours is harder. Minor nuances are pronounced and even minor casts are surprisingly visible. While most frames look good with only minor tweaks of the scanned files other need significant adjustments and even then don’t always look quite right. Getting them to look similar side by side is even more challenging.

I’ve not yet settled on a singular workflow and still feel a need to experiment. My experiences so far suggest that colour scanning might benefit from a bit more adjustment in the scanning software than the very raw output I’ve been opting for with B&W. A few of the variables that I’m experimenting with as I go are:
Negafix or generic inversion
Unlike with B&W film, where a generic inversion process yields consistently high quality the inversion settings have a far larger impact. I’ve tried scanning with both a generic inversion setting and with film specific profiles and both routes have given me mostly good but occasionally off results. I need to experiment a bit more, specifically in combination with the variables below.
Colour Cast Reduction
Silverfast has a number of ways to adjust colour, one tool is anonymously referred to as CCR – standing for Colour Cast Reduction. Perplexingly it’s available at two different locations in the software and yielding different results. It aims to balance the colour a bit. The checkbox located in the Negafix profiling section seems to give the better results and keeping it active might result in a better starting point than forgoing it.
Neutral point pipette
The neutral point pipette also seems to be an interesting tool to use in conjunction with the features above. Comparable to the white point pipette in for instance Lightroom it balances colour channels to neutralize colour casts at a specific point. Not all frames have something completely neutral though. And casts in shadows or highlights can remain or even become exaggerated, so it seems it's not always appropriate to use.
Post processing
I’ve also noticed that the colour film scans have needed some slightly different approaches to adjusting colour than I’m used to from digital. Since the input isn’t always neutral across the range I find myself adjusting the curves per channel a lot more often than with digital files.
Generic inversion profile
Negafix inversion profile
An example on colour rendition differences depending on inversion settings with a particularly challenging frame. To my eye this is an example of a situation where the generic profile looks like a better starting point than the profiled version which has a visible magenta cast.
Below is the adjusted frame based on the generic scan.
My overall conclusion so far is that I need to keep experimenting. I also feel that trusting my eye is the best approach so far. Doing minor adjustments for each frame at the point of scanning rather than expect a specific setting to work for each and every frame. It’s a learning experience though and with time I hope to zero in on something as straight forward as possible.
Generic inversion profile

Negafix inversion profile
As for colour film I feel like coming back to it has been like passing a waypoint. I’m back in familiar territory but in an unfamiliar manner. I’ve made some of my favourite photos so far this year across these four rolls of colour. It’s definitely the way forward for the coming months.
I’ve now had the Plustek for well over a year and it’s been almost as long since updating this article.
I’ve scanned well over 50 rolls in total and the scanner has performed admirably the entire time. Very little has really changed during the time that’s passed since the last update.
So I’m running out of things to say at this point, at least within this context, and this update will conclude the running article.
I’ll touch on a few workflow tweaks that I’ve landed on, sum up my overall experiences and then let this final post act as a short review of sorts.

I felt it could be valuable to briefly sum up my current workflow since I was still experimenting when I last updated this post. I’ve since settled on a straightforward workflow. It’s not quite foolproof as some fine-tuning is needed for most frames, though that’s probably unavoidable.
I might come back to a more detailed breakdown of the entire workflow separately, but I’ll touch on the broad strokes for now.
Since the approach I described in the previous updates I’ve refined certain aspects of the process – mainly to get more consistent colour output, certainly the most challenging aspect of scanning colour negative film.
I’ve come to treat colour correction for negative film as a multistage process, aiming for the right ballpark straight from Silverfast and then fine-tuning in Lightroom.
I start by choosing a Negafix profile in Silverfast. Usually I opt for the profile corresponding to the film stock I’m scanning, though at times other profiles give better results*. I also leave the automated Colour Cast Reduction (CCR) option active most of the time.
* The profile for one of my go-to-films – Fujifilm’s Superia – has caused me some headaches for instance. It’s probably because the film was reformulated at some point after the creation of the Silverfast profiles and colour accuracy suffers as a result. I’ve instead occasionally used a profile for another Fuji film stock – Super HQ, which has often given me more consistent results. All other film stocks I’ve tried have worked fine with their respective profiles.
Most of the time I set a grey point too, using the neutral point pipette tool, further balancing the output.
I still scan everything as flat as possible, giving me plenty of headroom for further editing in Lightroom. This allows me fine-grained control over the overall tonality as well as colour.
Further colour balancing is usually taken care of by slight adjustments of white balance in Lightroom. Stubborn colour casts get taken care of using channel specific curve adjustments (most issues tend to pop up in the green channel – increasing or decreasing contrast and/or extreme points tends to take care of it even if it can be fiddly sometimes).
These few steps gets me consistently quite close to the output that I want. I only tend to fully edit frames I quite like, but even with the images that pass a few rounds of culling I rarely spend more than a few minutes getting an image finalized. Occasionally I run into troublesome frames which require more time-consuming edits, but for the vast majority a few quick edits is all it takes.
Beyond that most of my approach is unchanged – I’ve stuck to 3600 dpi and 8-bit files for all but a handful of frames. Even with significant adjustments in Lightroom I feel the files hold up well. I still don’t use the IR dust detection and I do all sharpening in Lightroom.

Deciding on a scanner means deciding between different sets of strengths and tradeoffs. Do you pick one that favours speed or output quality? Do you care more about price, software or reliability? To me the Plustek hits a sweet-spot.
I’ve discovered a few niggles over the year, but they are certainly minor in the grand scheme of things;
Very curved negative strips can cause a loss of resolution even when mounted correctly. Putting problematic strips in a heavy book for a few hours takes care of the issue.
Sometimes the frame positioning notches can slip a little causing the frame to become slightly misplaced for scanning. The issue is clear in the prescan and jiggling the film holder a little usually gets the frame correctly placed.
Beyond that I have very little to say about the Plustek that isn’t positive. There’s one obvious and potentially significant drawback – speed. Working with the Plustek is a very hands-on affair. Compared to scanners with batch-functionality or motorised feeding the Plustek is slower for digitising large quantities of images.
However considering the balance of features the Plustek offers makes it more appealing than any of the other available options to me. A flatbed gives greater speed and flexibility but can’t touch the output quality of the Plustek for 35mm. Some more expensive scanners offer motorised feeding, but according to user reports frame detection can cause enough issues that you need to position frames individually anyway. Discontinued scanners such as the Nikon Coolscan series look to offer very compelling balance of speed and quality, but are much more expensive, face software issues and can’t be repaired anymore. The Pakon minilab scanners offer exceptional speed and very appealing colour but is limited in resolution and like the Coolscans they lack repair and servicing options.
The Plustek on the other hand uses modern interfaces, software that runs on contemporary systems, can be repaired and serviced, is available new at a reasonable price.
Overall the biggest draw might be image quality. To my eye it’s certainly very impressive. I’ve previously demonstrated how the scans from the Plustek can equal and surpass those from a high end lab scanner and very few consumer grade scanners surpass it by any significant amount, certainly not at a comparable price point.
I’d argue that the price-to-performance ratio is practically unbeatable. Compared to the price I was paying for lab scans the Plustek has paid for itself more than four times over in the year I’ve been using it.
Thanks to all this the Plustek has enabled me to shoot film in the way I’ve wanted in this past year. It’s allowed me to get high quality scans that has held up for all my uses with ease. It’s enabled me to get through a full year of shooting film without breaking the bank, shoot some of my favourite images of recent years, make some prints I love and enjoy film photography more than ever before.
Now, I can’t wait to pick up my latest roll from the lab.
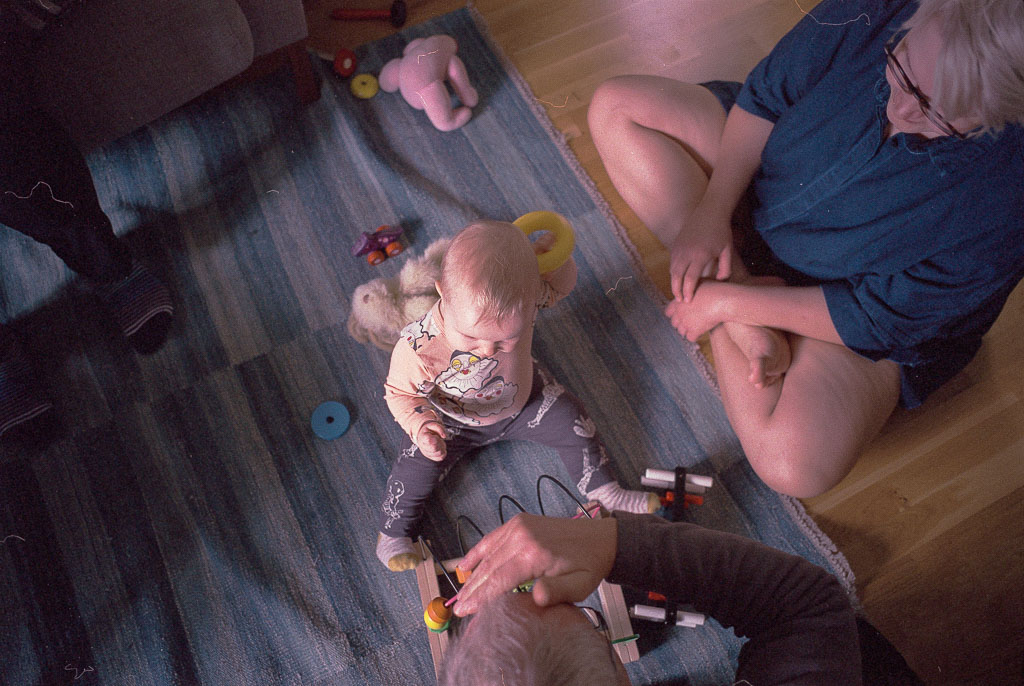
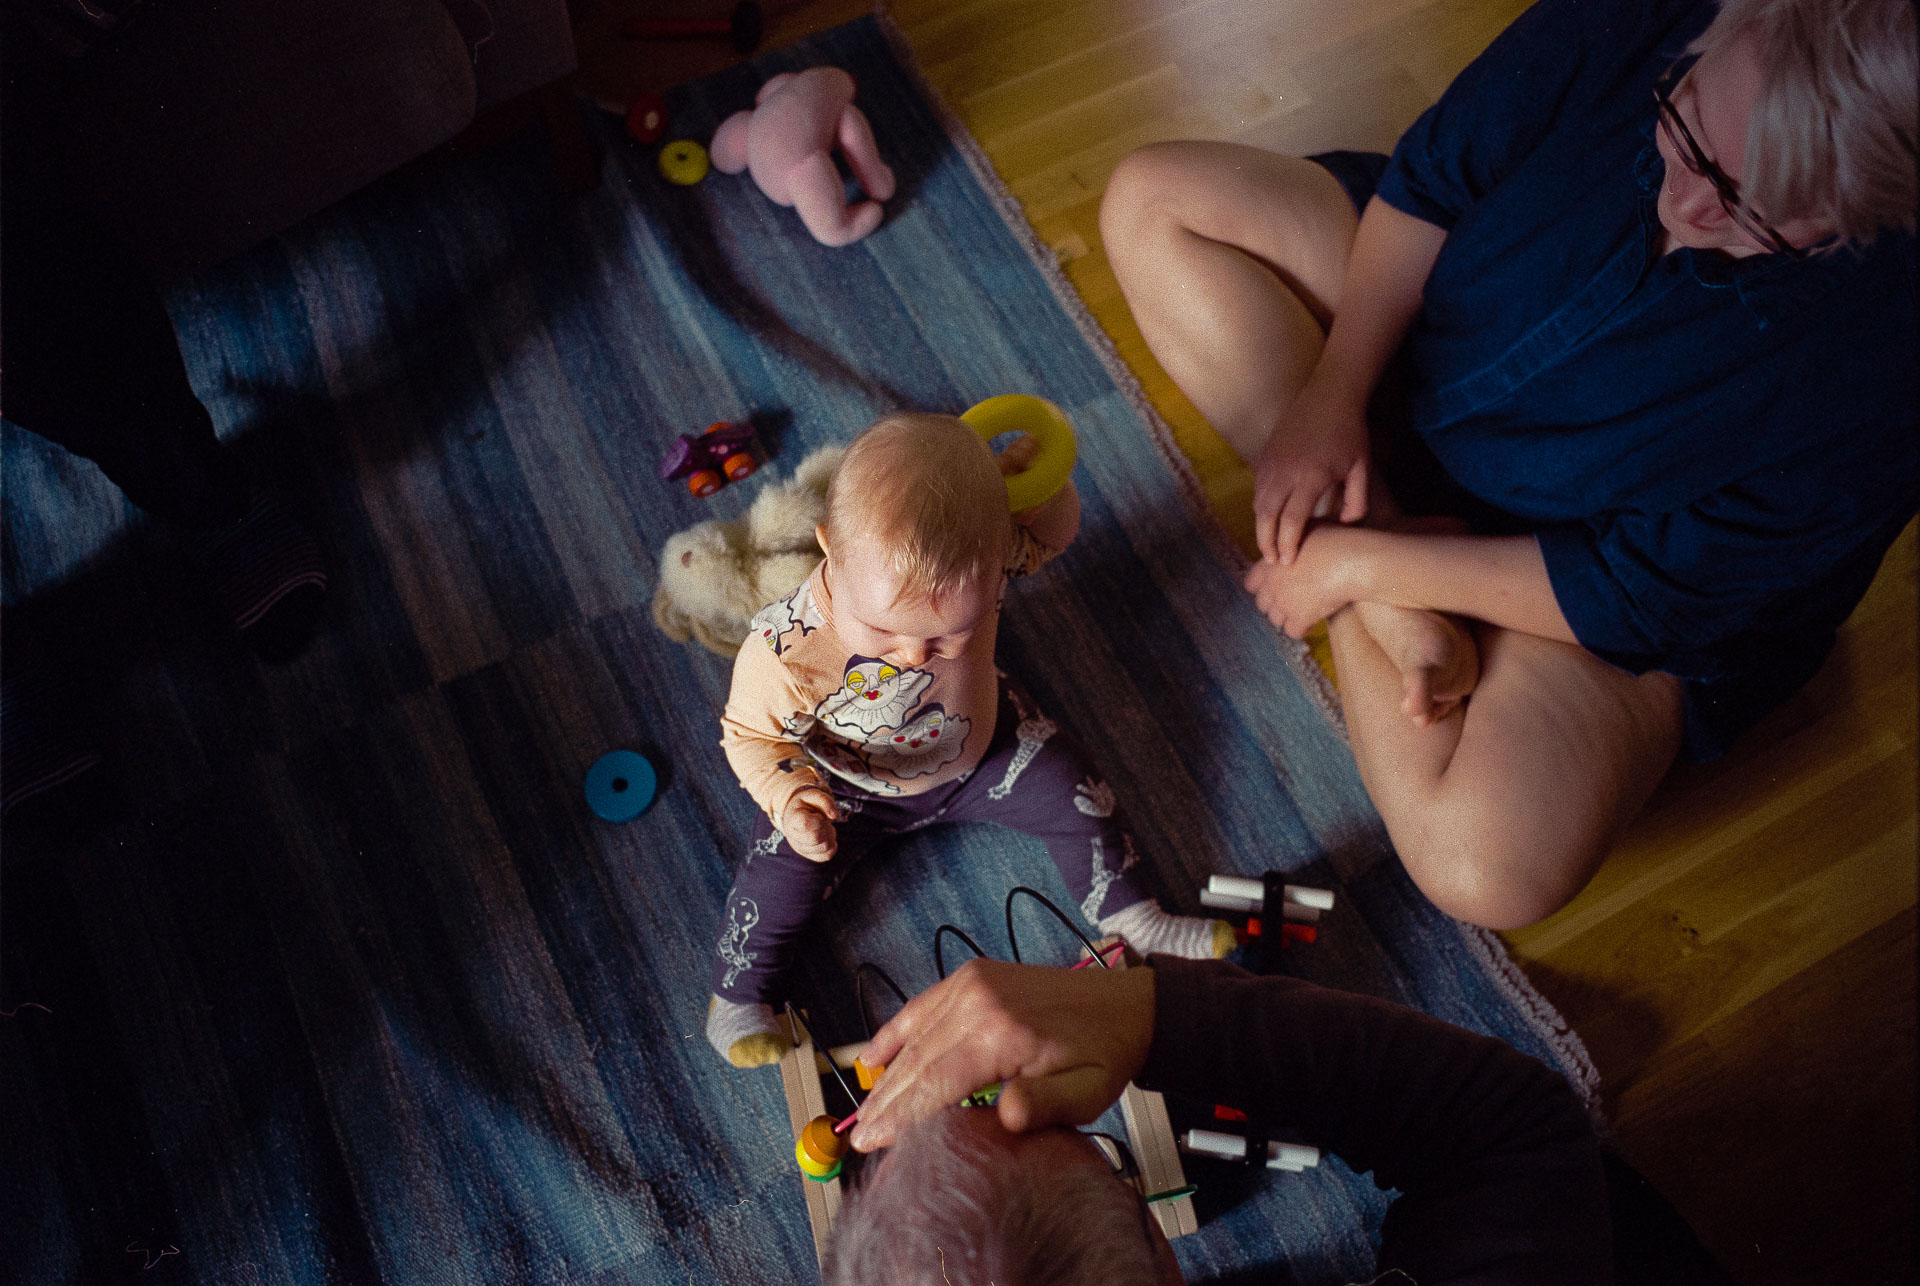
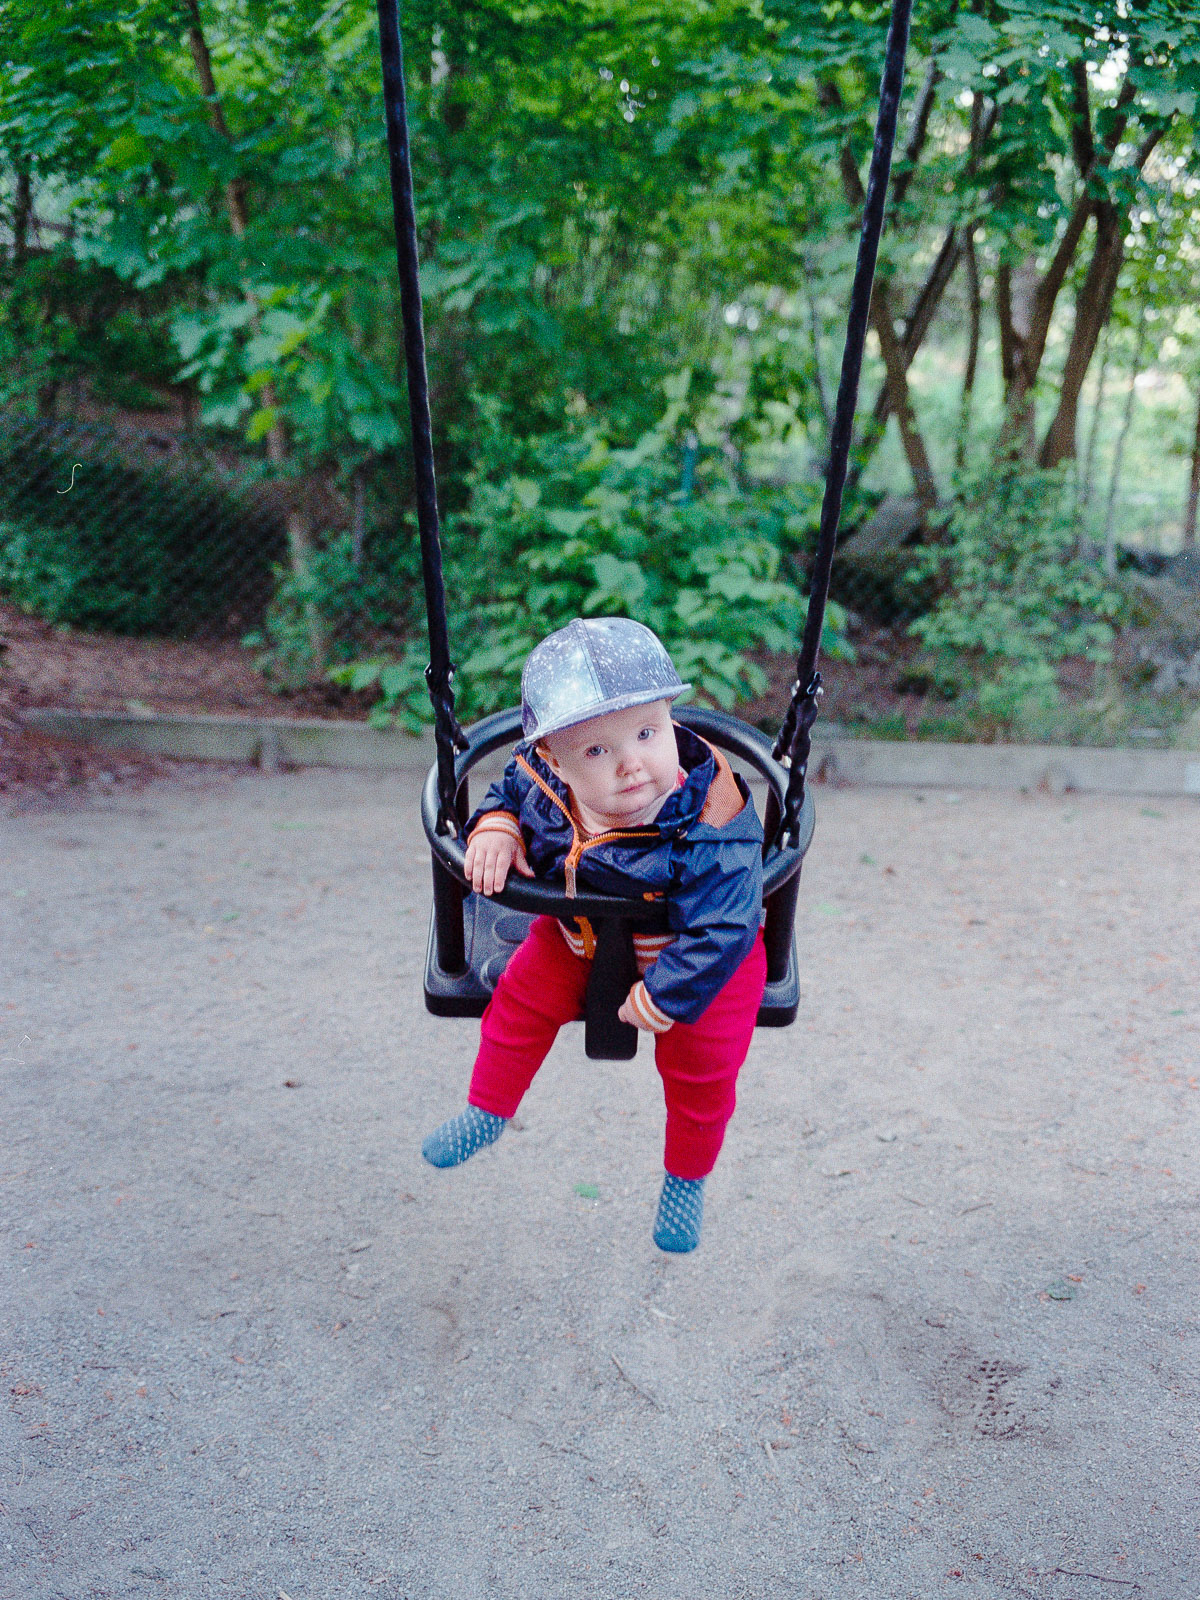
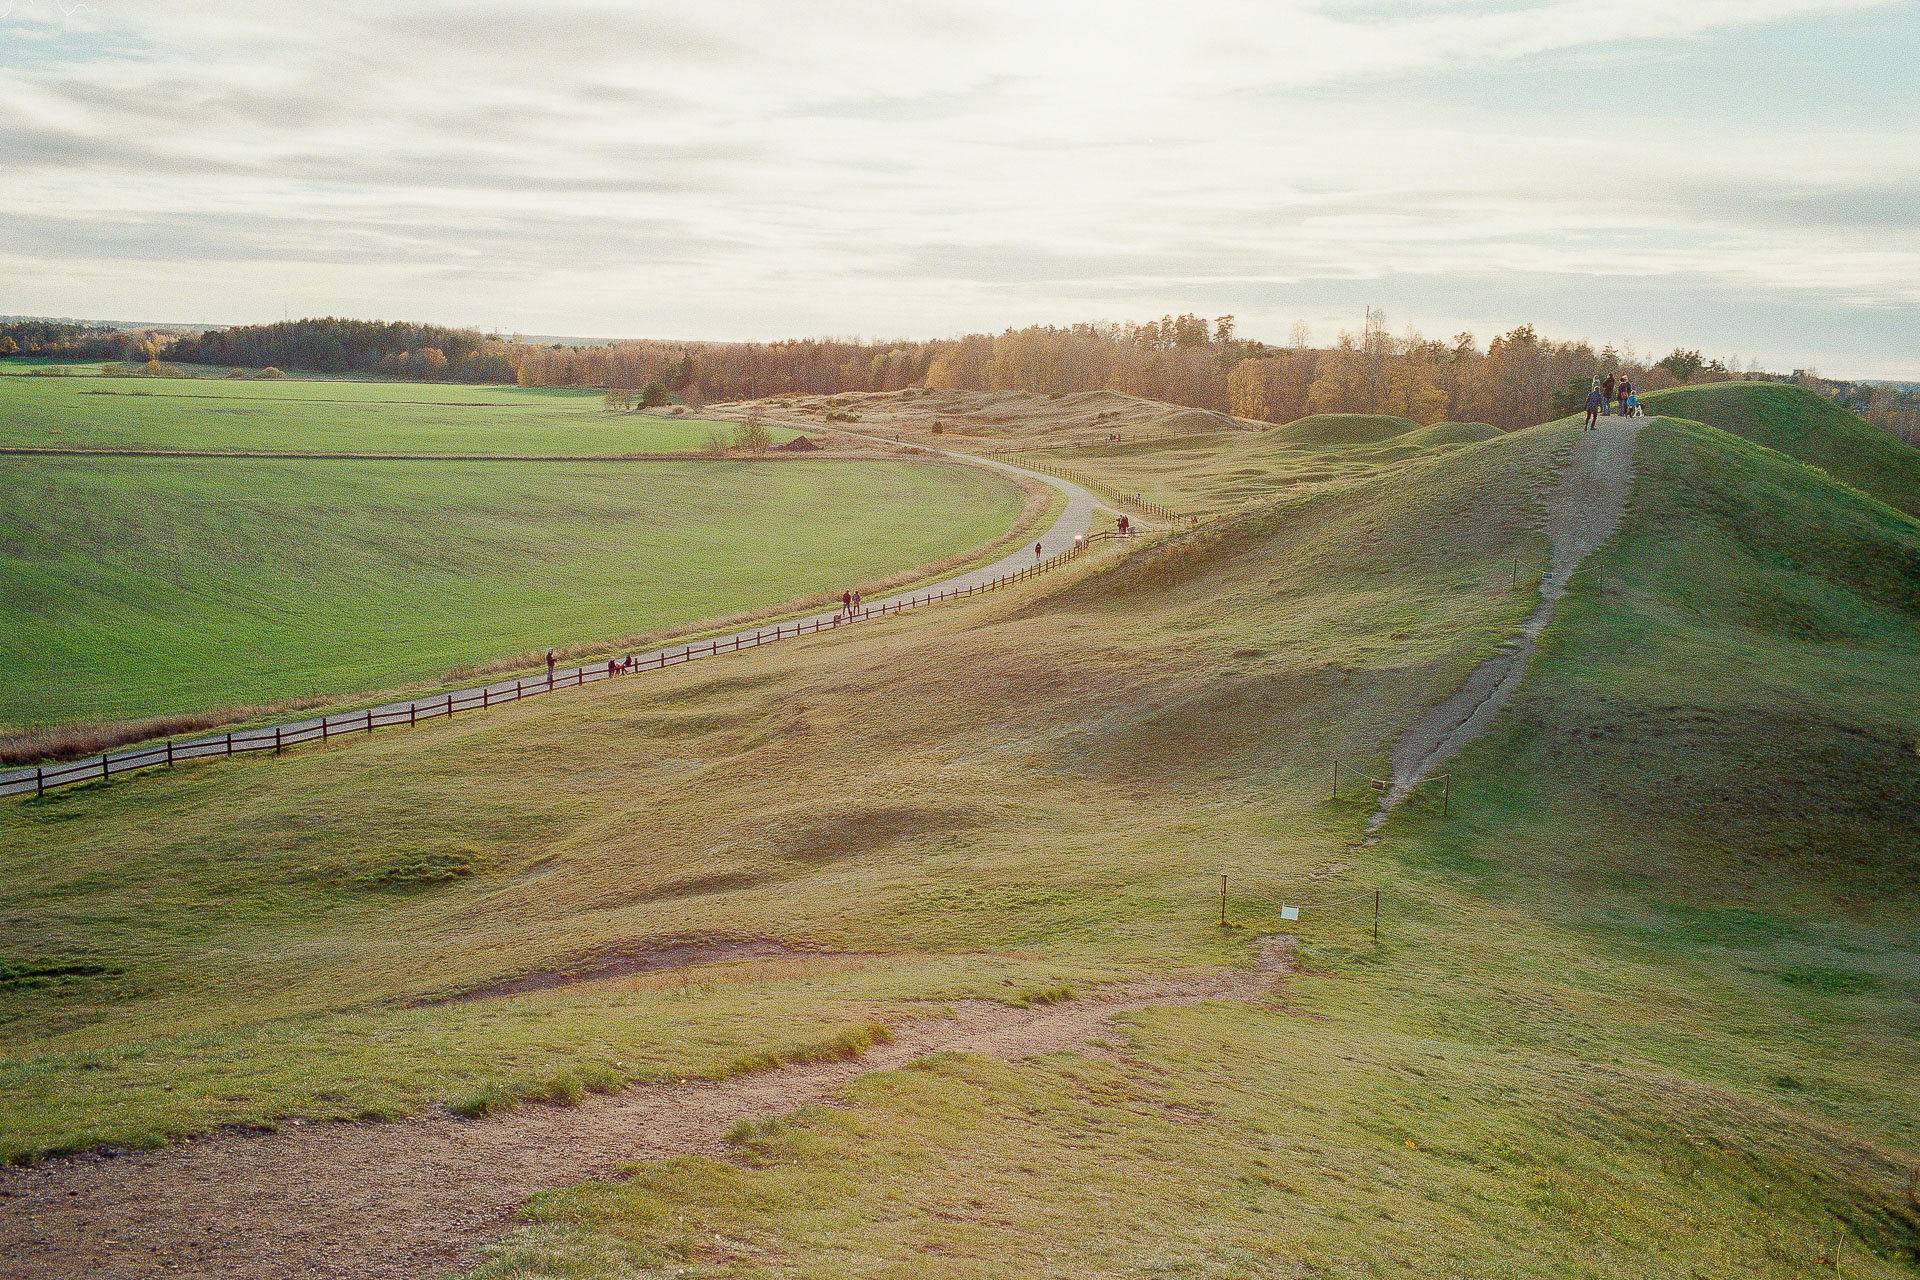
All film photos in this editorial were taken by me, using Leica CL & M4-P. Photos of the scanner itself was made using a Sony A7 and Ricoh GR. Exif-data is intact. Open any image in a new window for a closer look.