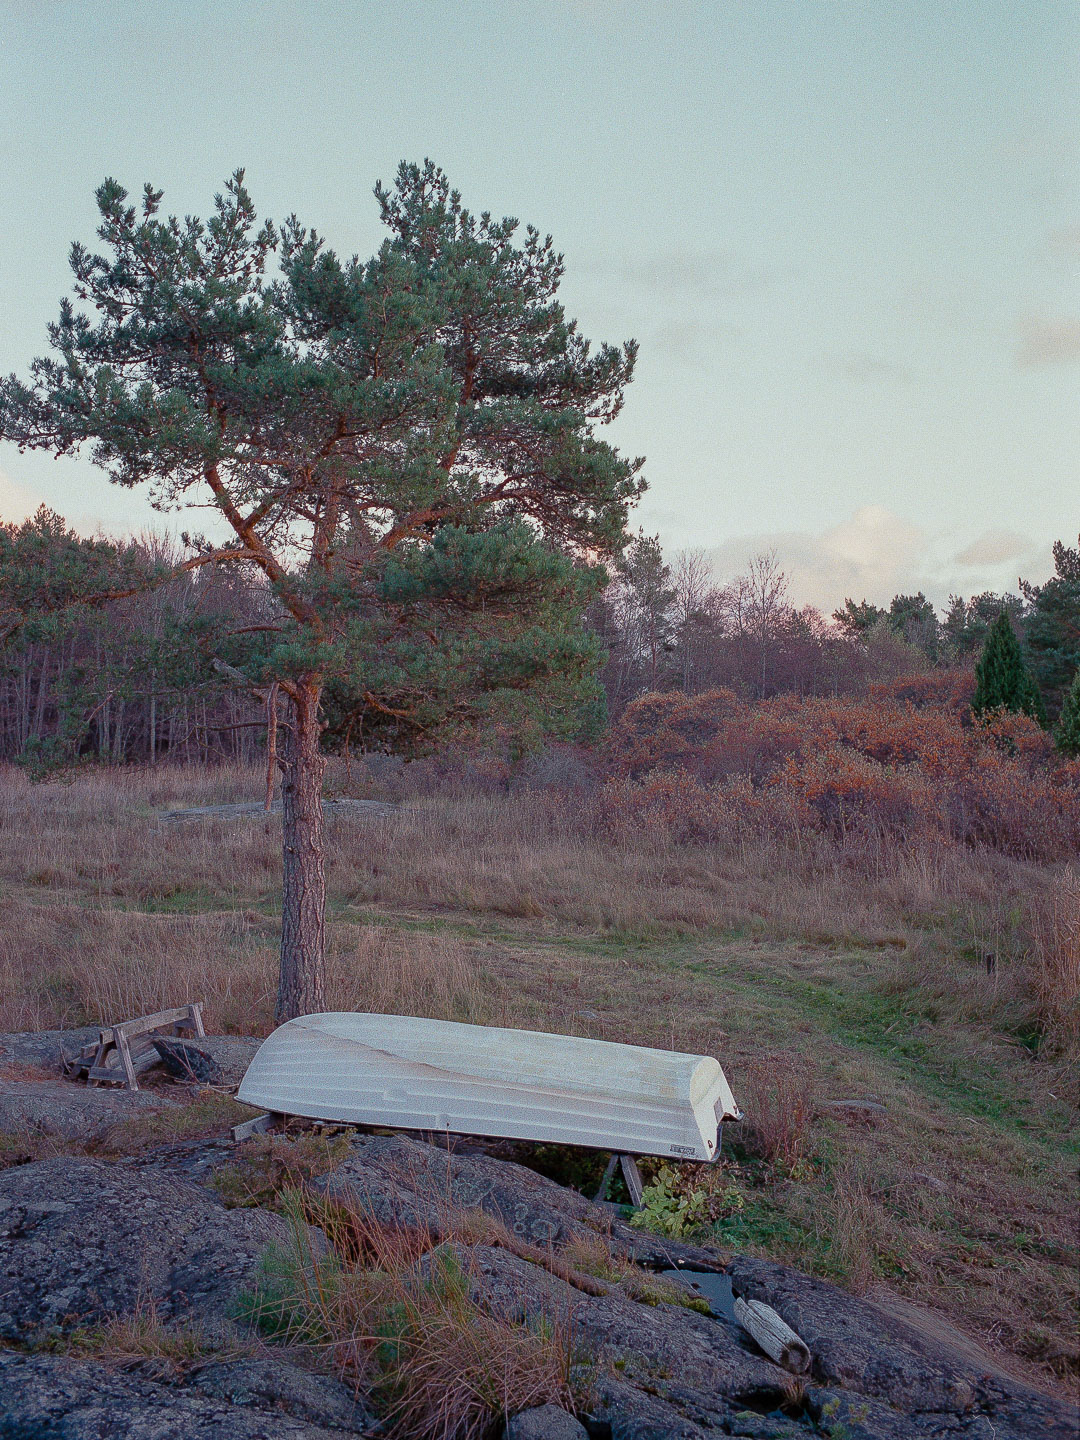
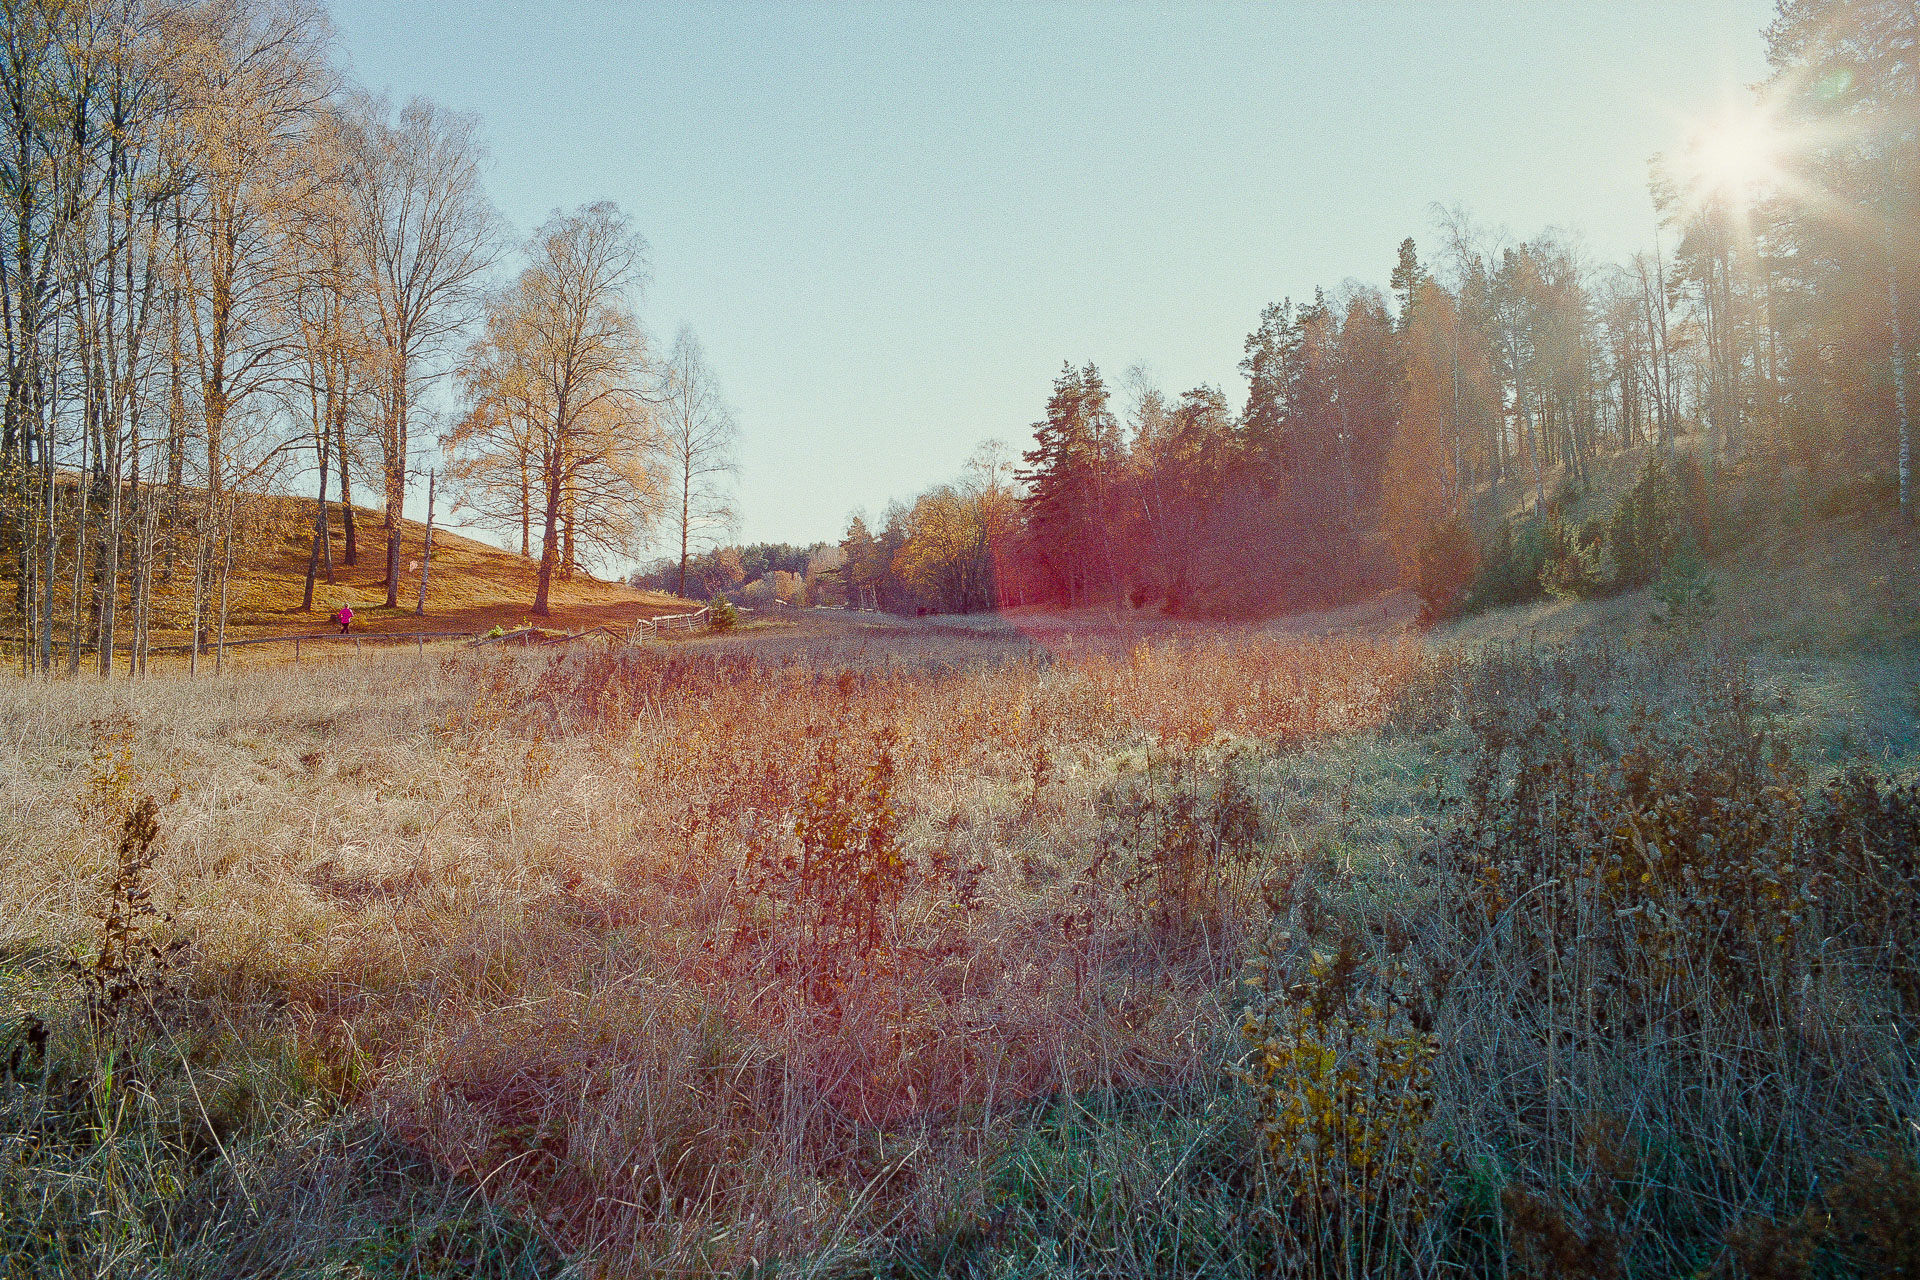
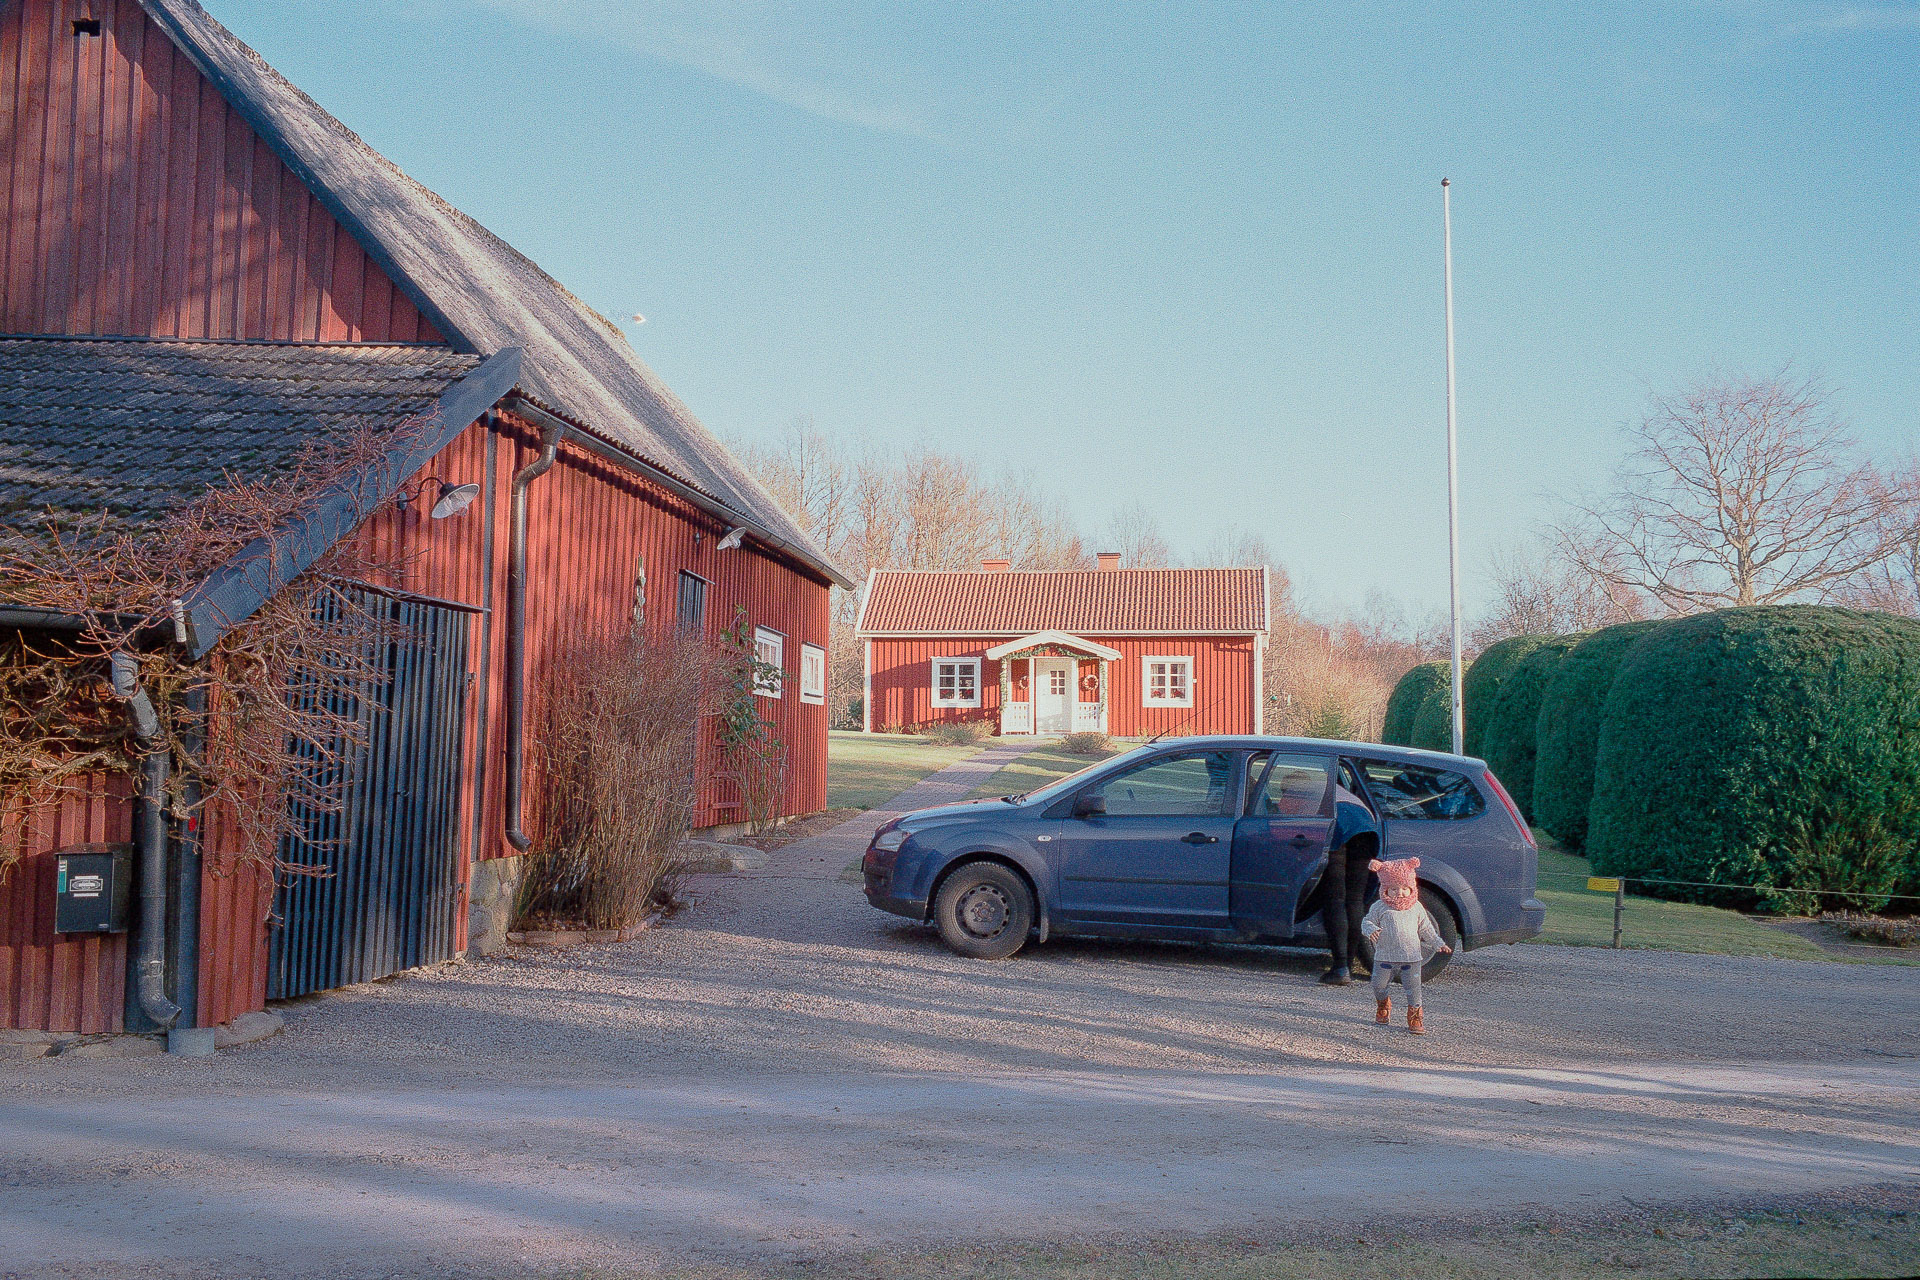
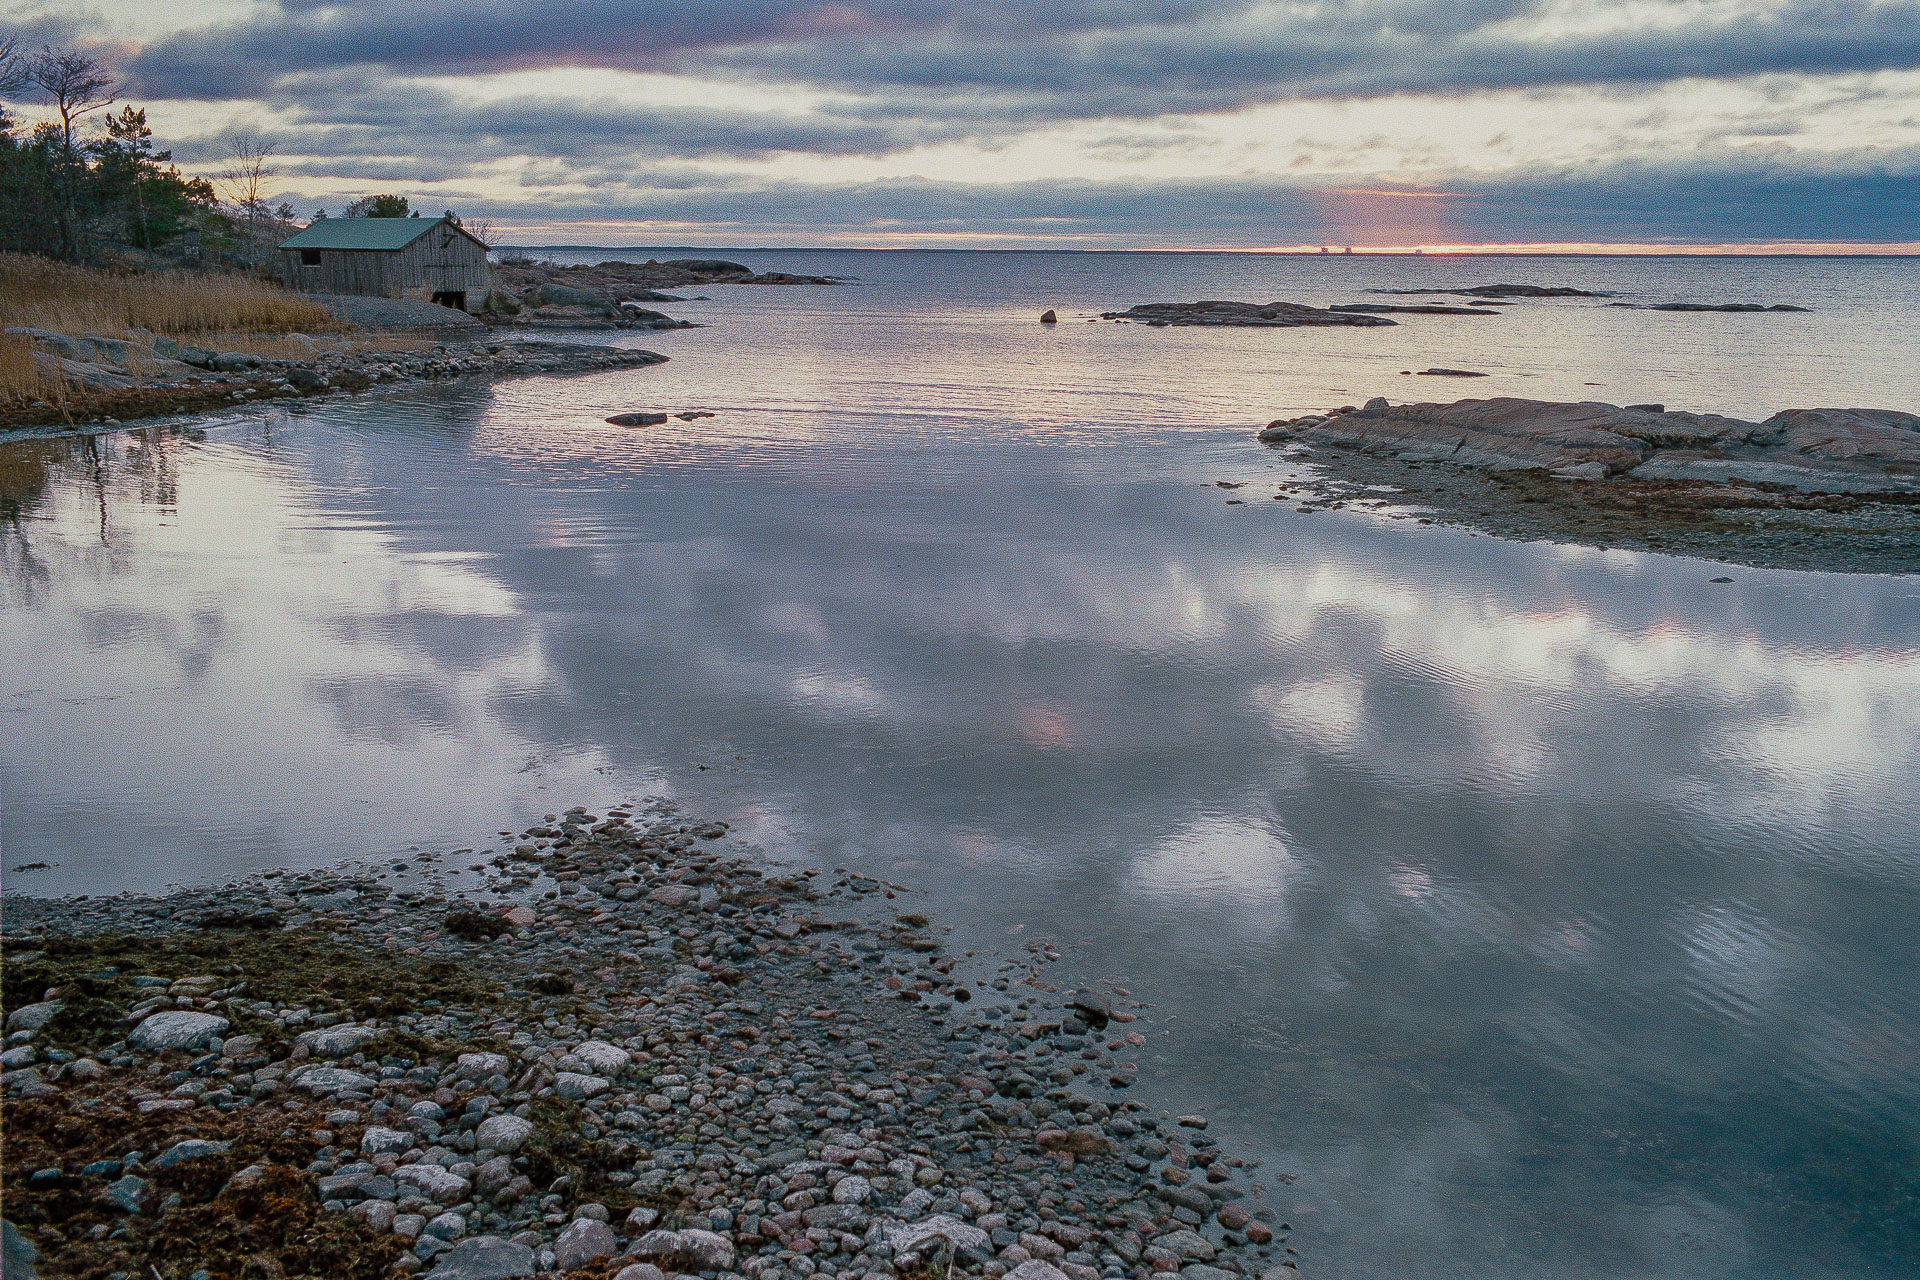
The sun is swiftly setting, almost at the horizon now. Shadows become longer and the light licks the treetops. Clouds move languorously across the sky. Slowing the shutter down I feel like I can still get away with f/5.6.
Shooting film in meterless cameras almost every day for over a year has taught me a few things about exposure of negative film. Some things obvious, others subtle. But the two most important takeaways are:
Learning to estimate exposure is easier than it seems.
It’s practically impossible to overexpose film.
I’ll get back to these points with some implications & tips, but first a little about why this is relevant.
Shooting predominantly digital cameras ever since first getting into photography the idea of always striving for perfect exposure had become an ingrained habit. The sensors at the heart of these cameras are incredible pieces of technology. But due to how they work they need exposure to be pretty much dead on to get good image quality out of them. Recent sensors can take a bit of under exposure, but you still quickly learn to not stray far. And mostly you make sure to never ever overexpose. Thanks to integrated light meters and instant feedback you soon get used to very precise exposure.
As I began shooting film more I was somewhat apprehensive. Most cameras I was keen on lacked meters and I felt that buying a separate meter to carry around sort of defeated the appeal of shooting film – simplicity.
I knew some people claimed to be shooting without a meter, but to me it seemed like something that would take ages to master. Besides it also seemed somewhat masochistic, elitist even. Why would you, right?
Instead I ended up with a metered camera – the Leica CL. It wasn’t my first choice but as I used it more and more I enjoyed the process and experience of it. However as the uncommon battery in the camera ran out something unexpected happened.
Forced to use cruder methods for determining exposure I found that my attention shifted. Instead of thinking about what an instrument readout was telling me I started to pay more attention to the characteristics and quality of light. I started to decide on exposure before lifting the camera to my eye, leaving me free to concentrate on composition and timing instead of settings when actually shooting.
I quickly came to appreciate this method to shooting. A greater sense of control and craft, but also one of remaining in the moment, focused on the essentials.
A few technical aspects adds to this too. Film is quite different to digital in terms of how to best expose it. For people experienced in both this probably sounds as obvious as stating that apples are different from oranges, but for someone so used to one way of working this took some time to really sink in. But once it did it allowed me to really relax shooting film, feeling confidence in both my technique and the medium itself.
This all had a surprising result – I ending up not only enjoying, but even preferring to shoot film without a meter. What initially had seemed like jumping through hoops, masochism or elitism, turned out to be an exceptionally enjoyable way of shooting. I even ended up going for a meterless Leica M4-P instead of e.g. the metered M6 due to this.
So then, how to approach shooting without a meter? Let’s get back to my previously mentioned findings.

The perception of light is odd in many ways. Our eyes and brains are wired to compensate for exceptionally different conditions. Intensity and temperature of light are completely irrelevant when looking at something, your eyes quickly adjust.
This can initially make it hard to guess exposure. Your gut feel is probably way off. Seemingly small shifts in light can mean a difference of several stops of exposure. But with a little bit of attention you can quickly learn clues that lets you recognise different light characteristics. You soon start to remember settings and scenarios you regularly encounter.
Still it can be a little hard to know where to start – I’ll go through what worked well for me below.
A simple mnemonic makes it easy to estimate exposure in daylight.
To me the obvious starting point was the old Sunny 16 system. The Wikipedia entry covers the mnemonic in a bit more detail, but if you’re completely unfamiliar with it the gist of it goes like this: in sunny weather set your aperture to f/16 and your shutter speed to the closest alternative to your film ISO speed. If it’s cloudy you open up a stop. If it’s overcast open up two stops. And so on.
A large number of scenarios and corresponding settings are described in the system, but it’s not really critical to memorise everything. Instead it quickly becomes clear how to extrapolate between a few basic scenarios, easily remembered. Simply adding or subtracting exposure depending on changes in conditions is easier than remembering the full chart. But the most important thing this teaches you is what to pay attention to. The amount of clouds – none, just a few, overcast or very overcast? How do shadows look – sharply defined, fuzzy edges, hardly visible or none at all? Is the subject in shade, or any other part of the image?
So the Sunny 16 system is a great place to start. It teaches you what to look out for and remembering just a few key settings lets you achieve accurate exposure in any situation where daylight is the main source of light.
However there are also situations where Sunny 16 falls short. Mixed and artificial light is notoriously difficult to estimate and hence there aren’t any recommendations for those conditions in the Sunny 16 system. This frustrated me initially and almost drove me to get a separate meter, but eventually I found an alternate solution that allowed me to explore situations other than daylight too.
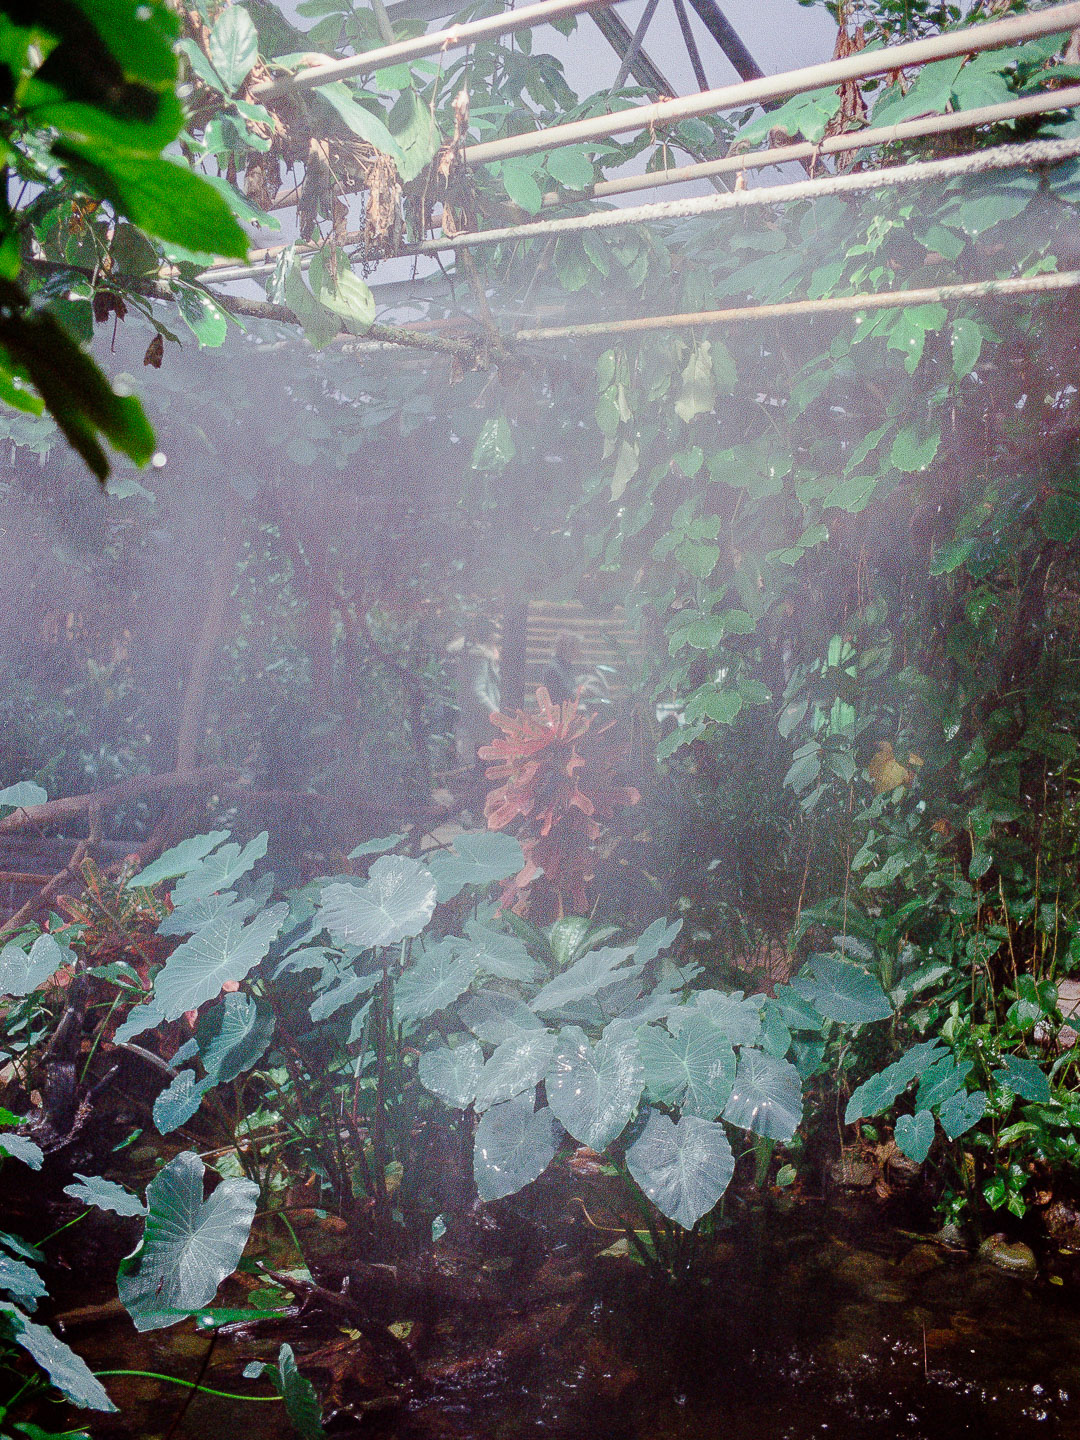
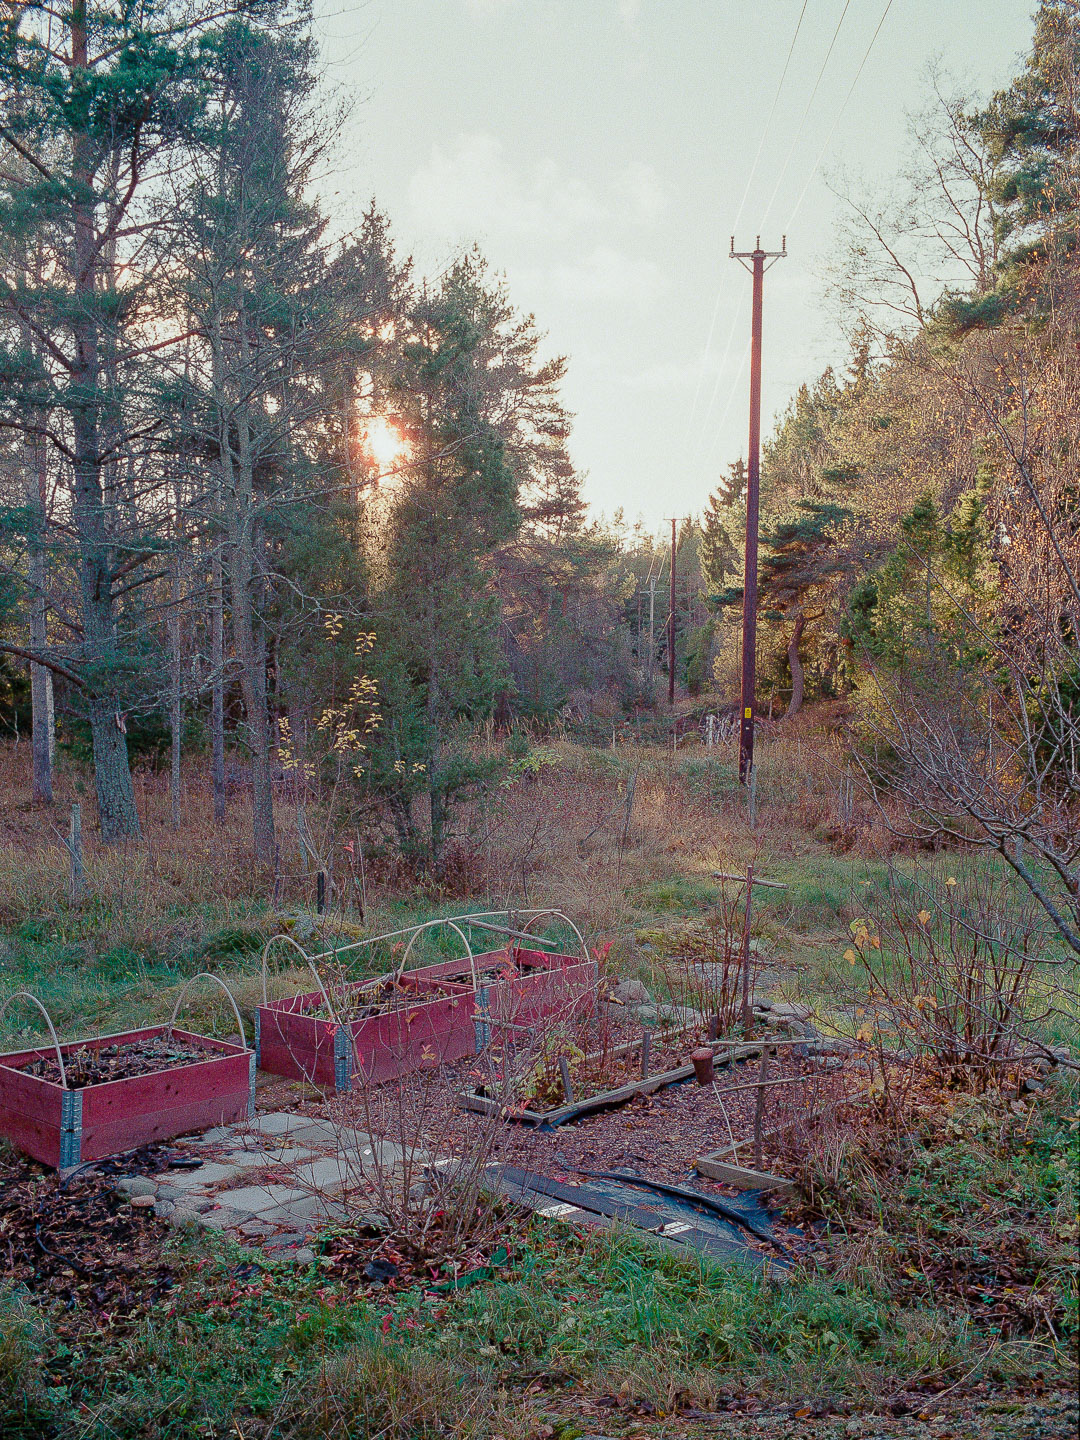
In mixed or artificial light it can be trickier to guess exposure.
There doesn’t seem to be an end to what the modern smartphone can do. So it shouldn’t come as too much of a surprise that it turns out they can measure light quite well. Even in tricky situations.
So whenever I encountered tricky light, situations where I know Sunny 16 wouldn’t quite be useful I pick up my phone, open an app and get a quick but precise reading across the full range of aperture and shutter speed combinations. Little by little I extend my vocabulary for light and need the meter less and less often.
Through a clever trick of making a photo and looking at the exposure information in the exif-data there are numerous apps that give very accurate exposure readings. Some lack logic for looking at software based amplification* and the app I first used gave inaccurate readings in low light. After trying a few other apps and then settling for myLightMeter I’ve had excellent results even in exceptionally low light (below EV 0).
* It turns out that at least the iPhone makes a tradeoff at lower light in that it doesn’t increase exposure parameters beyond a certain threshold. Instead it increases the brightness of the photo in software processing. So an app looking just at the exposure information can be fooled under some circumstances.
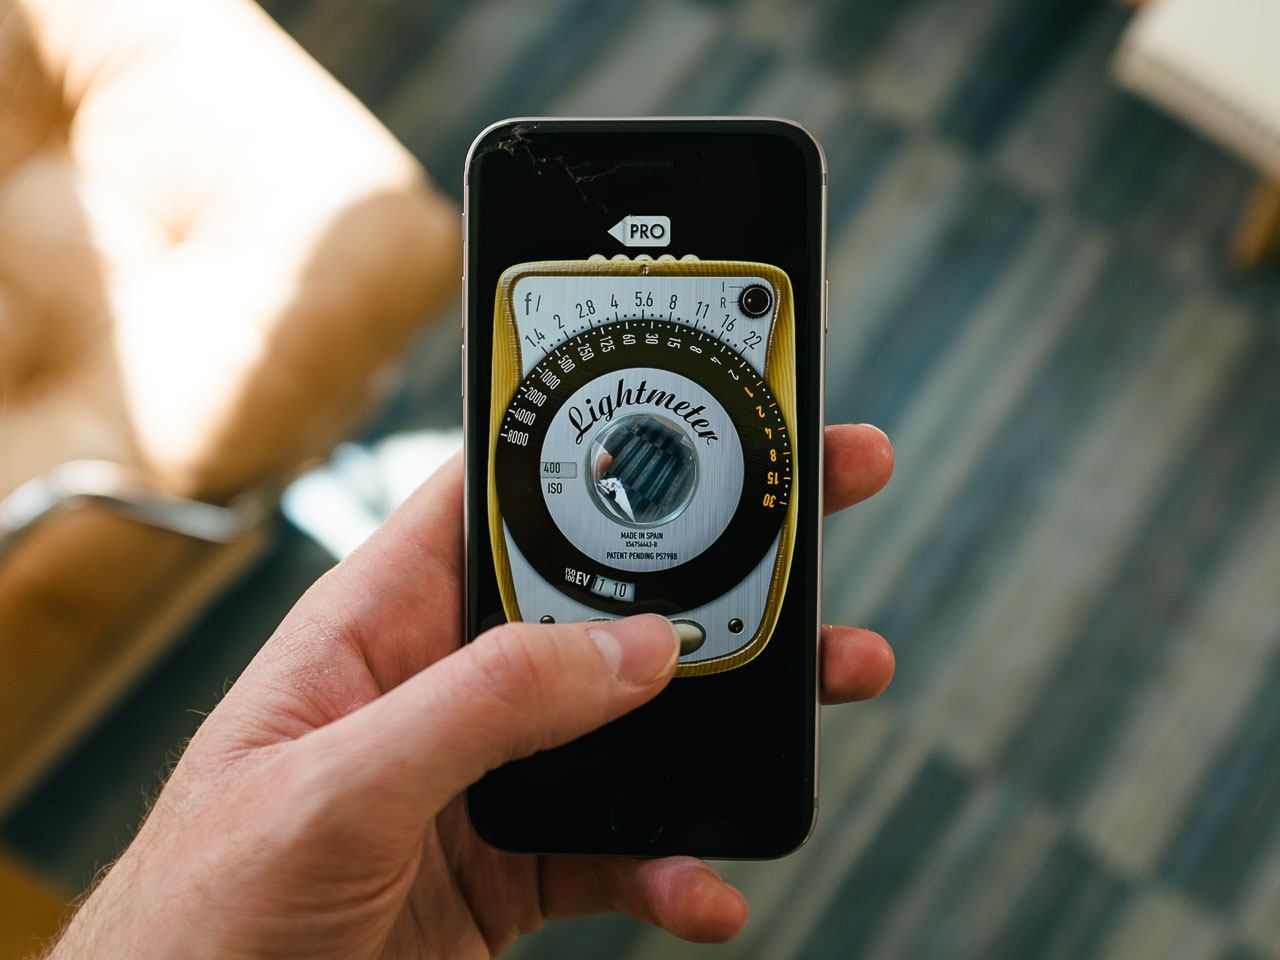
The app I use – myLightMeter – has proven quite reliable. I tend to meter on something fairly neutral that's not in direct light. Depending on the scene I might meter several times to get a feel for the range.
Now a smartphone can’t replace a dedicated meter in all scenarios. And depending on how you want to use it the phone might not be the best alternative. The main issue is that it’s a bit fiddly to take the phone out, unlock it, find the app and take a reading, compared to the simplicity of a dedicated device. But for my use it works well. My aim was to use the meter to learn how to estimate light well enough to not need the meter. So generally I would only take readings in challenging conditions. And within a short amount of time I learned to recognize the situations that brought up a certain setting, letting me keep my phone in the pocket more and more.
Even armed with all this I maybe wouldn’t be completely comfortable shooting without a meter if it wasn’t for one last piece of the puzzle – the way that film reacts to light.
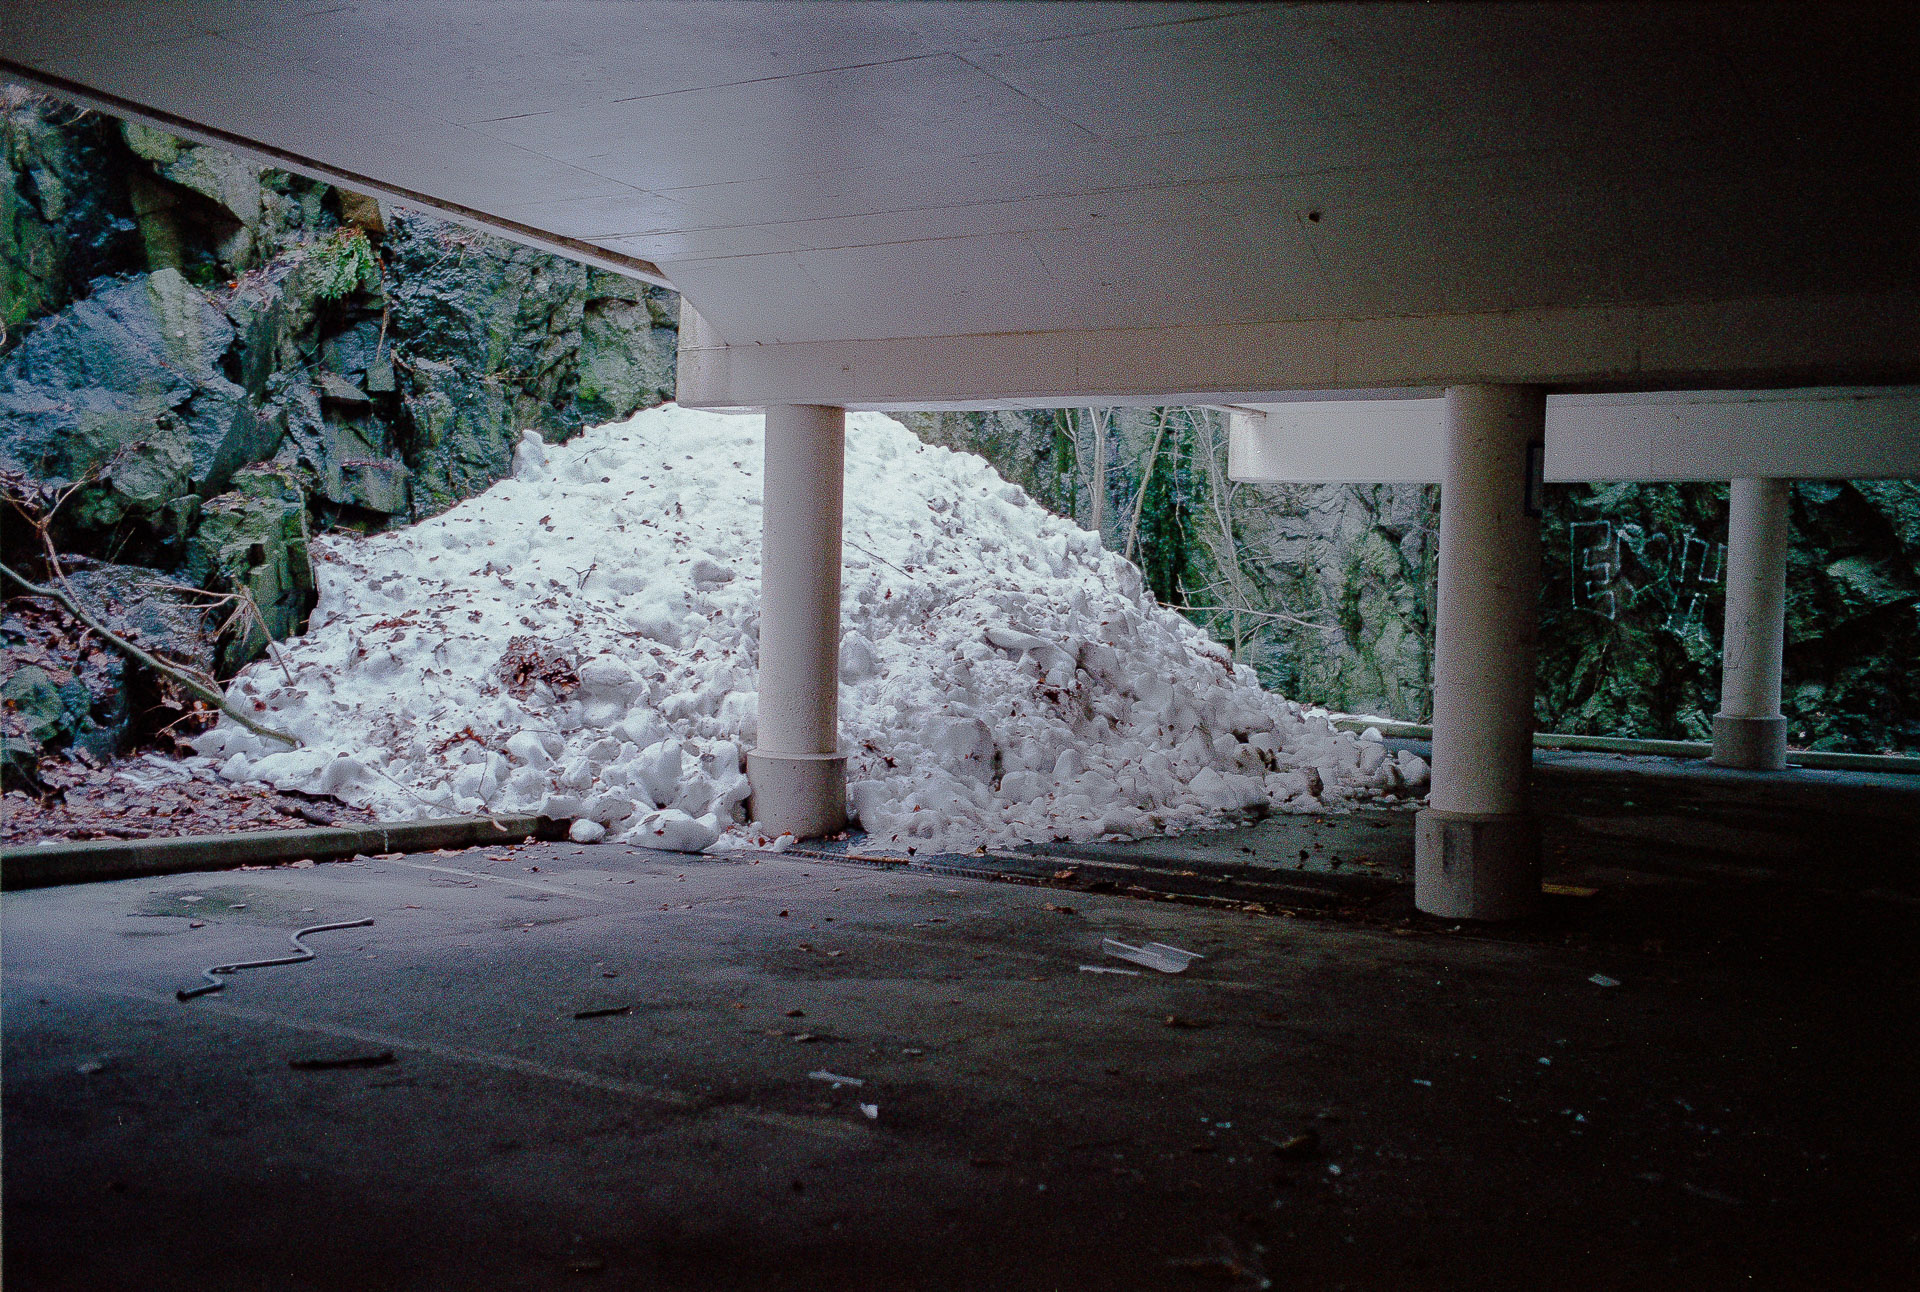
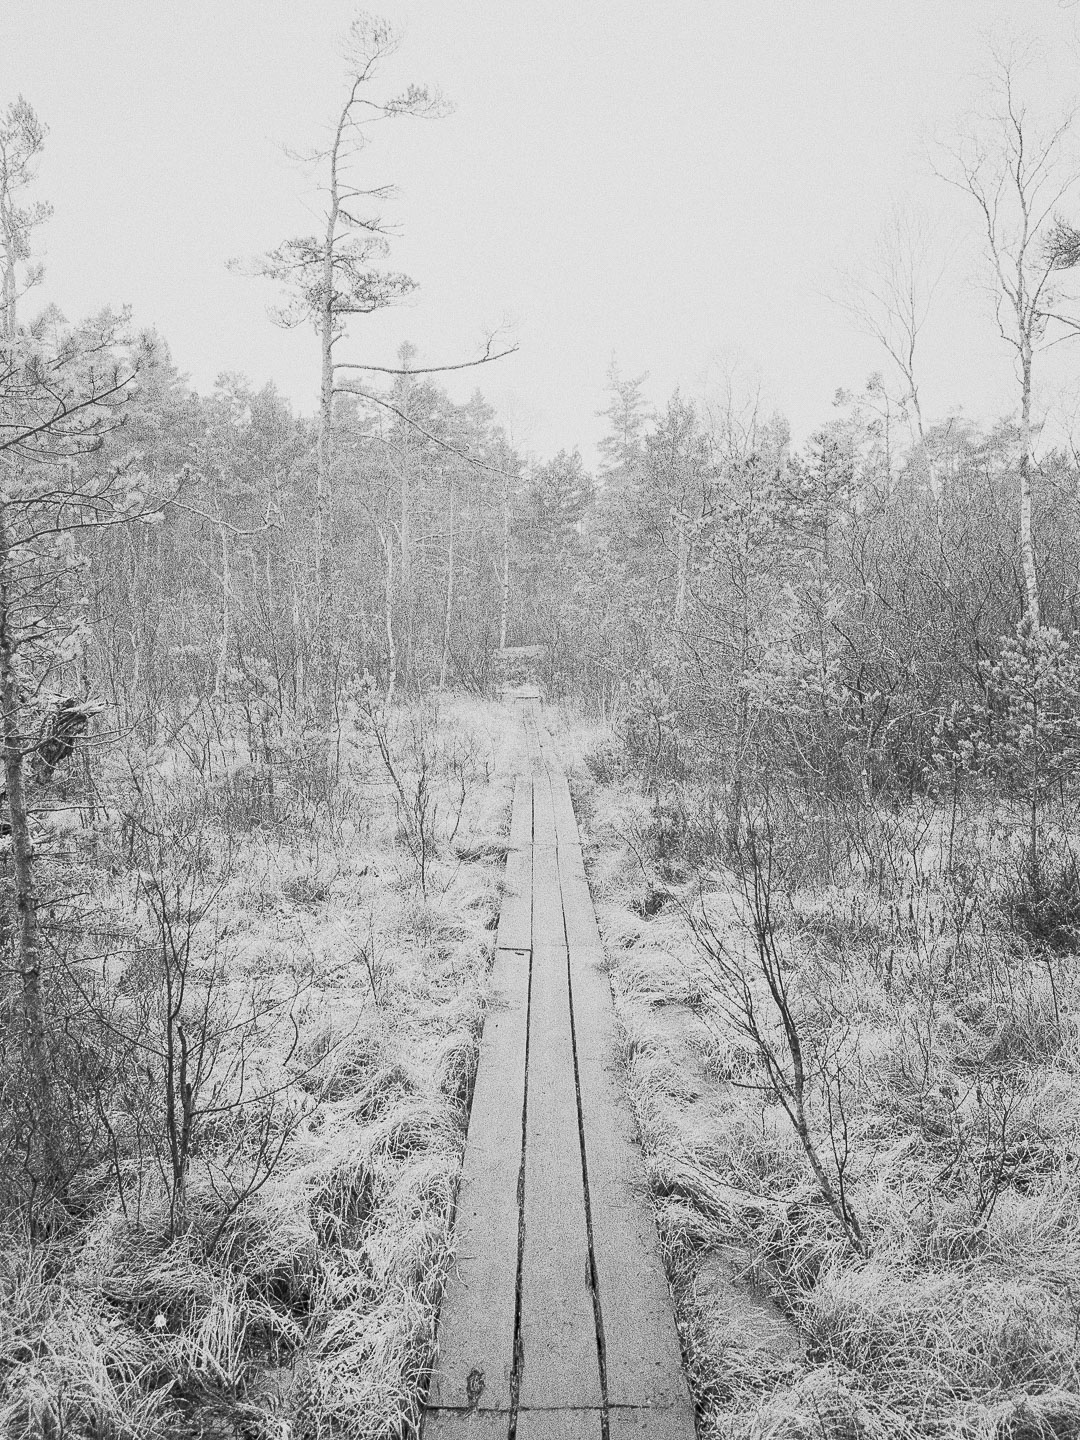
Most shots in this post were overexposed by a stop or two.
I’ve already hinted at film and digital being incredibly different in terms of how best to expose the mediums. That there are differences seem to be common knowledge, but what they amount to and just how vast they actually are seems less wide spread. But inherent in the way film reacts to light is the key that makes it incredibly easy to shoot without a meter – it’s almost impossible to overexpose by enough to make an image unusable.
Digital sensors measure how much light is hitting each pixel on a fixed scale. The scale is completely linear and the endpoints are fixed. If the chosen exposure ends up exceeding the scale there’s no additional information registered – bright areas simply turn flat white.
The chemical reaction that happens in film when it’s struck by rays of light is different. The reaction changes the composition in the emulsion, eventually letting the image become visible at development. Absorbing the light in a sense, rather than measuring it. As more light strikes the emulsion the reaction becomes gradually slower before blowing out. This might seem like a subtle difference to the distinct endpoint of digital, but the effect in the results are clear. Where digital overexposure becomes flat, the gradual deceleration of film gives highlight a more natural rolloff. This, also known as the shoulder has a quite significant effect and is often cited as a reason as to why some photographers prefer the look of film to digital.
Beyond the aesthetics there’s one more aspect of this decelerating response that has quite a bit of bearing within the context of this article – it makes it very hard to overexpose negative film to the point of ruining a picture.
Experiments that others have done show that modern emulsions can handle four full stops of overexposure without significant issues. I’ve even seen examples where an image overexposed by nine stops came out perfectly fine. Going overboard like this can make the negatives harder to scan though, and there is also an increased risk of problematic colour shifts. Still, moderate amounts of overexposure work very well and images tend even come out with a little less visible grain than something exposed spot on.
On the flip side underexposed negatives tend to look grainy, harsh and rough. You quickly learn to avoid it.
The practical implications of this should be pretty clear by now – when estimating exposure you can always err strongly towards overexposure, as long as you’re within several stops you’ll end up with a very usable negative. This huge margin of error makes it trivial to make guesses that are good enough.
B&W and colour negative film react slightly differently to overexposure. Generally colour is slightly more forgiving with B&W showing more grain and less definition with excessive overexposure. Still even three stops overexposure doesn't cause any issues on either medium.
To try to become better at something it’s always valuable to evaluate how well you’ve been doing previously. When learning to shoot without a meter the best way to do this is to look at the negatives. Simply holding up your developed roll against a brighter background and glancing over it can be very informative.
Underexposed negatives come out looking thin with areas that are completely transparent or very close to it. Overexposed negatives on the other hand look dense and hard to see through. Comparing the density of the negatives, your scans or prints and your approach to exposure can quickly teach you how much you can go in either direction without issues and if you’ve made any problematic mistakes (taking basic notes on exposure for each roll can be helpful in the beginning).
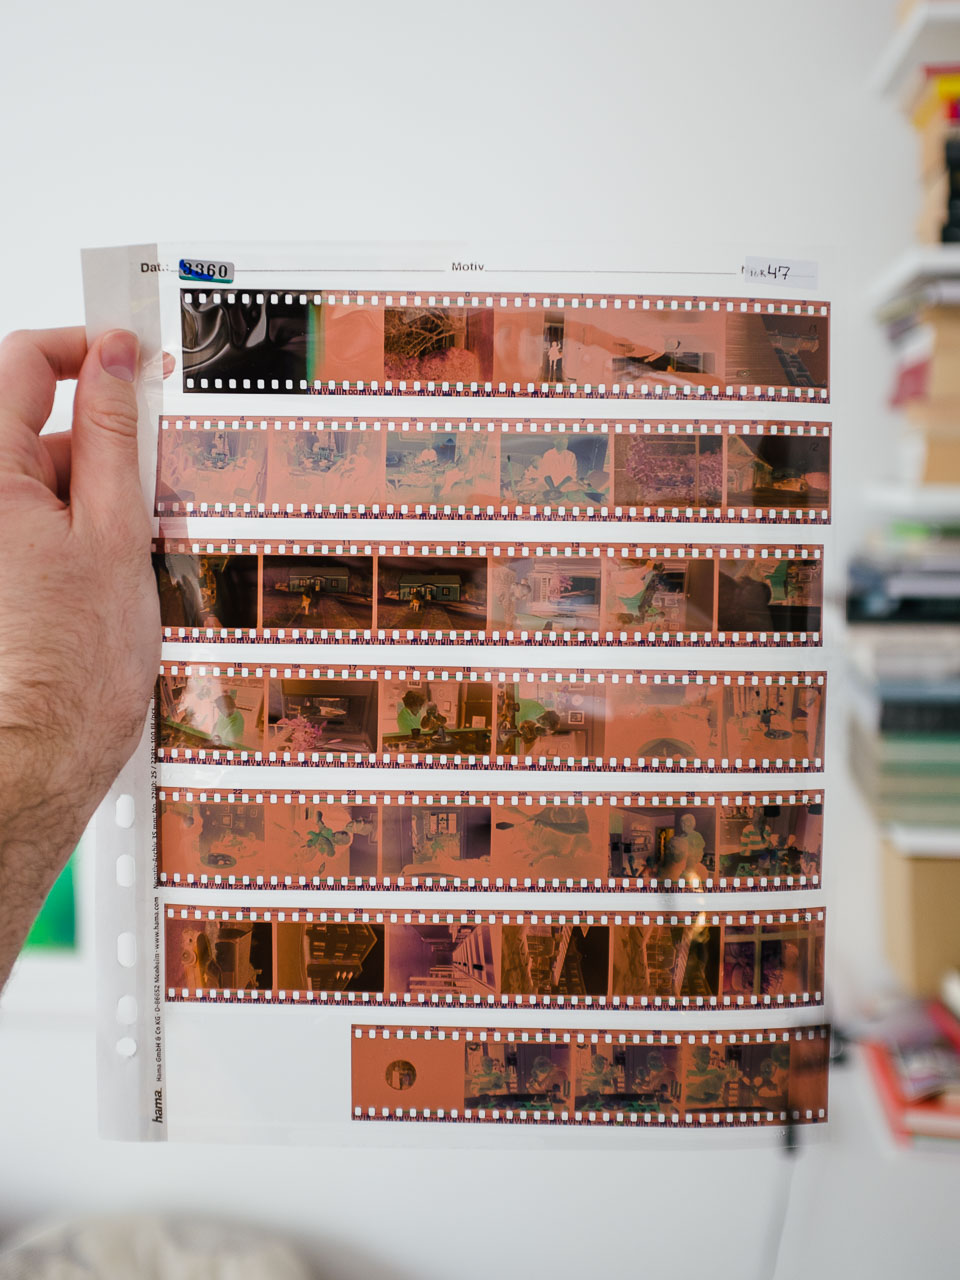
Getting a roll back from the lab I take a look at the density of the negatives. I tend to just hold the entire thing up against a bright background to get a feel for how well I've exposed. This was an unusually challenging roll where I shot in several situations in light lower than I prefer so a number of frames look rather thin (almost transparent). Frames that I shot outdoor look better exposed and slightly denser than what would be a by the book exposure.
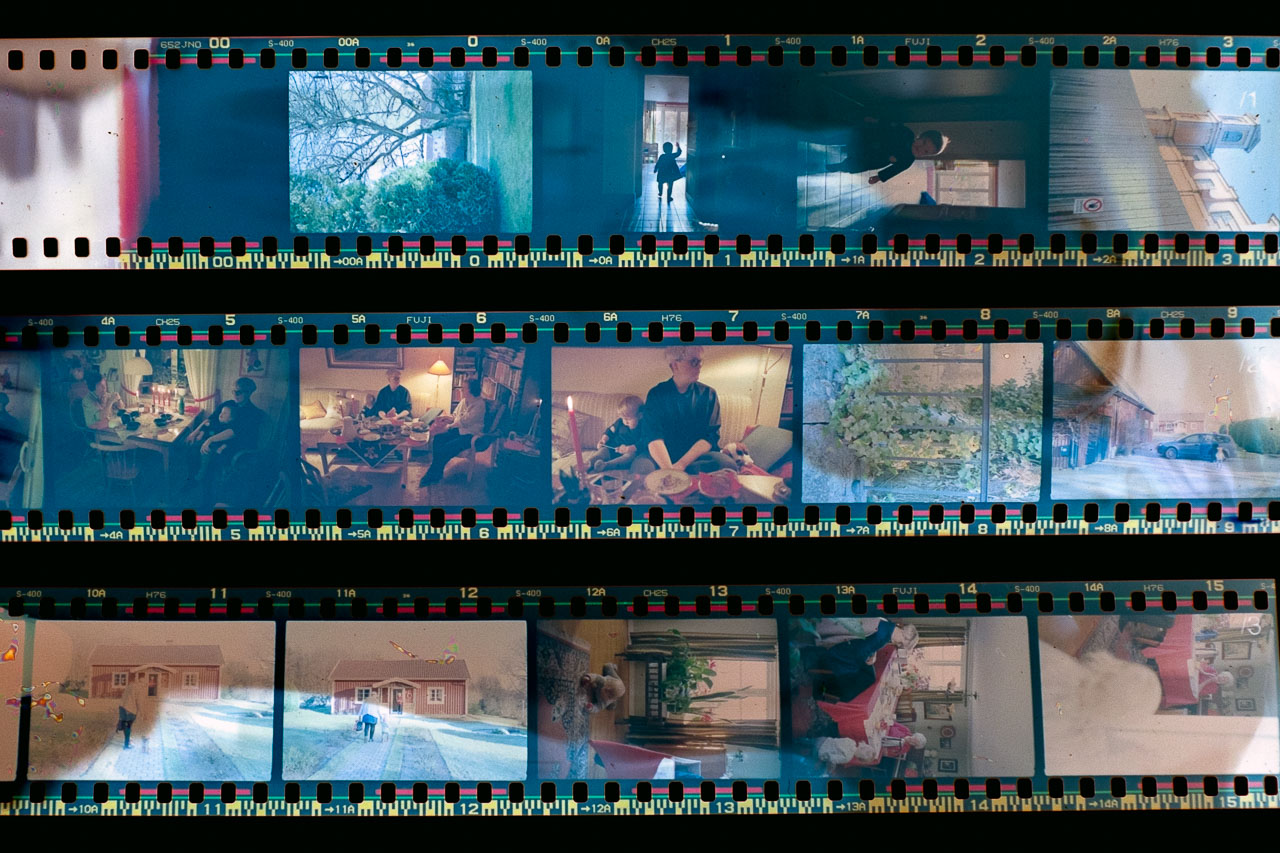
This inverted crop of the first three strips of the roll might be helpful to make out what's going on. The thinner negatives are all shot in low artificial or indoor light. The denser ones outdoor. It's worth noting that all frames are still usuable despite the variation in density and a number of frames can be seen in the December entry of my 366 project. The right most frame on the second strip is also shown earlier in this entry.
Many photographers shooting without meters tend to recommend using a forgiving film such as Kodak Portra since it can be both under and overexposed by a lot more than other films. However to me that proved a little troublesome – it’s almost too good. Shooting Portra my negatives came out almost completely uniform – nothing really stood out as overly thin or dense. I wasn’t honing my skills as much as relying on the qualities of the specific film stock. I actually found it more rewarding to shoot films that were slightly less forgiving. I’ve been through a bit of Agfa Vista, Fuji 400H as well as a number of B&W emulsions, but what I’ve shot most of all is the humble Fuji Superia 400. With all of them I can tell much more easily if I’m under or overexposing and if it’s by a lot or a little.
Personally, I tend to aim for a little bit of overexposure but try and keep it within a stop or two. This makes for high quality, easy to work with negatives with my consumer grade scanner. Keeping an eye on the density of my negatives lets me improve my guesswork roll by roll.
This might all sound a little daunting and complex, but what it boils down to is that shooting film without a meter is actually simpler than it seems. The huge latitude for overexposure makes it so easy that it’s almost like cheating, especially shooting forgiving film stocks. But even with just a little care it’s easy to get the hang of guessing exposure within a stop very quickly.
Sunny 16 is a simple mnemonic that actually works. Smartphone apps can be helpful in lower light. And the exposure latitude of film makes it trivial to get in the right ballpark.
But beyond the technical aspects, it’s the enjoyment of it that’s been my biggest drive. I was sceptical before giving it a go myself. But now, I feel more nervous shooting a metered camera with their flashing lights, indicators and overrides, than with simple meterless cameras. It gives me a greater deal of transparency in my set of tools, and somehow that’s what I always seem to end up striving for. Going meterless has ended up being one of the biggest shifts in this regard in a long while.
All photos in this post were taken using the Leica M4-P except for images of the negatives. Scanned using the Plustek 8200i. Exif-data is intact. Open any image in a new window for a closer look.